Installation Type
14
Sep
Sep
Installing a wall-mount mailbox is usually simpler than installing a curbside mailbox post.
The main challenge is not the mailbox itself.
It is the wall behind it.
Brick, concrete, vinyl siding, wood, and stucco all need different fasteners and mounting methods. A lightweight letter box may need only a few screws, while a large locking mailbox needs stronger structural support.
The safest way to install one is:
Confirm delivery type → choose the location → identify the wall → choose the right fasteners → level the mailbox → secure it → protect the holes from water → test the door and lock.
This guide explains each step.
Contents
hide
Quick Answer: How Do You Install a Wall-Mount Mailbox?
Use the wall type to choose your mounting method.
| Wall Type | Best Starting Point | Avoid |
|---|---|---|
| Brick | Masonry screws or suitable anchors | Weak or cracked brick |
| Concrete | Concrete-rated screws or anchors | Generic plastic plugs |
| Vinyl siding | Fasten into structure behind siding | Mounting to vinyl alone |
| Fiber cement | Fasten into studs or blocking | Overtightening the panel |
| Wood siding | Exterior screws into solid wood | Thin decorative boards only |
| Stucco | Anchor into the substrate behind stucco | Treating stucco as structural |
The most important rule is:
The mailbox should be supported by the wall structure, not only by the surface finish.
Before You Drill: Check These 5 Things
A few checks before installation can prevent most wall-mount mailbox problems.
1. Confirm Your Mail Delivery Type
If your home already receives mail near the front door, a wall-mounted mailbox may be appropriate.
If your home currently has curbside delivery, do not simply remove the curbside mailbox and move delivery to the wall.
For U.S. homes, changing the established delivery location may require approval from the local Post Office.
So first ask:
Where does the carrier already deliver my mail?
Keep the existing delivery method unless you have confirmed a change.
2. Choose a Location the Carrier Can See
A wall mailbox should be easy to notice and easy to reach.
A good location is usually:
Near the main entrance
Clear of bushes
Away from the door swing
Easy to reach from the walkway
Away from heavy roof runoff
Easy for you to open every day
Avoid placing it behind:
Tall plants
Decorative screens
Gates
Furniture
Downspouts
A mailbox that looks attractive but is difficult to reach is not a good installation.
3. Check Door Clearance
Before drilling, hold the mailbox against the wall and open the door fully.
Check whether the door hits:
House door
Door trim
Wall
Handrail
Fence
Light fixture
Landscaping
This is especially important with larger locking mailboxes.
4. Check the Wall Structure
Ask:
What will the screws actually be holding onto?
The visible wall surface may only be a finish layer.
For example:
Vinyl siding → not structural
Stucco → usually not structural
Thin wood cladding → may not be strong enough
You may need to locate:
Studs
Structural sheathing
Blocking
Solid masonry
before choosing the final hole locations.
5. Check the Loaded Mailbox Weight
Do not consider only the empty mailbox.
A larger wall mailbox may eventually contain:
Catalogs
Magazines
Thick envelopes
Several days of mail
Add the mailbox weight and likely contents together.
The heavier the mailbox, the more important structural fixing becomes.
How High Should a Wall-Mount Mailbox Be?
Residential wall-mounted mailboxes do not use the same standard road-height measurement as curbside mailboxes.
The practical goal is accessibility.
The mailbox should be:
Easy for the carrier to reach
Easy for the homeowner to use
Clear of the house door
High enough to avoid landscaping or splash
Low enough that the lock and retrieval door are convenient
A Simple Way to Find the Right Height
Hold the mailbox against the wall before drilling.
Then test three things.
1. Can the carrier easily reach the delivery opening?
2. Can you comfortably unlock and retrieve the mail?
3. Can the door open completely?
If all three work, the height is usually practical.
If you are unsure about an unusual location, check with your local Post Office before drilling.
Tools and Hardware You May Need
You do not need every item on this list.
Choose tools based on the wall.
You may need:
Tape measure
Pencil
Level
Drill
Screwdriver or driver
Masonry drill bit
Wood drill bit
Exterior-rated screws
Masonry screws
Concrete anchors
Suitable wall anchors
Stud finder
Spacers
Washers
Exterior sealant
Do Not Automatically Use the Included Screws
The hardware supplied with a mailbox may work for one wall type but not another.
For example:
A wood screw is not automatically suitable for concrete.
A plastic wall plug may not be appropriate for a heavy locking mailbox.
Choose the fastener based on:
wall + mailbox weight + mounting-hole size
How to Install a Wall-Mount Mailbox on Brick
Brick can provide a strong mounting surface when the masonry is in good condition.
Step 1: Hold the Mailbox in Position
Place the mailbox where you want it.
Check:
Height
Level
Door swing
Lock position
Carrier access
Do not drill yet.
Step 2: Check the Brick
Avoid drilling into:
Cracked brick
Loose mortar
Broken edges
Old oversized holes
A strong mailbox needs a strong fixing point.
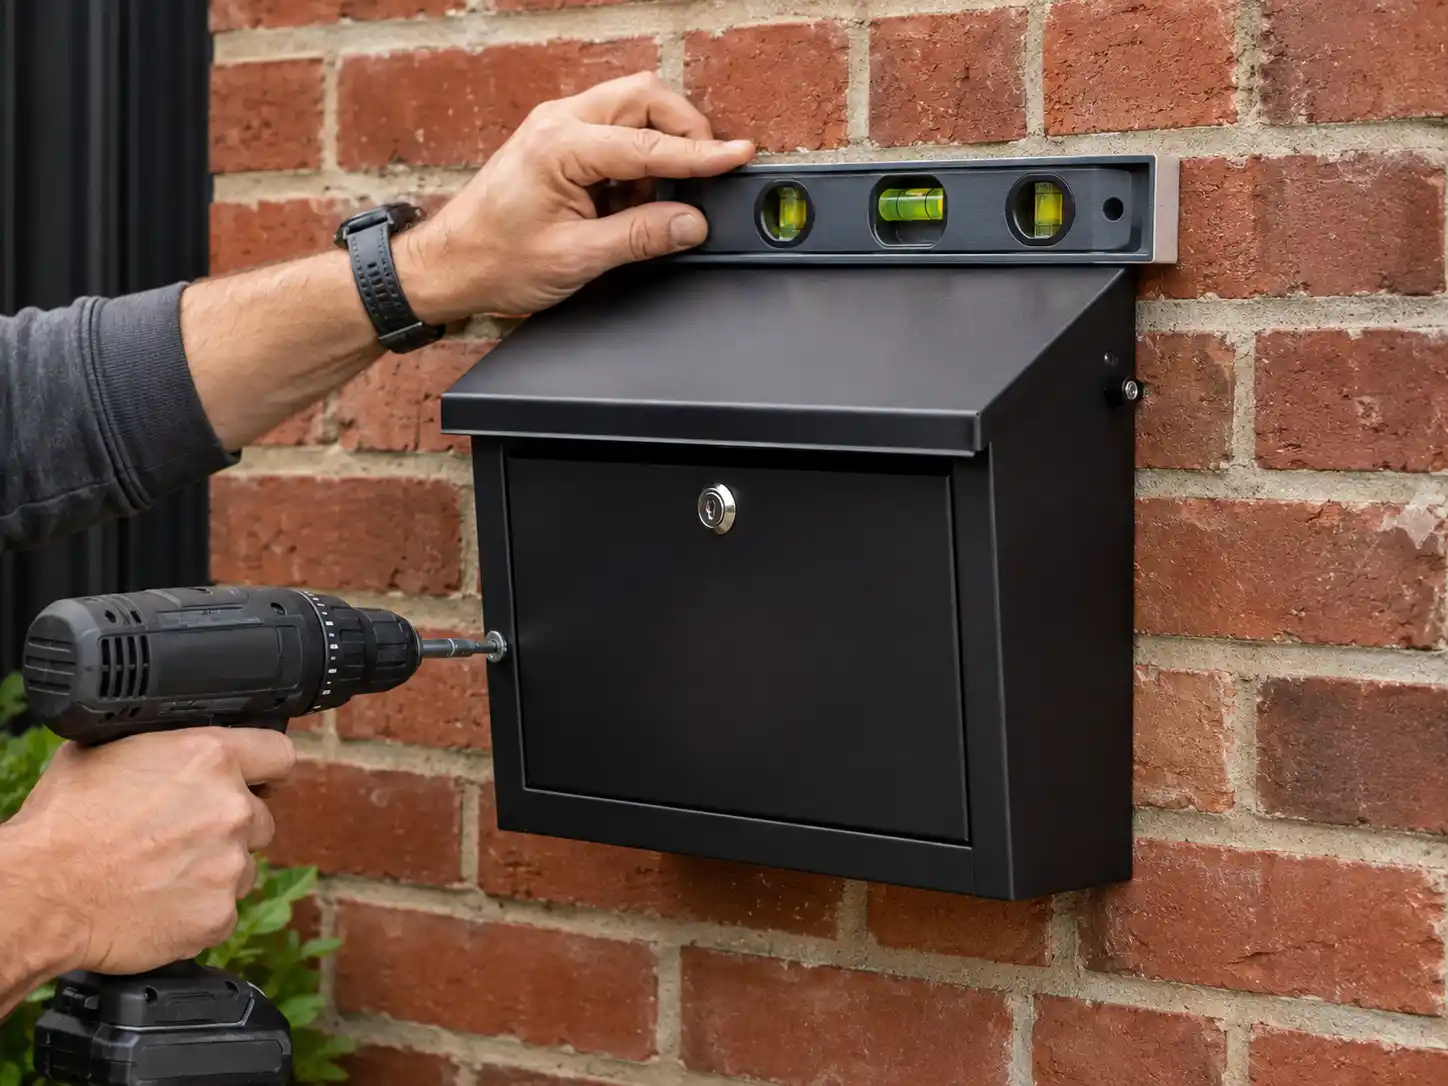
Step 3: Mark the Mounting Holes
Use the mailbox mounting holes or template.
Mark all the holes.
Remove the mailbox.
Check the marks with a level again.
This is one of the easiest ways to prevent a crooked mailbox.
Step 4: Drill the Holes
Use the masonry bit required by your chosen anchor.
The hole needs the correct:
Diameter
Depth
Angle
Do not make the hole larger than necessary.
Step 5: Remove Masonry Dust
Clean loose debris from the hole.
Dust can stop masonry fasteners from seating correctly.
Step 6: Install the Anchors
Follow the fastener instructions.
Do not fully tighten one corner while the others are loose.
Step 7: Mount the Mailbox
Start all screws.
Check the level.
Then tighten them gradually.
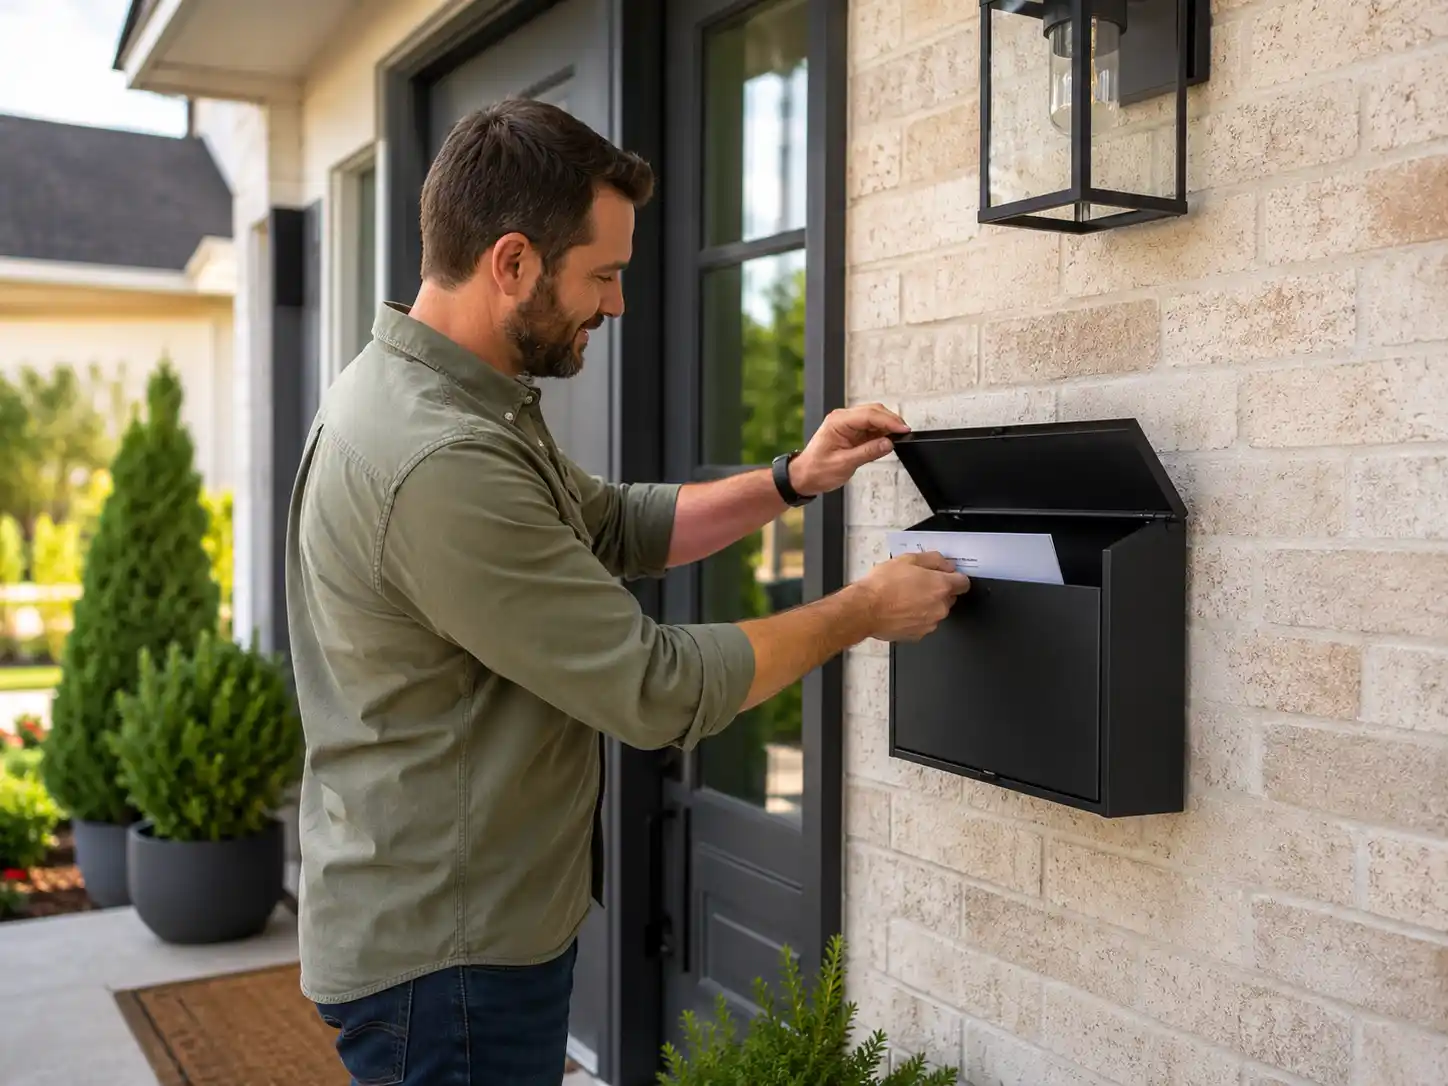
Step 8: Test the Door
Open and close the door several times.
If the mailbox has a lock, test it too.
The mailbox should feel solid without twisting against the wall.
Brick or Mortar: Where Should You Drill?
This depends on the wall and anchor.
Brick condition can vary.
Mortar condition can vary too.
For a small, lightweight mailbox, several approaches may work.
For a larger locking mailbox, the better approach is to follow the anchor manufacturer’s requirements and use the stronger available substrate.
Do not choose the drilling location only because it is easier.
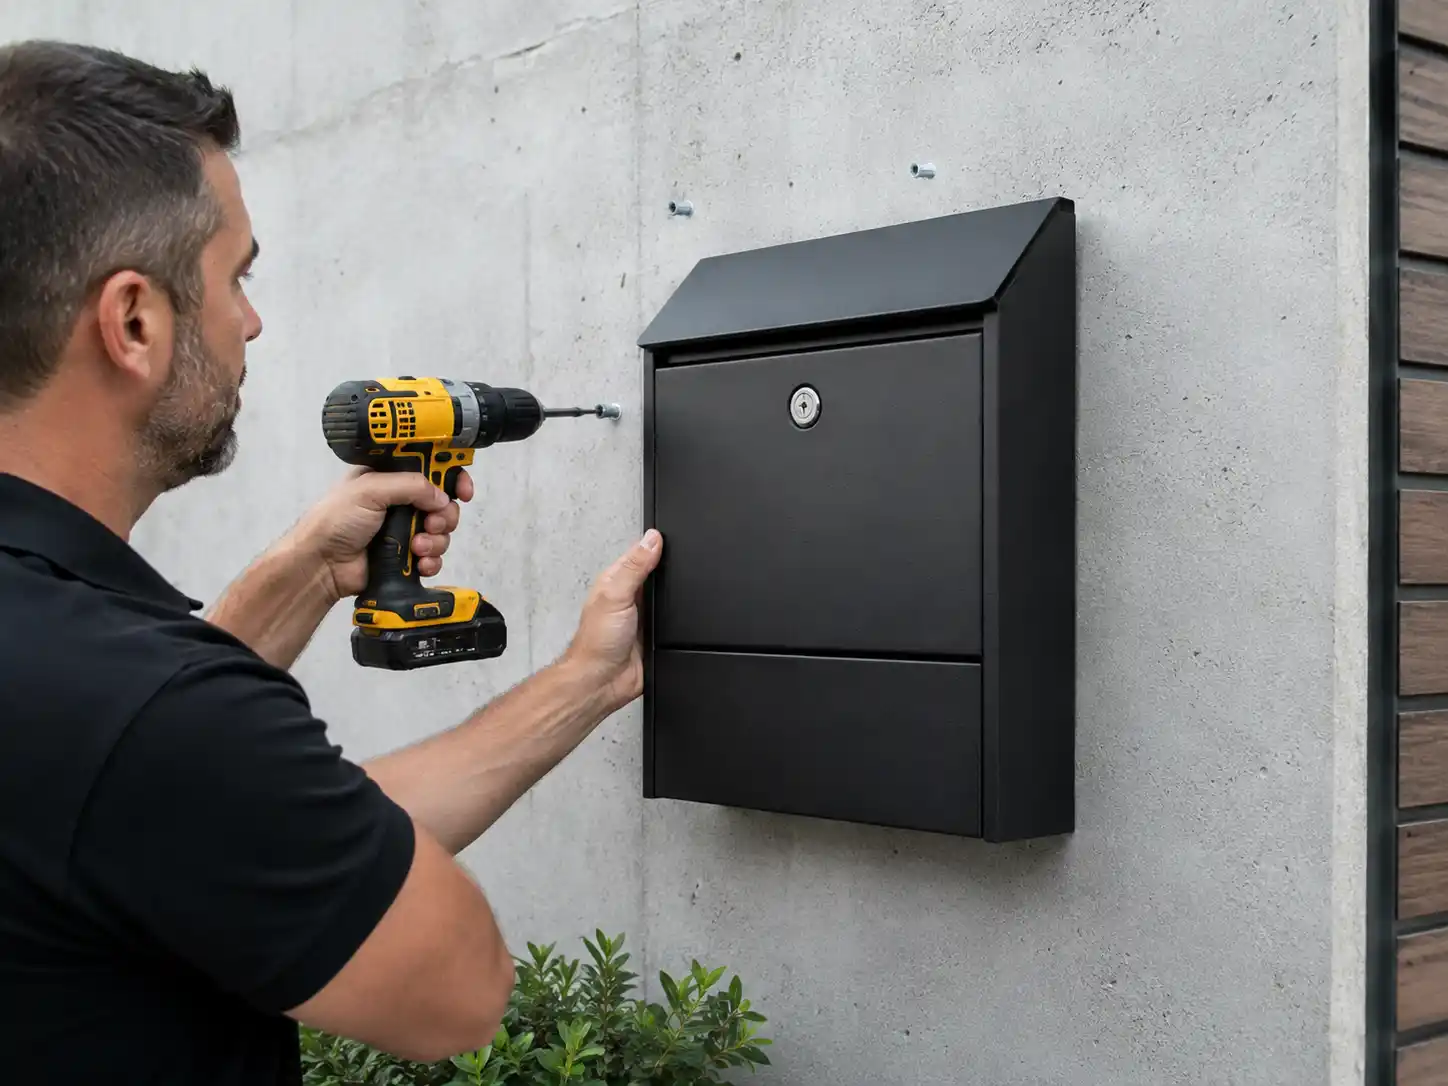
How to Install a Mailbox on Concrete
Concrete installation follows a similar process but usually uses concrete-rated fasteners.
Step 1: Position and Mark
Hold the mailbox against the wall.
Check:
Level
Door clearance
Height
Access
Mark the holes.
Step 2: Choose Concrete Fasteners
Use anchors or screws intended for concrete.
Match them to:
Mailbox weight
Number of fixing points
Concrete condition
Hole size
Step 3: Drill
Use a suitable masonry or concrete bit.
Drill straight.
Follow the anchor’s required hole depth.
Step 4: Clean the Hole
Remove drilling dust.
Step 5: Install the Mailbox
Start each fastener.
Check the level.
Tighten them evenly.
Step 6: Test the Box
Open the door.
Pull gently on the mailbox.
It should not:
Rock
Lift away from the wall
Twist
Move when the door opens
If it does, stop and inspect the fasteners.
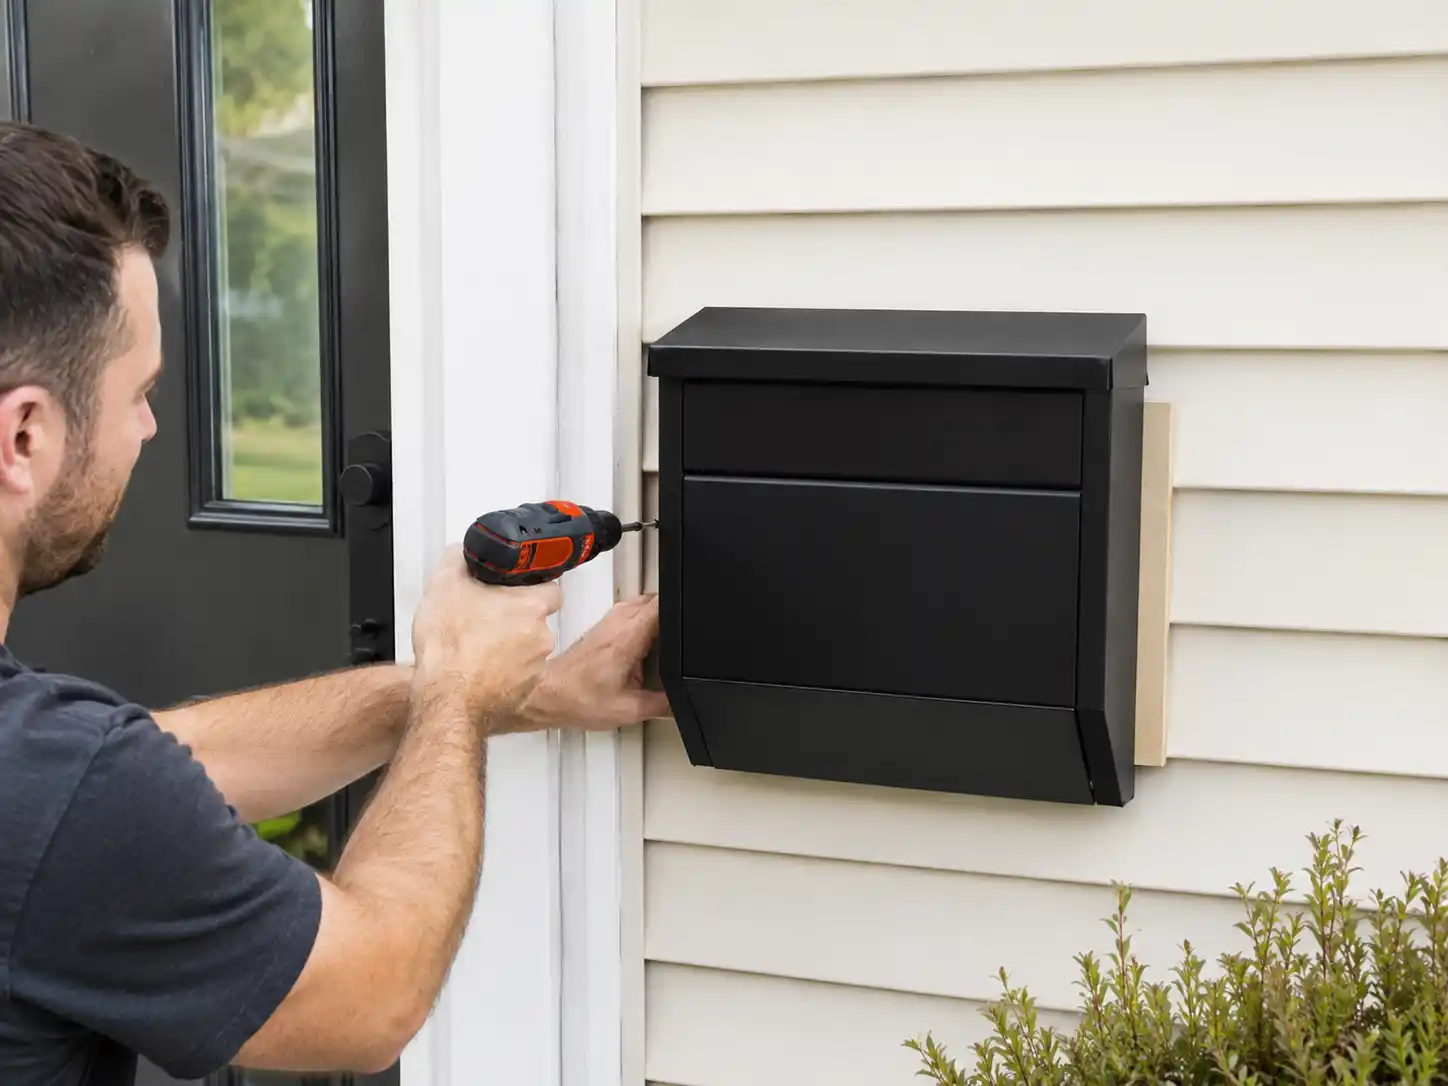
How to Install a Mailbox on Vinyl Siding
Vinyl siding needs more care than brick or concrete.
The biggest mistake is:
Mounting the mailbox only to the siding.
Vinyl siding is not designed to carry the weight of a mailbox.
Step 1: Find the Structure Behind the Siding
Look for:
Stud
Blocking
Structural sheathing
The fastener should transfer the load into something stronger behind the siding.
Step 2: Use a Mounting Block or Spacer
Vinyl siding is not flat.
If you tighten a mailbox directly against it, you may:
Crush the siding
Distort the siding
Trap water
Pull the mailbox out of level
A mounting block can create a flat surface.
Step 3: Mark the Structural Fixing Points
The best screw location may be determined by the structure behind the siding.
Do not position all holes based only on appearance.
Step 4: Drill Carefully
Avoid oversized holes.
The screw should pass through the siding and reach suitable structural material.
Step 5: Protect the Penetration
Each screw hole is a possible water-entry point.
Seal wall penetrations appropriately without blocking mailbox drainage.
Step 6: Tighten Carefully
Do not crush the siding.
The mailbox should be secure but not pulled deeply into the wall finish.
How to Install a Mailbox on Wood Siding
Wood siding can be easier to work with if solid framing is available behind it.
Best Installation
Use exterior-rated screws into:
Studs
Blocking
Solid structural wood
Avoid
Do not rely only on:
Thin trim
Cracked siding
Rotten boards
Decorative panels
A heavy locking mailbox can gradually pull thin wood away from the wall.
How to Install a Mailbox on Fiber Cement Siding
Fiber cement is strong but brittle.
It can crack if:
The wrong drill bit is used
Screws are overtightened
Holes are too close to an edge
Whenever possible, anchor through the siding into structural backing.
Do not rely on the panel alone to carry a heavy mailbox.
How to Install a Mailbox on Stucco
Stucco is a finish layer.
What matters is the material behind it.
That may be:
Masonry
Sheathing
Stud framing
Structural backing
Identify the substrate first.
Then select fasteners for that structure.
Take care not to crack the stucco around the mounting holes.
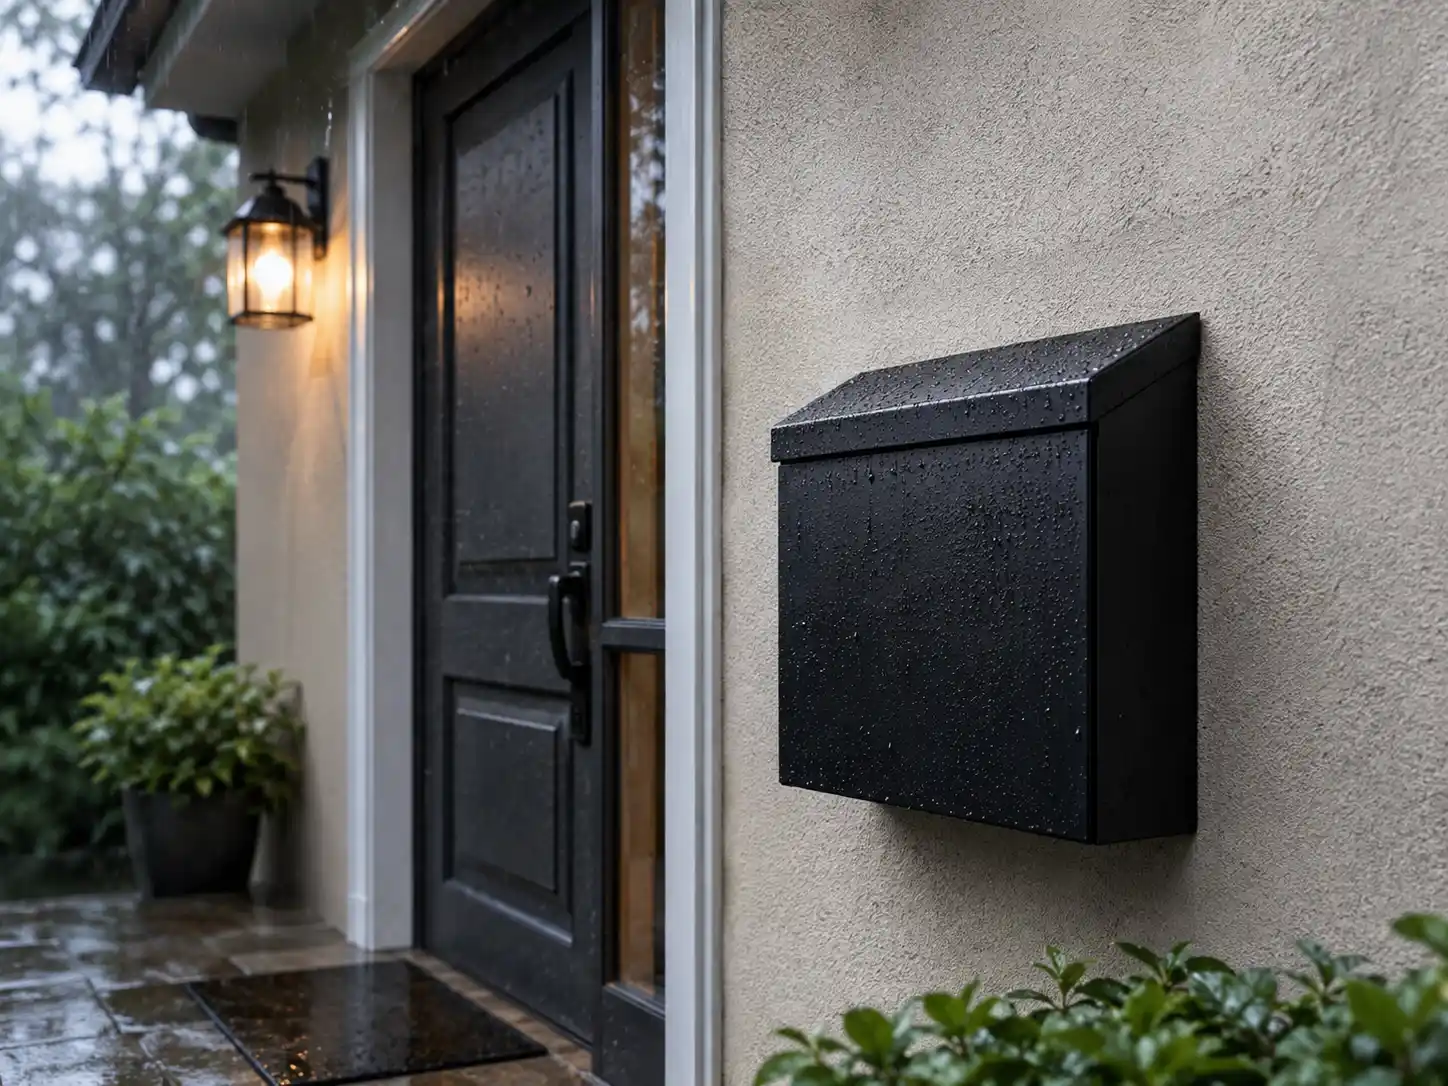
How to Stop Water From Getting Behind a Wall-Mount Mailbox
A mailbox can be mounted very securely and still cause problems if water enters through the wall.
Check these areas.
Seal Wall Penetrations
Protect screw penetrations where required.
Water running down the wall should not have an easy path into the building.
Keep Mailbox Drainage Open
Do not fill every gap with sealant.
If the mailbox has drainage openings, leave them open.
Avoid Roof Runoff
Do not install directly below:
Roof valleys
Gutter overflow
Downspouts
when another suitable location is available.
Use Spacers Correctly
On uneven walls, a spacer or mounting block can help create a flat fixing surface and prevent water from collecting behind the mailbox.
Why Is Water Getting Inside My Mailbox?
Do not assume the wall is always the problem.
Check:
Front door alignment
Door overlap
Lock opening
Panel seams
Drainage holes
Mailbox angle
Wall runoff
Wind-driven rain
A good way to find the source is to inspect the mailbox immediately after rain.
Look for the first wet area.
That often tells you where the water entered.
Can You Install a Heavy Locking Mailbox on a Wall?
Yes, but the wall and fasteners must support it.
Before installing a large locking mailbox, check:
Mailbox Weight
Include normal contents.
Number of Mounting Holes
More properly supported fixing points can spread the load.
Wall Structure
For heavy boxes, strong fixing points may include:
Brick
Concrete
Studs
Blocking
Door Leverage
A large front door pulls outward every time it opens.
That repeated force affects the anchors.
Security
A locking mailbox should not only have a strong lock.
Also check:
Door stiffness
Hinges
Mail slot
Material thickness
Internal access
A strong lock mounted to a weak mailbox body provides limited protection.
Why Is My Wall-Mount Mailbox Loose?
Find which part is moving before changing the screws.
| Problem | Likely Cause | Better Fix |
|---|---|---|
| Whole mailbox moves | Loose anchors | Inspect and replace anchors |
| One corner moves | Uneven tightening | Retighten evenly |
| Box pulls away from siding | No structural backing | Reinstall into solid structure |
| Door movement loosens box | Weak fasteners | Upgrade mounting system |
| Mailbox rocks on masonry | Uneven wall | Use suitable spacers |
| Screw spins in hole | Damaged hole | Replace or relocate fixing point |
Using a bigger screw is not always the answer.
Find the cause first.
Why Won’t the Mailbox Door Close After Installation?
If the door worked before installation, the mailbox body may have twisted.
This often happens when:
Wall is uneven
One screw is too tight
Mounting points are not aligned
A spacer is missing
Try:
Loosen the screws slightly.
Check the mailbox with a level.
Open and close the door.
Correct uneven contact with suitable spacers.
Tighten the screws gradually.
Do not bend the door before checking the mounting.
Wall-Mount Mailbox vs Post-Mount Mailbox
The correct choice usually starts with your established mail-delivery method.
| Factor | Wall-Mount Mailbox | Post-Mount Mailbox |
|---|---|---|
| Typical location | Near front entrance | Roadside |
| Support | Wall structure | Mailbox post |
| Installation work | Drilling and anchoring | Post installation |
| Retrieval | Near the home | At roadside |
| Space needed | Low | More |
| Package capacity | Usually lower | Larger options available |
| Best for | Existing door delivery | Existing curbside delivery |
Do not choose a wall-mounted mailbox only because it looks easier to install.
First confirm that it matches your delivery arrangement.
Wall-Mount Mailbox or Parcel Box?
This is another common mistake.
A wall-mounted mailbox is mainly for:
Letters
Bills
Magazines
Catalogs
Small envelopes
A parcel box is designed for:
Packages
Padded deliveries
Online orders
Larger items
If packages are regularly left at your front door, a larger wall mailbox may still not solve the problem.
Consider using:
Wall mailbox for letters + parcel box for packages
instead of trying to make one small box do both jobs.
Front Access Matters More With Wall-Mounted Mailboxes
A wall-mounted mailbox usually has limited space behind it.
That makes front access particularly important.
Front-access mailboxes are useful when:
The back is against the wall
There is no rear clearance
Delivery and retrieval happen from the same side
If you are choosing a mailbox before installation, always check:
Which door opens?
Which direction does it swing?
Where is the lock?
Can the door open completely?
A mailbox can physically fit the wall and still be impossible to use comfortably.
10 Common Wall-Mount Mailbox Installation Mistakes
1. Changing the Delivery Location Without Checking
Keep the existing delivery arrangement unless the change is approved.
2. Mounting Directly to Vinyl Siding
Use structural backing.
3. Using the Wrong Anchors
Match hardware to the wall.
4. Drilling Before Checking the Door
Open the mailbox first.
5. Mounting Too Close to the House Door
Leave enough clearance.
6. Overtightening
This can distort the box or siding.
7. Ignoring Water
Protect wall penetrations.
8. Blocking Drainage
Leave designed openings clear.
9. Ignoring Loaded Weight
A full mailbox weighs more than an empty one.
10. Buying a Box That Does Not Solve the Real Problem
If the issue is packages, consider a parcel box.
Wall-Mount Mailbox Installation Checklist
Before Installation
Confirm mail delivery type
Choose a visible location
Check wall material
Find structural backing
Check mailbox weight
Check door clearance
Select correct anchors
Check weather exposure
During Installation
Mark holes
Check level
Drill correctly
Clean holes
Install anchors
Use spacers where needed
Protect penetrations
Tighten evenly
After Installation
Open and close the door
Test the lock
Check mailbox movement
Confirm carrier access
Check wall clearance
Keep drainage open
Confirm address numbers are visible
Wall-Mount Mailbox FAQ
Can I Mount a Mailbox on Brick?
Yes.
Use suitable masonry anchors or screws and avoid damaged masonry.
Can I Mount a Mailbox on Concrete?
Yes.
Use concrete-rated fasteners appropriate for the mailbox weight.
Can I Mount a Mailbox on Vinyl Siding?
Yes, but do not rely on vinyl siding alone.
Fasten into suitable structural backing and use a mounting block or spacer where necessary.
Can I Mount a Heavy Locking Mailbox on a Wall?
Yes, if the wall structure and fasteners can support the loaded mailbox.
How High Should a Wall-Mount Mailbox Be?
Choose a height that provides easy carrier delivery and homeowner retrieval while allowing the door to open completely.
Wall-mounted residential mailboxes do not follow the same road-height rule used for curbside installations.
How Do I Keep Rain Out?
Check the door, seams, drainage, wall penetrations, and installation location.
Do not install directly below heavy roof runoff if another suitable position is available.
Why Does My Mailbox Move When I Open the Door?
The anchors may be loose, the wall substrate may be weak, or the mailbox may not be fixed into structural backing.
Why Won’t My Mailbox Door Close?
The mailbox body may have twisted against an uneven wall.
Loosen the screws, level the box, add spacers if needed, and retighten evenly.
Do I Need a Locking Wall-Mount Mailbox?
Consider one if mail remains unattended, security is a concern, or your mailbox is easy for passersby to reach.
Is a Wall-Mount Mailbox Good for Packages?
Usually only for small mail.
If packages are the main problem, a dedicated parcel box is usually a better solution.
Is a Wall-Mount Mailbox Right for Your Home?
A wall-mounted mailbox is a good choice when:
Your home already has door delivery
There is a suitable wall near the entrance
You mainly receive letters and normal mail
You want mail close to the house
You have limited outdoor space
A different solution may be better when:
Your delivery is curbside
You receive many packages
No suitable structural wall is available
You need much more capacity
Before ordering, record:
Wall type
Available width and height
Mailbox capacity needed
Standard or locking access
Weather exposure
Also take a photo of the installation location.
HomeBox Solutions supplies wall-mount, front-access, locking, and parcel box solutions for different residential installation needs.
If you are unsure what will fit, send us your wall type, available dimensions, installation photo, and normal mail or package size.
We can help you decide whether a wall-mounted mailbox or a separate parcel box is the better solution before you drill the wall.