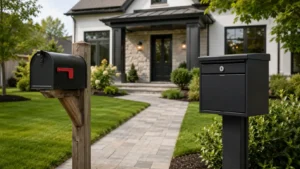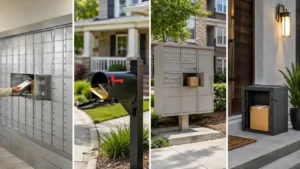
Installation Type
A recessed mailbox can look much cleaner than a mailbox attached to the surface of a wall.
But it also requires more planning.
With a wall-mounted mailbox, you can usually move the box, change the anchors, or replace the product later. With a recessed mailbox, the mailbox becomes part of the wall, fence, pillar, or masonry column.
That means one mistake can be expensive.
The most common problems are not complicated installation techniques. They are decisions made before installation:
- Building the opening before choosing the mailbox
- Making the opening too tight
- Forgetting front or rear door clearance
- Trapping water around the mailbox
- Mortaring the mailbox permanently into the wall
- Leaving no way to replace the lock or mailbox later
- Choosing a letter mailbox when package delivery is the real need
A better order is:
Choose the mailbox → confirm the delivery method → measure the mailbox → choose front or rear access → plan the opening → create support → install and level the box → manage water → keep it serviceable.
This guide explains how to do that.
Quick Answer: What Should You Plan Before Installing a Recessed Mailbox?
Before cutting or building an opening, check these seven items.
| What to Check | Why It Matters |
|---|---|
| Mailbox outside dimensions | Determines the rough opening |
| Required installation clearance | Leaves room to position and level the box |
| Wall or column depth | Determines whether the mailbox will fit |
| Front door clearance | Delivery door must open completely |
| Rear door clearance | Essential for rear-access models |
| Water management | Prevents water from entering wall or mailbox |
| Future service access | Allows lock, door, or entire box to be replaced |
The most important rule is:
Choose the mailbox before building the opening.
Do not build a brick column first and then search for a mailbox that happens to fit.
Before Installing a Recessed Mailbox, Confirm the Delivery Type
This should happen before any masonry or framing work begins.
A recessed mailbox can be installed in several very different situations:
- Roadside brick column
- Masonry entrance wall
- Fence
- Gate pillar
- Exterior wall near a home entrance
- Private parcel delivery area
These installations do not necessarily follow the same postal requirements.
Recessed Mailbox Used for U.S. Curbside Delivery
If the mailbox is positioned so a USPS carrier serves it from a vehicle on a city, rural, or highway contract route, USPS considers that a curbside mailbox.
USPS-STD-7C applies to curbside mailbox designs and recognizes approved traditional, contemporary, large-capacity, and locking designs. New or replacement curbside installations generally need an approved mailbox; a custom-built curbside mailbox requires local Postmaster review and must generally conform to applicable size, strength, and construction requirements.
So:
A mailbox built into a brick column is not automatically exempt from USPS curbside requirements.
If it is being used for USPS curbside delivery, confirm the mailbox and installation with your local Post Office before construction.
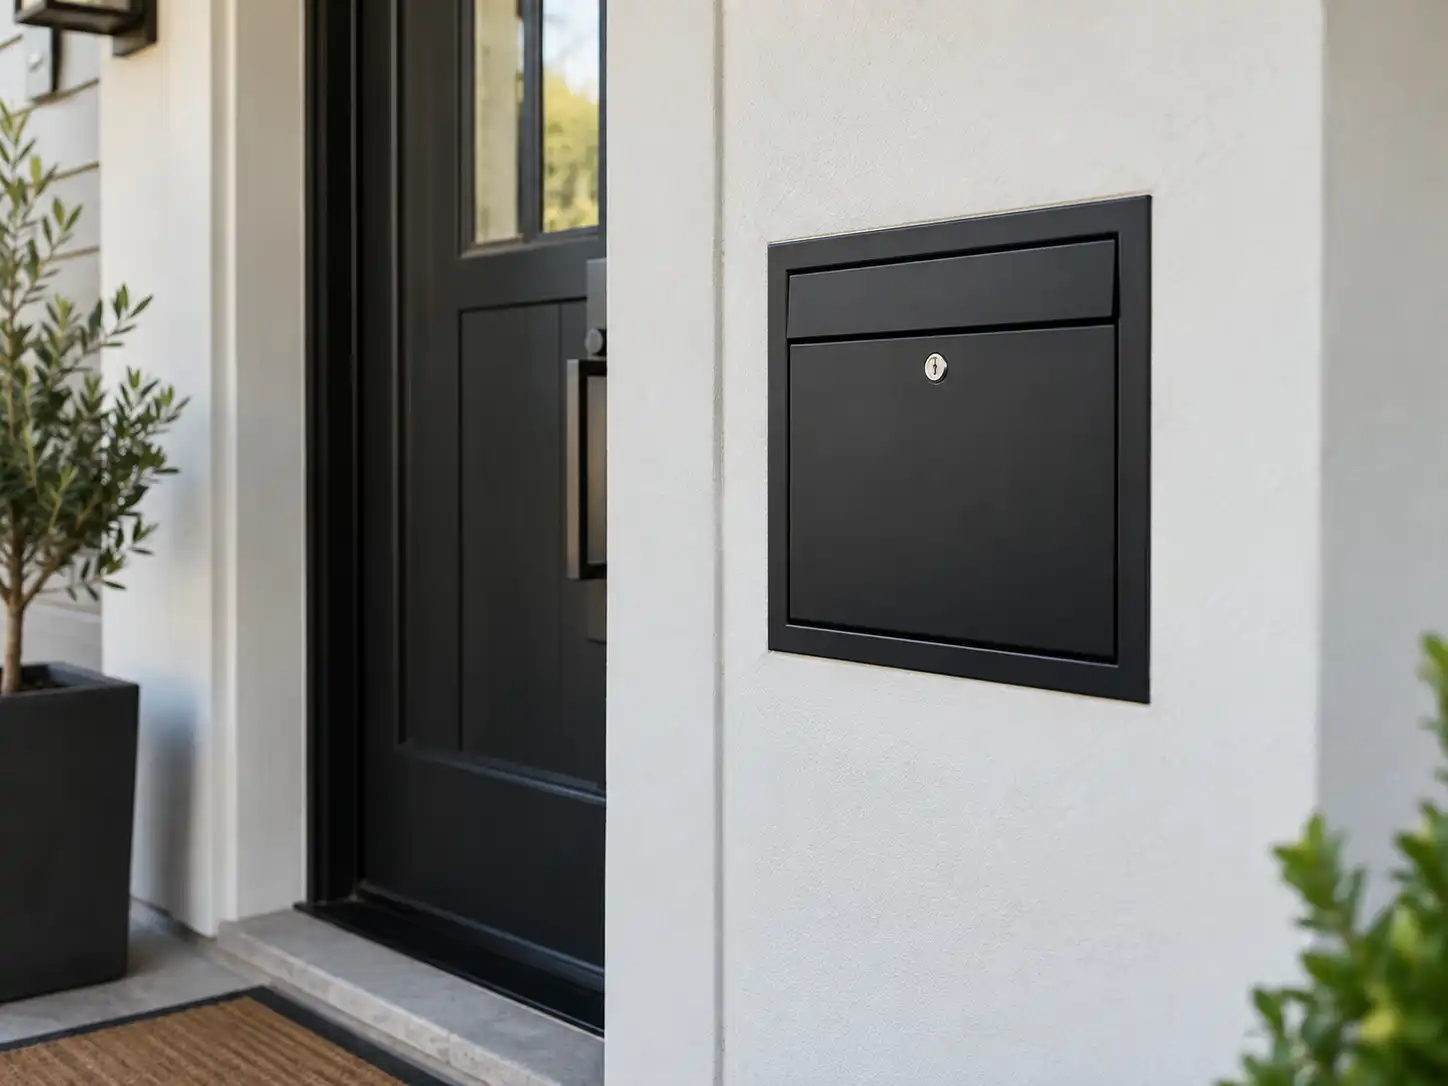
Recessed Mailbox Used Near the House
A mailbox used for established door delivery is different.
USPS-STD-7C states that door-delivery mailboxes are not covered by the same curbside approval standard, although USPS recommends that they follow the standard’s general intentions for carrier safety and mail protection and says the local Postmaster should be contacted before installation and use.
For private parcel boxes or other non-USPS package-delivery applications, the project requirements may be different again.
Know the delivery method first.
Choose the Mailbox Before Building the Wall or Column
This is probably the single most useful piece of advice in this guide.
Do not tell the mason:
“Leave a hole about this size.”
Choose the actual mailbox first.
Then work from the manufacturer’s dimensions.
You need to know:
- Overall width
- Overall height
- Overall depth
- Front flange dimensions
- Rear flange dimensions
- Mounting-hole locations
- Door swing
- Lock position
- Required installation clearance
- Drainage locations
- Service access
Two mailboxes that look similar from the front can have very different body depths and mounting arrangements.
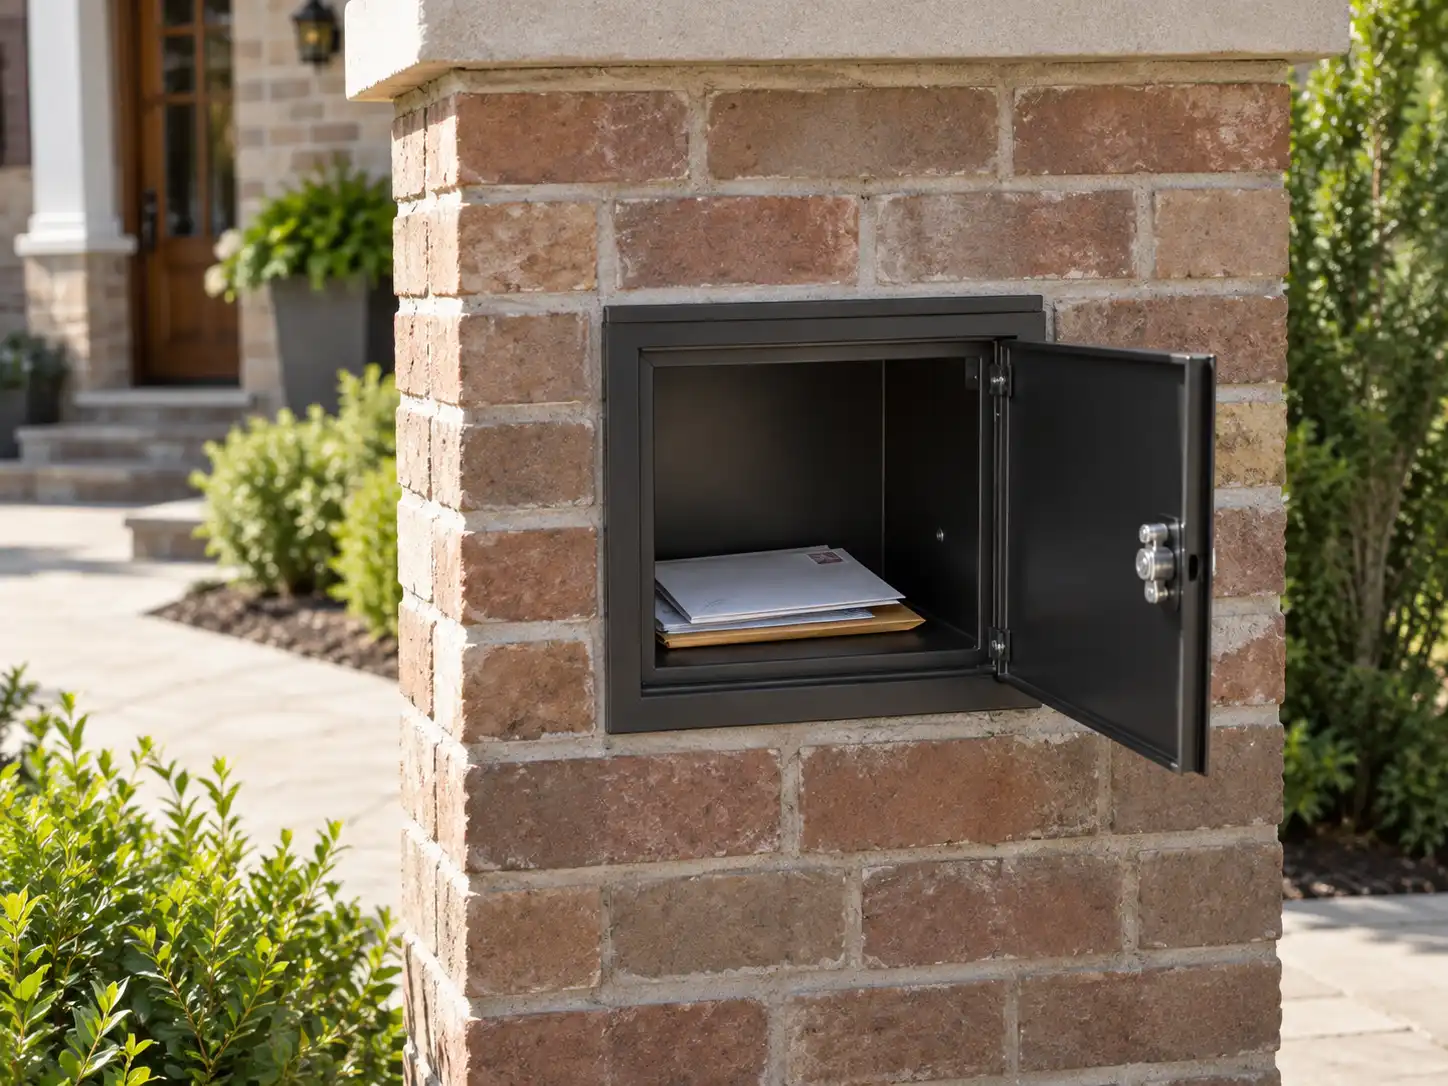
What Size Opening Do You Need for a Recessed Mailbox?
The opening should not automatically be exactly the same size as the mailbox body.
You normally need enough clearance to:
- Insert the mailbox
- Adjust its position
- Level it
- Install fasteners
- Allow for manufacturing tolerances
- Apply the intended flashing or sealing system
The exact rough opening should come from the mailbox manufacturer’s installation drawing.
Measure Three Different Sizes
Do not confuse these dimensions.
1. Overall mailbox dimensions
The full exterior size of the product.
2. Recessed body dimensions
The portion that actually enters the wall.
3. Trim or flange dimensions
The visible edge that covers the gap around the opening.
For example, a mailbox may have a large front flange but a smaller recessed body.
If you use the flange dimension to build the hole, the opening may be much too large.
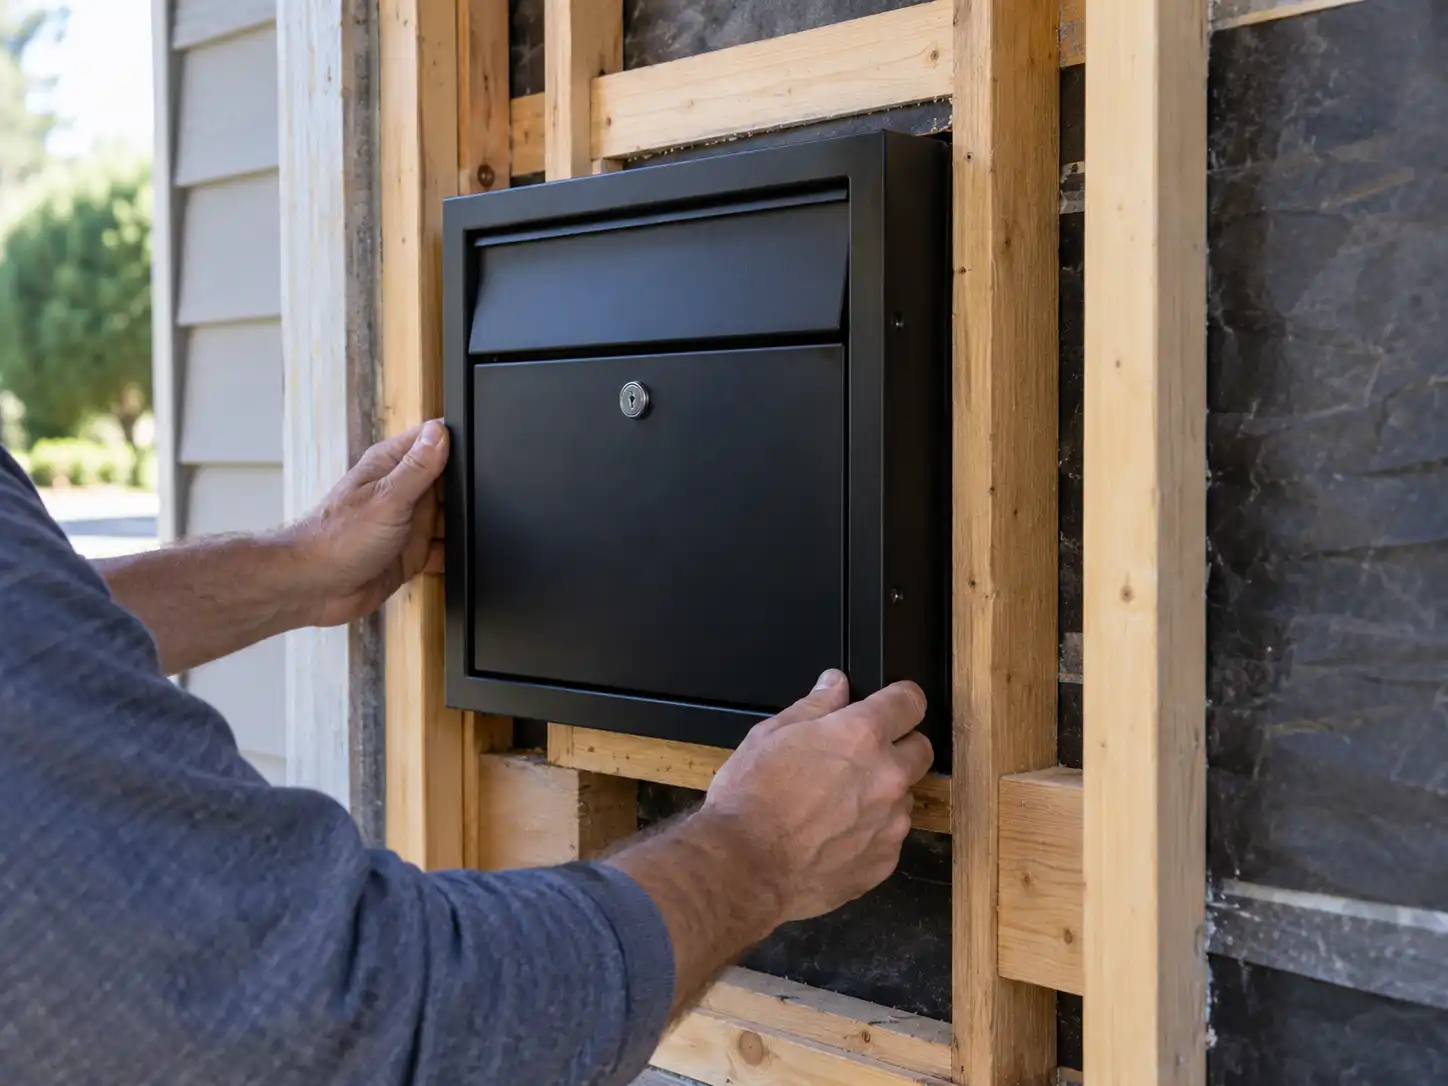
How Much Clearance Should You Leave Around the Mailbox?
There is no universal clearance that works for every recessed mailbox.
Follow the product drawing.
The goal is to leave enough room for installation without leaving such a large gap that:
- The trim cannot cover it
- The box becomes difficult to support
- Water can easily enter
- The finished appearance looks poor
Do Not Make the Opening Too Tight
A very tight opening creates several problems.
The mailbox may:
- Bind during installation
- Sit out of level
- Rub against masonry
- Be impossible to remove later
- Expand or contract against surrounding material
This is especially important when metal mailboxes are installed into masonry.
Do not depend on hammering the box into place.
Check Wall or Column Depth
Mailbox width and height are obvious.
Depth is easier to forget.
Suppose the recessed mailbox body is deeper than the masonry column.
You may end up with:
- A rear door projecting beyond the column
- No room for trim
- No retrieval clearance
- An exposed unfinished mailbox body
- A need to rebuild the structure
Measure:
wall/column depth → mailbox body depth → front projection → rear projection
before construction begins.
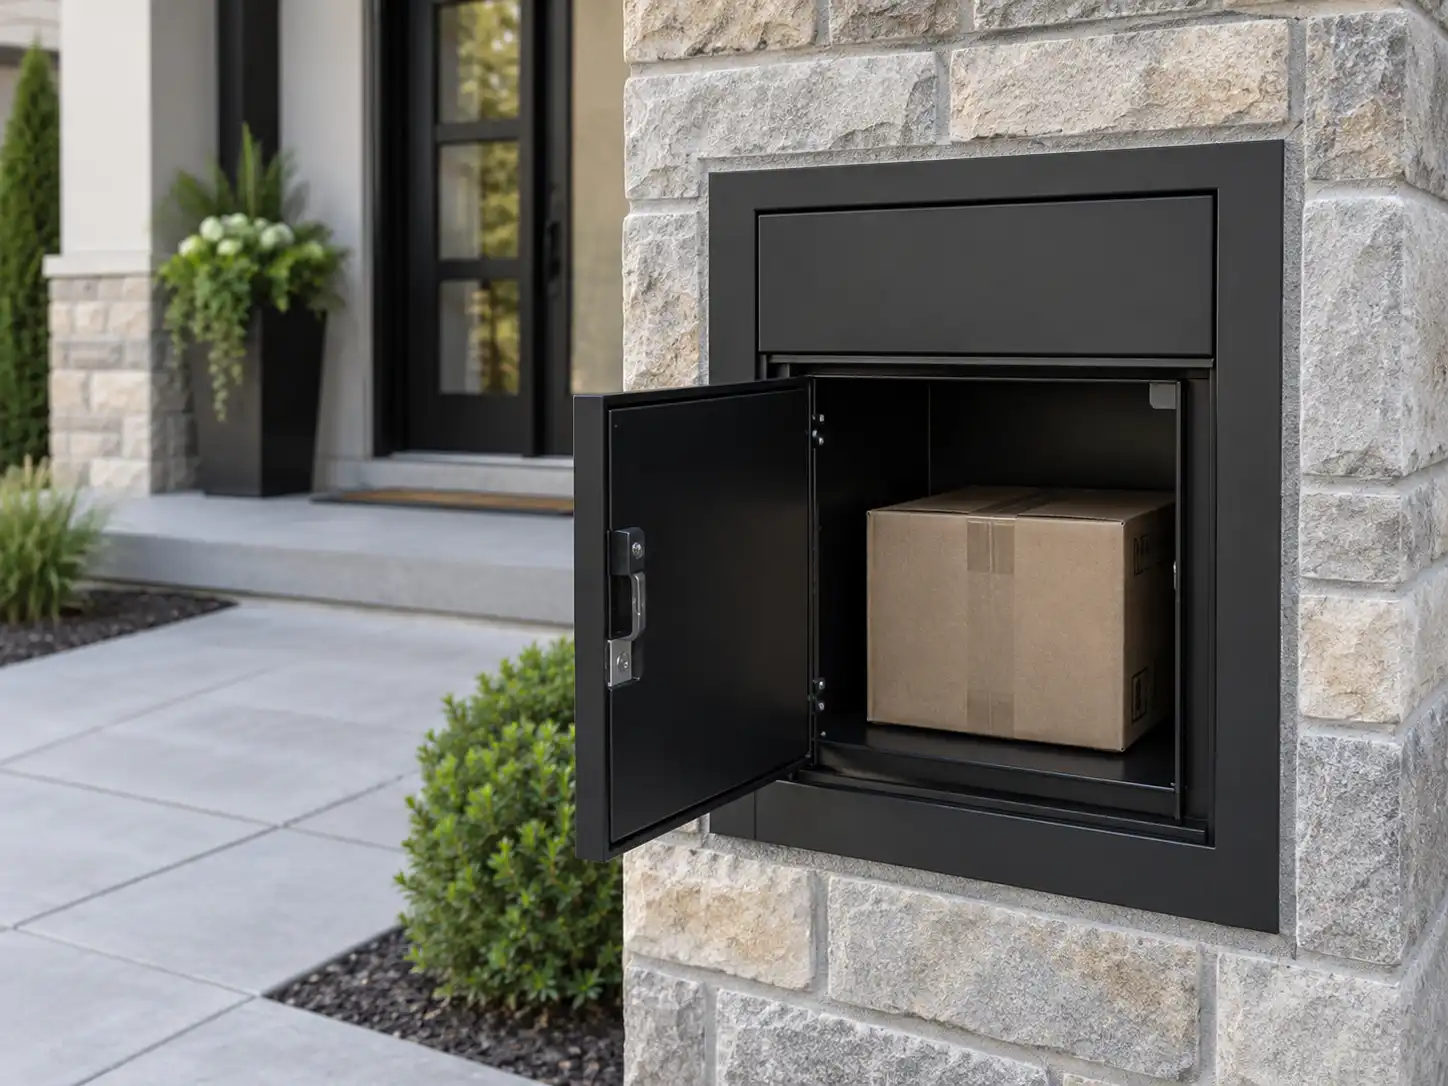
Where Can a Recessed Mailbox Be Installed?
Common installations include:
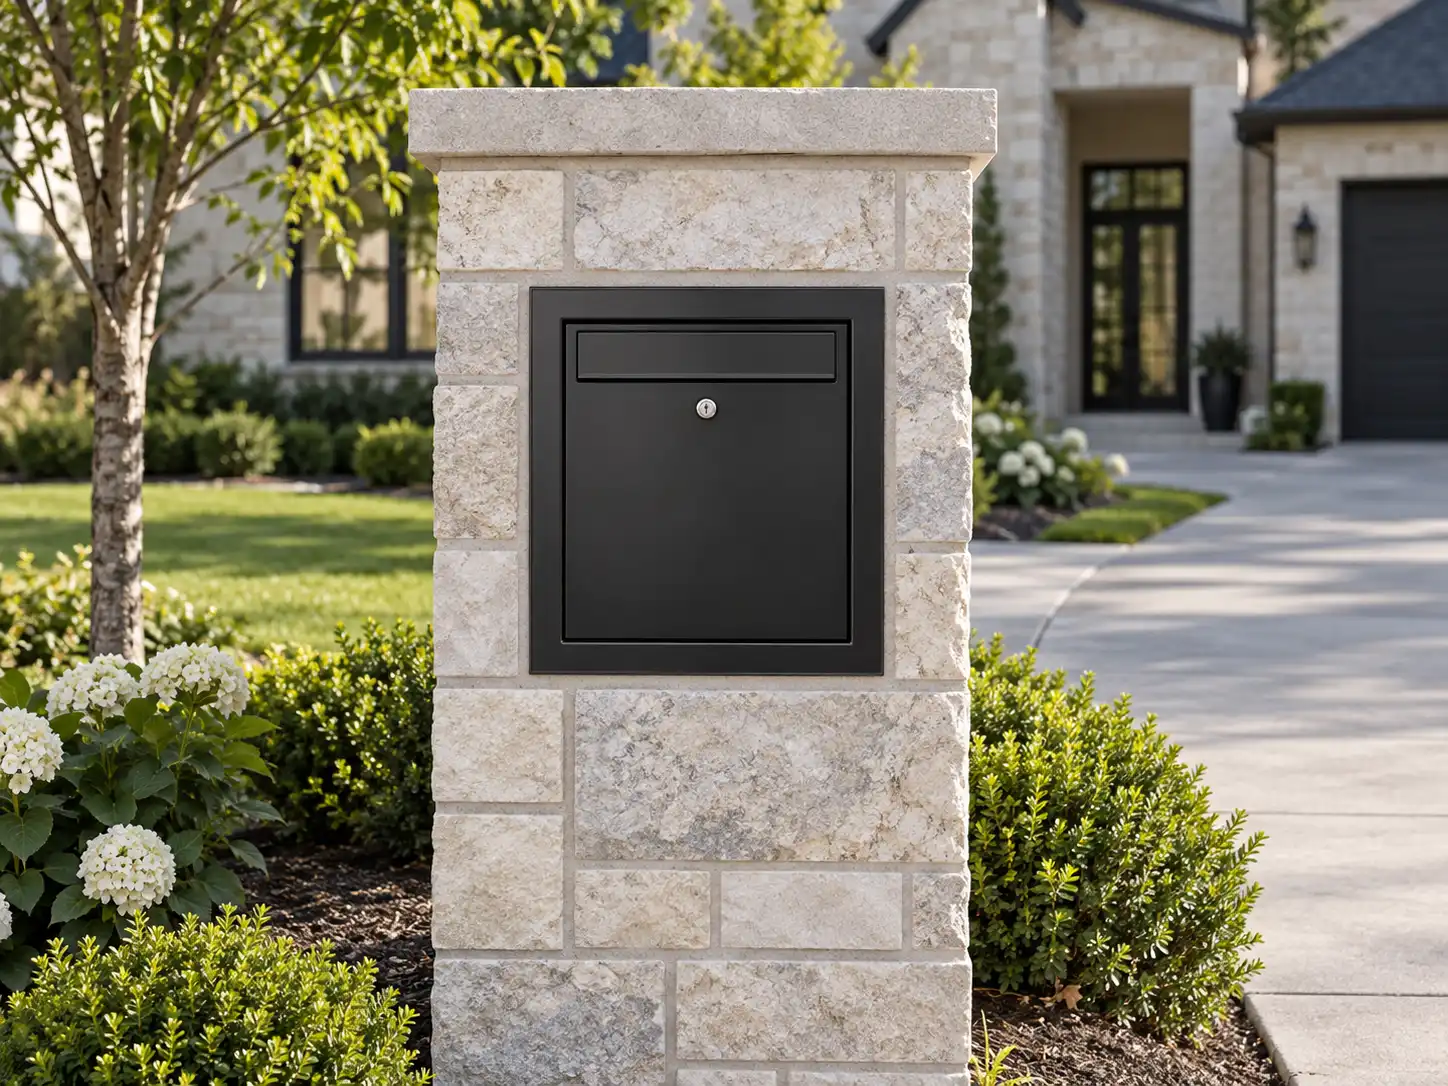
Brick Column
Often used at a driveway or property entrance.
This can provide an integrated appearance, but you need to coordinate the mailbox dimensions before the masonry is built.
Masonry or Stone Wall
A mailbox can be recessed into an entrance wall where there is enough depth and structural support.
The surrounding masonry should not depend on the mailbox itself for structural support.
Fence
A through-fence mailbox can work particularly well with rear access.
Mail or packages can be delivered from the public side while the homeowner retrieves them from inside the property.
Gate Pillar
This can provide a clean integrated appearance, but check gates, hinges, wiring, access controls, and other services before selecting the mailbox position.
Framed Exterior Wall
A recessed mailbox can also be installed into some framed wall systems.
However, cutting an existing exterior wall can affect:
- Studs
- Sheathing
- Insulation
- Weather barrier
- Wiring
- Plumbing
- Structural load paths
If structural framing needs to be altered, use a qualified contractor.
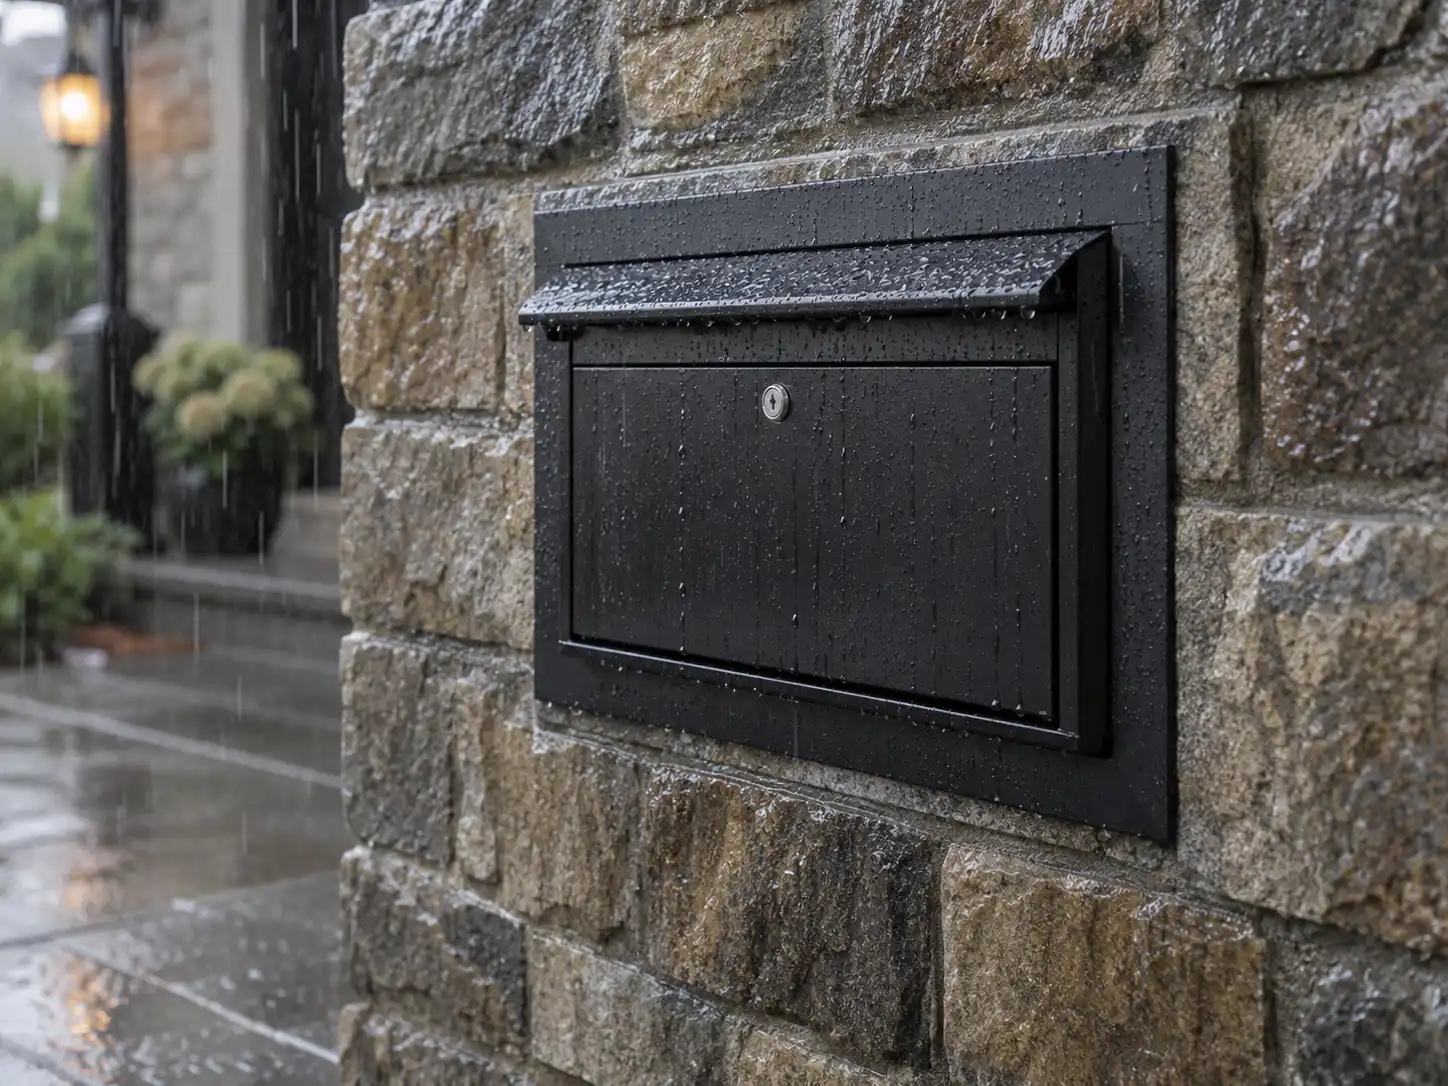
How to Install a Recessed Mailbox in a Brick or Masonry Column
The best time to install a recessed mailbox is usually while the column or wall is being built.
Retrofitting one into finished masonry is more difficult.
Step 1: Confirm the Mailbox Dimensions
Have the actual mailbox or an accurate manufacturer drawing available.
Confirm:
- Body dimensions
- Flange dimensions
- Door swing
- Mounting holes
- Front/rear access
- Required clearance
Do not build from a product photo.
Step 2: Plan the Finished Position
Before laying masonry around the opening, think about daily use.
Ask:
- Which side does the carrier approach?
- Which side will the homeowner stand on?
- Can the front door open fully?
- Can the rear door open fully?
- Is the lock easy to reach?
- Will a gate interfere?
- Will landscaping block access?
For roadside USPS delivery, confirm the proposed delivery position with the local Post Office before construction.
Step 3: Create an Independent Structural Opening
The wall or column should support itself.
Do not rely on the sheet-metal mailbox body as a structural lintel or support for heavy masonry above it.
The opening should be properly constructed for the wall system.
For larger masonry structures, follow the structural design rather than improvising around the mailbox.
Step 4: Dry-Fit the Mailbox
Before permanently finishing the masonry, put the mailbox into the opening.
Check:
- Level
- Front projection
- Rear projection
- Door operation
- Lock clearance
- Trim coverage
- Mounting-hole access
This is the time to correct the opening.
Step 5: Support the Mailbox
The bottom of the mailbox should have appropriate support according to its installation design.
Do not allow a large box to hang only from thin front trim.
Depending on the product, support may be provided by:
- Mounting brackets
- Structural shelf
- Internal framing
- Manufacturer-designed fasteners
Follow the product installation instructions.
Step 6: Secure the Mailbox
Fasten the mailbox using the mounting points designed for it.
The goal is to hold the box securely while still allowing future removal where possible.
Avoid using mortar as the primary method of fixing the mailbox.
Step 7: Check Doors Before Finishing
Open every door fully.
Test:
- Delivery door
- Retrieval door
- Lock
- Hinges
- Parcel mechanism if included
Only finish the surrounding masonry after confirming everything works.
Step 8: Finish the Opening
Complete the trim, flashing, and weather sealing appropriate for the wall construction.
Do not block:
- Drainage holes
- Hinges
- Locks
- Removable fasteners
- Service panels
Do Not Mortar the Mailbox Permanently Into the Column
This is a common mistake.
Mortar may make the installation feel permanent and solid.
But mailboxes contain components that can eventually require service:
- Locks
- Hinges
- Doors
- Powder-coated panels
- Internal mechanisms
And eventually, the entire mailbox may need replacement.
If masonry is bonded directly to the mailbox body, replacing it can require cutting or rebuilding part of the column.
A Better Approach
Design the opening so:
- The wall supports itself
- The mailbox is mechanically secured
- Trim covers the installation gap
- Fasteners remain accessible
- The mailbox can be removed without demolishing the whole structure
This small decision during construction can save a great deal of work years later.
How to Install a Recessed Mailbox in a Framed Wall
Installing a mailbox into an existing framed exterior wall requires more caution.
Step 1: Check What Is Inside the Wall
Before cutting, identify:
- Studs
- Electrical wires
- Plumbing
- Insulation
- Structural members
Do not blindly cut an opening.
Step 2: Determine Whether Framing Must Change
If the mailbox fits between existing studs, installation may be relatively straightforward.
If a structural stud has to be cut, the opening may require new framing.
That is no longer simply a mailbox installation—it is a wall modification.
Use appropriate professional guidance.
Step 3: Frame the Opening
The mailbox should have a solid opening that:
- Supports its weight
- Provides mounting points
- Remains square
- Does not deform the mailbox
Step 4: Restore the Weather Barrier
An exterior wall depends on layers that manage water.
Cutting the wall may interrupt:
- House wrap
- Flashing
- Cladding
- Sealants
The opening must be integrated back into the wall’s water-management system.
Do not simply put sealant around the mailbox and assume the wall is waterproof.
Step 5: Install and Test
Fit the mailbox.
Check:
- Level
- Door clearance
- Fasteners
- Lock
- Weather sealing
Then complete the exterior and interior finish.
Front Access vs Rear Access for a Recessed Mailbox
This decision should be made before the opening is built.
Front-Access Recessed Mailbox
With front access, delivery and retrieval happen from the same side.
Choose front access when:
- There is no usable space behind the wall
- The rear of the mailbox is inaccessible
- All operation needs to happen from one side
- The box is recessed into an exterior wall with no rear service area
Advantages
- Simpler access requirement
- Works in shallow or one-sided installations
- No rear retrieval path required
Things to Consider
You may need to stand on the public or roadside side to retrieve mail.
Rear-Access Recessed Mailbox
With rear access, mail or parcels enter from the front and are retrieved from the opposite side.
This can be particularly useful for:
- Driveway columns
- Boundary walls
- Fences
- Gate pillars
Advantages
- Retrieve mail from inside the property
- Less need to stand beside traffic
- Separates delivery and retrieval sides
- Works well with through-wall designs
Check Rear Clearance
Before choosing rear access, make sure there is room to:
- Open the rear door fully
- Insert a key
- Stand comfortably
- Remove larger envelopes or packages
Do not build landscaping directly behind the retrieval door.
Front Access vs Rear Access: Quick Comparison
| Factor | Front Access | Rear Access |
|---|---|---|
| Delivery | Front | Front |
| Retrieval | Front | Rear |
| Rear clearance needed | No | Yes |
| Good for wall with inaccessible rear | Excellent | Poor |
| Good for roadside retrieval from property side | Limited | Excellent |
| Fence/column installation | Good | Excellent |
| Installation planning | Simpler | Requires two-sided access |
Neither is automatically better.
Choose based on where you want to stand when retrieving the mail.
How to Waterproof a Recessed Mailbox
Water management is one of the biggest differences between surface-mounted and recessed installations.
A hole in an exterior wall is also a potential path for water.
You need to protect both:
the mailbox
and
the wall around it.
Protect the Top of the Opening
Water running down a wall should be directed away from the top of the mailbox opening.
Depending on the wall system, this may involve appropriate flashing, trim, or other water-management details.
Seal the Perimeter Correctly
Seal the intended perimeter joints where appropriate.
But do not fill every visible gap blindly.
Some gaps or openings may be needed for:
- Drainage
- Ventilation
- Movement
- Service
Follow the mailbox and wall-system requirements.
Keep Drainage Open
If the mailbox has drainage openings in the bottom, do not cover them with:
- Mortar
- Sealant
- Mounting shelf
- Trim
Slightly Manage Water Away From the Opening
The surrounding construction should not create a shelf that collects rainwater against the mailbox.
Standing water increases the chance of:
- Leakage
- Corrosion
- Coating failure
- Freeze damage
Why Is Water Getting Into a Recessed Mailbox?
Possible causes include:
- Poor top flashing
- Open perimeter joint
- Door misalignment
- Insufficient door overlap
- Blocked drainage
- Water trapped in surrounding masonry
- Mailbox installed out of level
- Wind-driven rain
Find the entry point before adding more sealant.
Sealing the wrong location can trap water inside the wall.
How to Keep the Mailbox Replaceable
A good recessed installation should not only work today.
It should also be serviceable in the future.
Before finishing the wall, ask:
If this mailbox needs to be replaced in ten years, how will I remove it?
A serviceable installation may include:
- Accessible mounting screws
- Removable front trim
- Removable rear trim
- Rear service access
- Replaceable lock
- Independent structural opening
Avoid These Designs
Do not:
- Mortar directly over mounting screws
- Cover the lock retaining hardware
- Permanently trap the rear panel
- Build masonry tight against removable doors
- Seal over service fasteners
A recessed mailbox should be integrated into the structure without becoming impossible to remove.
What If the Wall Is Thinner Than the Mailbox?
This is not always a problem.
A recessed mailbox may project:
- Out the front
- Out the rear
- Both directions
But the projection needs to be intentional.
Check:
- Appearance
- Door clearance
- Trim
- Weather exposure
- Rear access
- Safety
Do not discover the mismatch after the masonry is finished.
If wall depth is limited, consider a shallower mailbox or a different installation type.
Recessed Mailbox vs Wall-Mount Mailbox
Which one is better depends on the project.
| Feature | Recessed Mailbox | Wall-Mount Mailbox |
|---|---|---|
| Appearance | Integrated into structure | Mounted on surface |
| Installation | More complex | Easier |
| Wall opening required | Yes | No |
| Wall depth matters | Yes | Minimal |
| Rear access possible | Yes | Less common |
| Future replacement | Requires planning | Easier |
| Water detailing | More important | Simpler |
| Best for | Walls, fences, pillars | Existing exterior walls |
Choose recessed installation when integration and access layout justify the extra construction work.
Do not recess a mailbox simply because it looks cleaner.
Recessed Mailbox or Recessed Parcel Box?
This is an important decision to make before building the opening.
If you mainly receive:
- Letters
- Bills
- Magazines
- Catalogs
a recessed mailbox may be enough.
If you regularly receive:
- Padded mailers
- Small packages
- Online orders
- Multiple parcels
consider a recessed or through-wall parcel box instead.
A parcel box may require:
- Larger opening
- Greater wall depth
- Larger retrieval door
- Stronger support
- More internal clearance
It is much easier to design for parcel capacity now than enlarge a finished brick opening later.
10 Common Recessed Mailbox Installation Mistakes
1. Building the Opening Before Choosing the Mailbox
Always start with the actual product dimensions.
2. Making the Opening Too Tight
Leave the manufacturer-required installation clearance.
3. Ignoring Wall Depth
Check front and rear projection.
4. Forgetting Rear Door Clearance
A rear-access mailbox is useless if the rear door cannot open.
5. Using the Mailbox to Support Masonry
The surrounding structure should support itself.
6. Mortaring the Mailbox Permanently Into the Wall
Keep the unit removable.
7. Ignoring Water Management
A recessed opening needs proper drainage and weather detailing.
8. Blocking Drainage Holes
Do not cover intentional openings.
9. Hiding Service Fasteners
Plan for future repairs.
10. Installing a Letter Mailbox When Packages Are the Real Problem
Choose the capacity before building the wall.
Recessed Mailbox Installation Checklist
Before Construction
- Confirm delivery method
- Check postal requirements where applicable
- Choose the actual mailbox
- Obtain dimensions or installation drawing
- Decide front or rear access
- Measure wall or column depth
- Check door clearances
- Plan water management
- Plan future removal
During Construction
- Build an independent structural opening
- Keep the opening square
- Provide proper support
- Dry-fit the mailbox
- Check front projection
- Check rear projection
- Test both doors
- Keep mounting points accessible
Before Finishing
- Level the mailbox
- Secure it mechanically
- Test the lock
- Check drainage
- Complete flashing/sealing
- Confirm trim covers the opening
- Confirm the mailbox can still be serviced
Recessed Mailbox FAQ
Can You Install a Mailbox in a Brick Column?
Yes.
A mailbox can be integrated into a properly designed brick or masonry column, but choose the mailbox before building the opening and make sure the column remains structurally independent of the mailbox.
For U.S. curbside USPS delivery, confirm that the mailbox and installation meet applicable requirements before construction.
How Much Clearance Does a Recessed Mailbox Need?
There is no universal clearance.
Use the manufacturer’s rough-opening or installation dimensions.
Leave enough room to position, level, fasten, and eventually remove the mailbox.
Can a Recessed Mailbox Have Rear Access?
Yes.
Rear-access mailboxes work especially well in fences, masonry walls, and driveway columns because mail can be delivered from the public side and retrieved from inside the property.
Which Is Better: Front Access or Rear Access?
Choose front access when the rear is inaccessible.
Choose rear access when you want to retrieve mail from the opposite or private side of the wall.
How Do You Waterproof a Recessed Mailbox?
Integrate the opening with the wall’s water-management system, protect the top and perimeter appropriately, and keep intended mailbox drainage openings clear.
Should You Seal Around a Recessed Mailbox?
Usually some perimeter weather sealing is needed, but do not cover drainage openings or permanently seal serviceable components.
Follow the product and wall-system installation requirements.
Can You Replace a Recessed Mailbox Later?
Yes—if the original installation was designed correctly.
Use accessible mechanical fasteners, removable trim, and an opening that allows the mailbox body to slide out.
Can a Recessed Mailbox Receive Packages?
Some larger designs can accept small packages, but a standard letter mailbox is not the same as a parcel box.
If package delivery is important, choose a purpose-built recessed or through-wall parcel solution before constructing the opening.
What If My Wall Is Not Deep Enough?
The mailbox may project from the front or rear, or you may need a shallower model.
Do not modify the wall or mailbox without checking structure, appearance, clearance, and weather protection.
Does a Recessed Mailbox Need USPS Approval?
It depends on how it is used.
For U.S. curbside delivery served by a carrier from a vehicle, USPS-STD-7C applies to curbside mailbox designs, and new or replacement installations generally require approved equipment or an appropriately reviewed custom-built solution.
Door-delivery mailboxes are outside the same STD-7C approval process, but USPS recommends contacting the local Postmaster before installation.
The Best Recessed Mailbox Installation Starts Before the Wall Is Built
The actual installation is usually not the hardest part.
The difficult problems come from planning the opening incorrectly.
Remember this order:
Choose the mailbox first.
Then confirm:
delivery method → dimensions → wall depth → access direction → clearance → support → water management → future service access.
If you get those decisions right, the installation becomes much easier.
If you get them wrong, even a well-built brick column can become difficult to use or expensive to modify.
Planning a Built-In Mailbox or Parcel Box?
Before ordering or building the opening, prepare these six pieces of information:
- Installation location — wall, brick column, fence, gate pillar, or other structure
- Available opening width and height
- Available wall or column depth
- Front or rear retrieval preference
- Typical mail or package size
- Photos or drawings of the installation area
HomeBox Solutions supplies front-access, rear-access, mailbox, and parcel box solutions for different built-in installation layouts.
If you are planning a new wall, fence, or masonry column, send us the available dimensions and installation drawing before the opening is built.
That makes it much easier to select the right mailbox dimensions and access configuration—and avoids rebuilding the opening later.