Installation Type
07
Sep
Sep
Replacing a mailbox does not always mean replacing the post.
In many cases, the existing post can stay exactly where it is. The part that usually needs the most attention is the mounting board or bracket between the post and the new mailbox.
Before removing anything, answer these five questions:
Is the existing post still straight and stable?
Is the mounting board solid enough to reuse?
Will the new mailbox fit the existing support?
Is the new mailbox larger or heavier than the old one?
Will the finished mailbox still sit in the correct delivery position?
If the post is in good condition, a typical replacement may be as simple as:
Remove the old mailbox → inspect the post → replace or reuse the mounting board → install the new mailbox → check alignment and position.
This guide explains how to do that without rebuilding more of the installation than necessary.
Contents
hide
Quick Answer: What Can You Reuse When Replacing a Mailbox?
Start with this checklist.
| Existing Part | Usually Reusable When | Better to Replace When |
|---|---|---|
| Mailbox post | Straight, stable, no serious rot or corrosion | Leaning, loose, rotten, bent, heavily rusted |
| Mounting board | Flat, strong, large enough | Cracked, soft, warped, too small |
| Metal bracket | Solid and compatible | Bent, rusted, wrong size |
| Screws and bolts | Exterior-rated and undamaged | Rusted, stripped, loose |
| Existing base | Post remains stable | Post moves or base is failing |
| House numbers | Clear and visible | Faded, damaged, difficult to read |
For many homes, the best solution is:
Reuse the post and replace the mounting board.
That saves time while still giving the new mailbox a solid base.
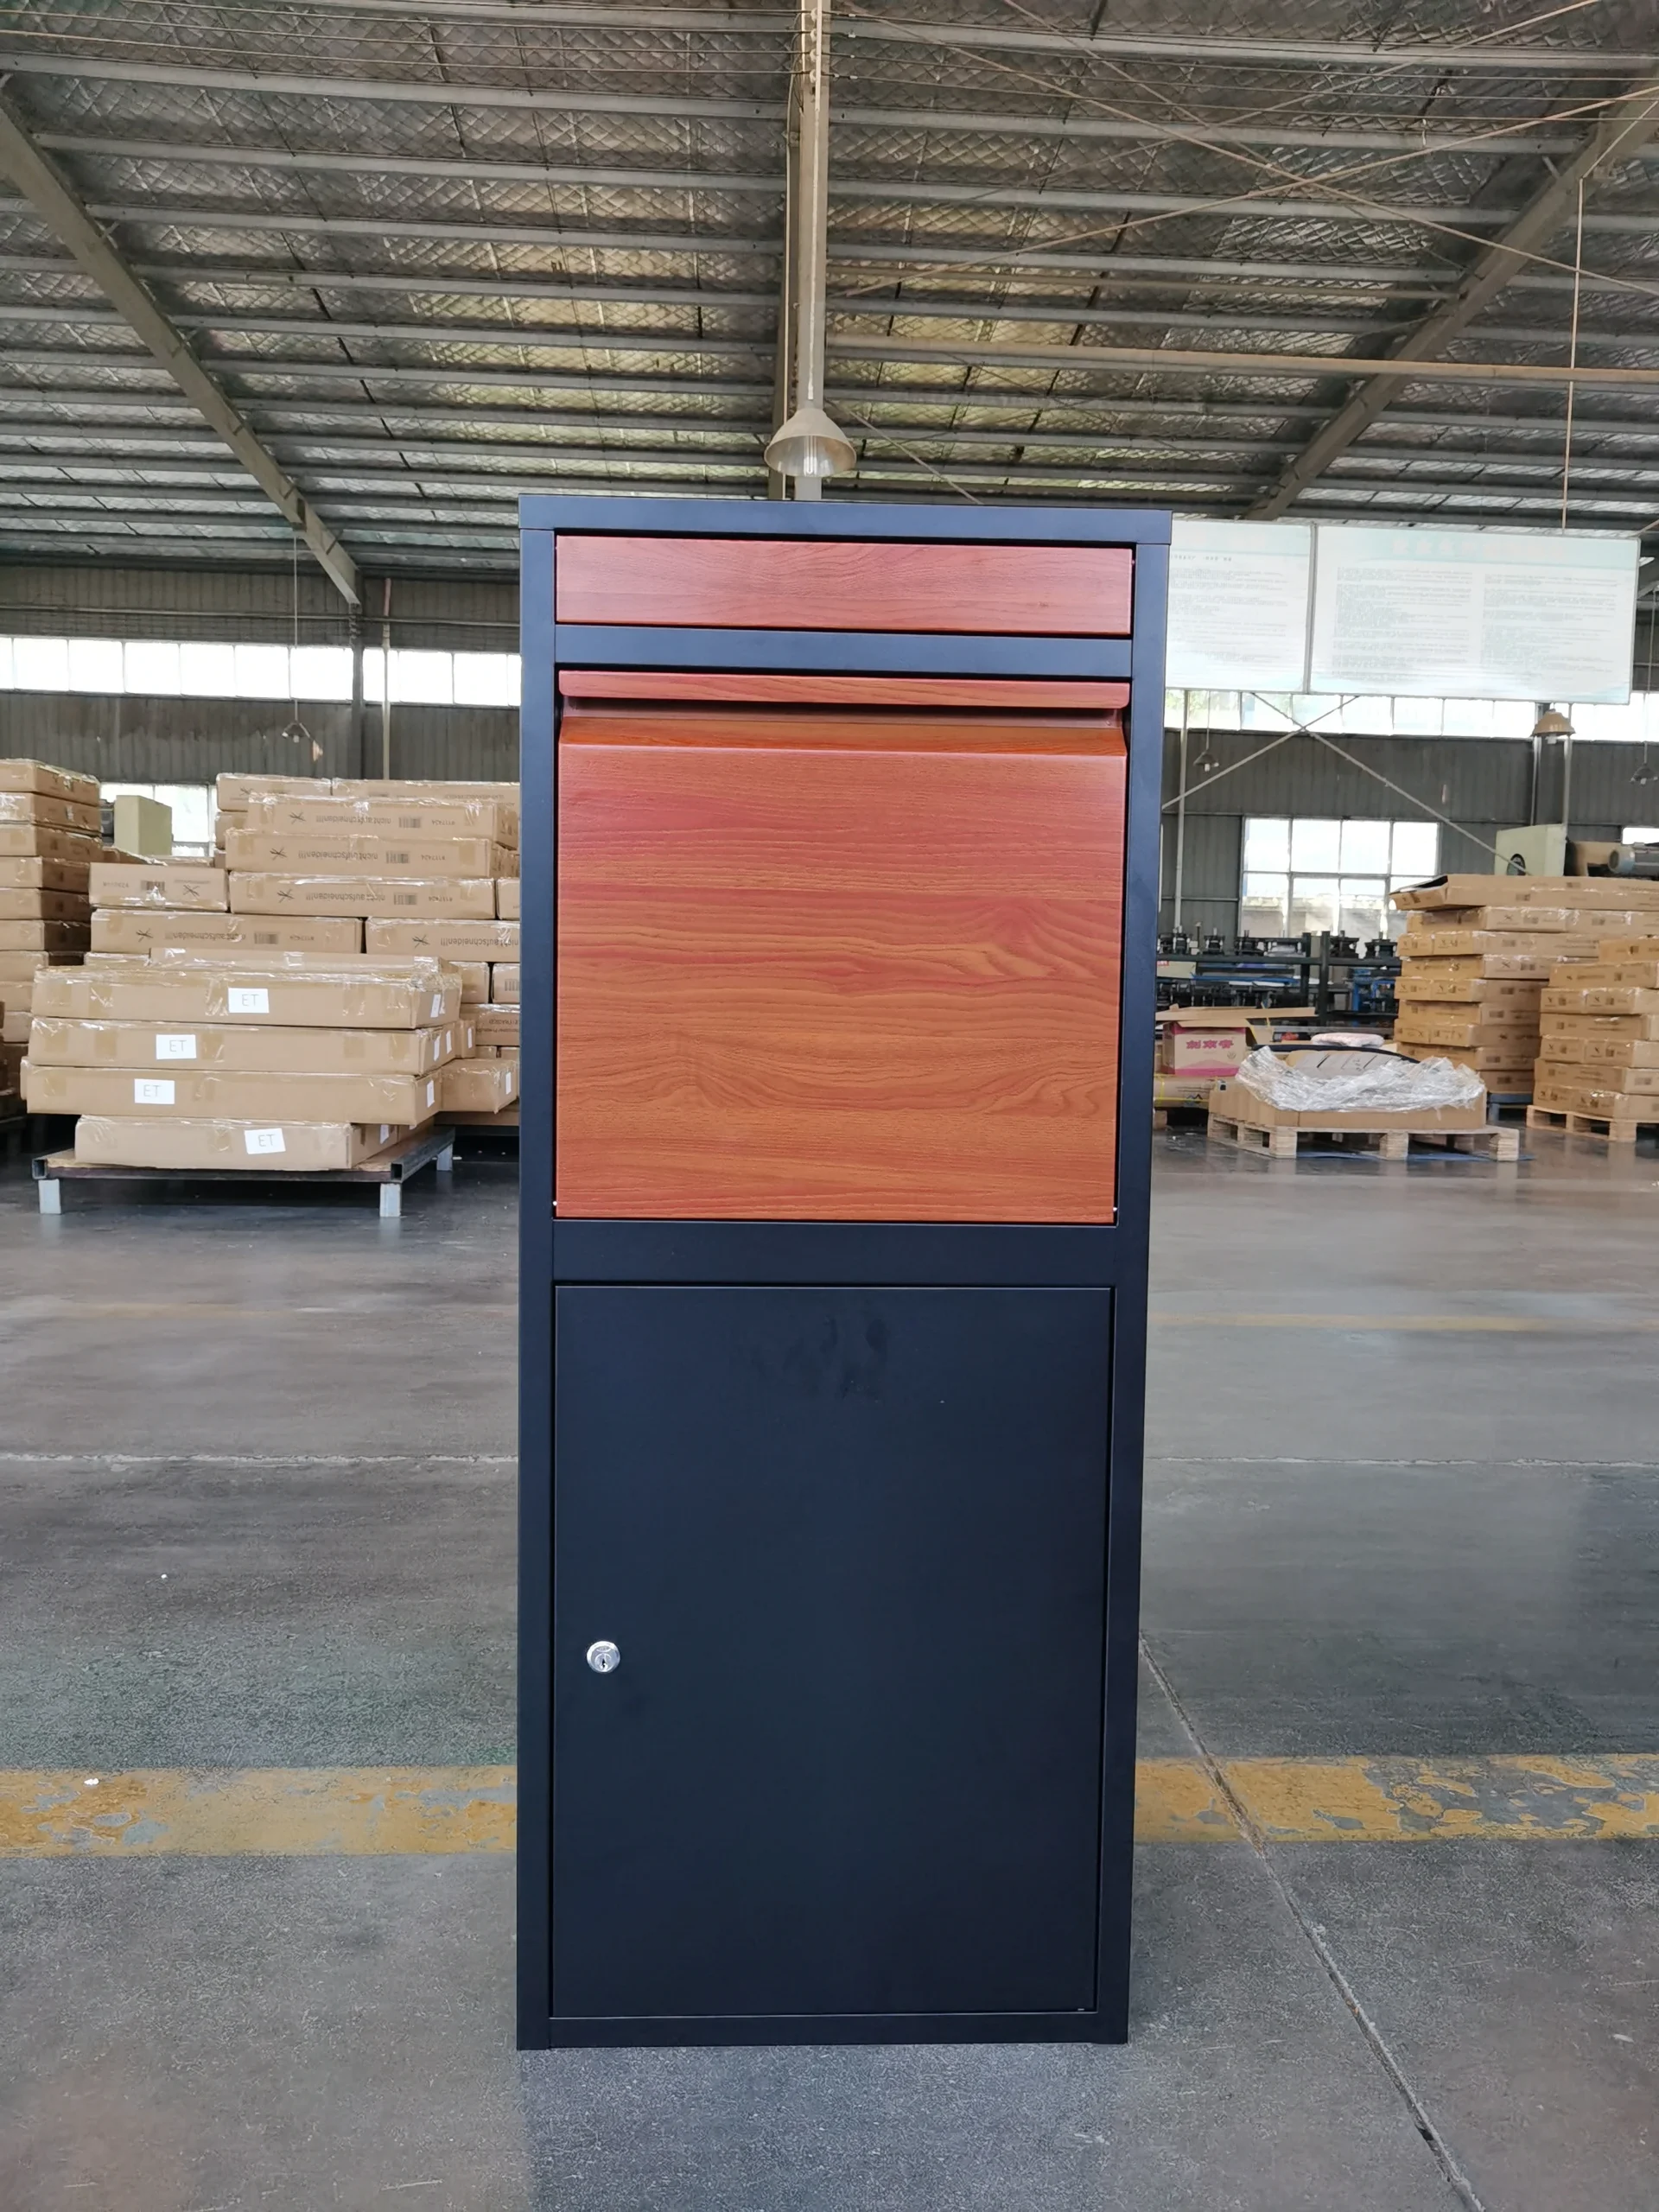
Should You Replace Just the Mailbox or the Whole Post?
The answer depends on why the current mailbox is being replaced.
Replace Only the Mailbox If:
The box is rusted
The door is damaged
The hinge is worn
The lock has failed
The mailbox is too small
Rain regularly gets inside
You want a different access or security style
The post is still solid
Replace the Post Too If:
The post leans
It moves at ground level
Wood is rotten
Metal is badly corroded
The mounting structure is cracked
The original location is wrong
The new mailbox requires a completely different support
Do not install a new mailbox on a failing post just because replacing the post requires more work.
It usually means doing the job twice later.
Check the Existing Post Before Buying the New Mailbox
A quick inspection can tell you whether the old support is worth keeping.
Check for Movement
Push the post gently from several directions.
A good post should feel stable.
If the whole structure moves at ground level, the problem is below the mailbox.
Check Wood Posts for Rot
Pay special attention to the area around the soil line.
Look for:
Soft wood
Splitting
Dark damaged areas
Crumbling fibers
Previous repair patches
A wood post can look perfectly good above ground while being weak at the base.
Check Metal Posts for Corrosion
Surface rust is not always serious.
More concerning signs include:
Deep pitting
Holes
Thin metal
Bent sections
Damaged welds
Corrosion where the post enters the ground
If the post is structurally sound, you can usually keep it.
Measure Before Buying a Replacement Mailbox
Do not choose the replacement only by looking at the old mailbox.
Mailbox brands and styles can use very different footprints and mounting systems.
Measure these six things first.
1. Mailbox Width
Measure the outside width of the existing box.
This gives you a quick idea of how wide the current mounting system can support.
2. Mailbox Depth
Measure from the front door to the back.
Depth is especially important when moving to a larger mailbox.
3. Mounting Board Width
Measure the support under the mailbox.
A wider new mailbox may require a wider board.
4. Mounting Board Depth
A deeper box may need more support underneath.
Avoid leaving a heavy mailbox hanging far beyond a small board.
5. Mounting Hole Position
Check where the current screws or bolts are located.
Do not assume the new mailbox will use the same holes.
6. Final Mailbox Position
For U.S. curbside installations, common USPS placement guidance is approximately:
41–45 inches above the road surface
6–8 inches back from the curb or road edge
When you install a deeper mailbox, the front door may move closer to the road even though the post itself never moves.
That is why the mailbox should be measured as part of the complete installation.
Can You Put a New Mailbox on an Existing Post?
Yes, in many cases.
A post is reusable when:
It is structurally sound
It is stable at the base
The location is still correct
The new mailbox can be properly supported
The post and mailbox do not need to come from the same manufacturer.
What matters is the connection between them.
In many replacement projects, the mounting board is the adapter between the old post and the new mailbox.
How to Remove an Old Mailbox
The goal is to remove the old box without damaging parts you may want to keep.
Step 1: Empty the Mailbox
Remove all mail, labels, loose items, and address accessories.
If the mailbox has a lock, unlock it so you can inspect the inside.
Step 2: Find the Fasteners
Mailboxes are commonly attached:
Through the sides
Through the floor
Into a wood mounting board
To a metal bracket
With bolts through a mounting plate
Open the door and inspect the inside before using force.
Step 3: Remove Screws or Bolts
Support the mailbox while removing the final fasteners.
If screws are badly rusted, work carefully so you do not damage the board or post underneath.
Step 4: Lift the Mailbox Away
Once the box is removed, clean the mounting area.
Now you can inspect the hidden components properly.
Should You Reuse the Existing Mounting Board?
This is often the most important decision in the entire replacement.
The mounting board carries the mailbox and connects it to the post.
Reuse It If:
The board is flat
Wood is still solid
There are no serious cracks
It is securely attached
It is large enough for the new mailbox
New screws can enter solid material
Replace It If:
Wood is soft
It is badly split
Water damage is visible
It is warped
Too many old screw holes have weakened it
The new mailbox is significantly larger
New mounting holes fall too close to the edge
Replacing a small mounting board is much easier than replacing an entire post.
How to Install a New Mailbox on an Existing Post
There are three common replacement situations.
Option 1: Reuse the Existing Mounting Board
Place the new mailbox on the board before drilling.
Check:
Is the mailbox centered?
Does the base have enough support?
Can the front door open completely?
Are drainage holes clear?
Does the front door sit in the correct road position?
Do new screws enter strong material?
If the board works, you can reuse it.
Do Not Force the New Mailbox Into Old Screw Holes
If the new mounting holes do not naturally line up, drill suitable new pilot holes.
Do not distort the mailbox just to match the previous screw pattern.
Option 2: Replace the Mounting Board
This is often the cleanest solution when changing mailbox size or brand.
Remove the old board and install one that fits the new mailbox footprint.
A new board provides:
Better support
Fresh screw locations
Correct mailbox positioning
Less risk of weakened old holes
For many mailbox replacements, this is the best balance between reusing the post and giving the new mailbox a proper installation.
Option 3: Use an Adapter Plate or Metal Bracket
An adapter can be useful when:
The post is metal
The mailbox uses a different mounting pattern
The new box is heavier
A wood board is not appropriate
You want a cleaner installation
Make sure the adapter does not block:
Drainage
Door movement
Lock components
Rear access
What If the New Mailbox Is Bigger Than the Old One?
A larger mailbox can often use the same post, but do not judge compatibility only by whether it physically fits.
Check four things.
1. Weight
A larger steel mailbox weighs more.
It can also hold more mail and small packages.
The support needs to handle both the empty mailbox and the contents.
2. Mounting Footprint
A larger box may need:
Wider board
Longer board
Stronger bracket
Additional support points
Do not balance a large mailbox on a narrow board designed for a much smaller box.
3. Front Door Position
Imagine the old mailbox is 18 inches deep and the replacement is 22 inches deep.
If both are placed on the same post, the front of the new mailbox may sit several inches farther toward the road.
Recheck the final curb setback after positioning the new box.
4. Door Clearance
Make sure the larger door can open fully.
Check for:
Fence
Wall
Decorative trim
Landscaping
Another mailbox
Post cap
If you choose rear access, check the space behind the mailbox too.
What If the New Mailbox Mounting Holes Do Not Line Up?
This is very common.
It does not automatically mean you need a new post.
You normally have four options.
Drill New Holes
Best when the existing mounting board is strong and there is enough material around the new holes.
Replace the Mounting Board
Best when the board is damaged, too small, or full of old holes.
Use an Adapter Plate
Useful for metal posts and different mounting systems.
Choose a Different Mailbox
If the existing installation is highly specialized, choosing a more compatible mailbox can sometimes be easier than redesigning the support.
Do not create a weak installation just to preserve old screw holes.
Why Won’t the New Mailbox Door Close Properly?
If the door worked before installation but becomes difficult afterward, the mailbox body may be slightly twisted.
This can happen when:
The mounting board is uneven
One screw is much tighter than the others
The mailbox is pulled against an uneven bracket
Thin metal is distorted during installation
Try this before adjusting the door:
Loosen the mounting screws slightly.
Make sure the mailbox sits flat.
Open and close the door.
Check the latch.
Tighten the screws gradually and evenly.
A small change in body alignment can make a large difference to the door.
Why Is the New Mailbox Loose?
Work from the mailbox downward.
| What Moves? | Likely Problem |
|---|---|
| Mailbox moves on board | Loose or incorrect fasteners |
| Board moves on post | Board-to-post connection |
| Post moves at ground level | Base or post problem |
| Mailbox rocks | Uneven mounting surface |
| Screws keep loosening | Damaged screw holes |
| Metal floor flexes | Support area too small |
Think of the installation as four layers:
Mailbox → mounting board → post → ground
Find the layer that moves and repair that part.
What If the Existing Mailbox Post Is Leaning?
Do not use the new mailbox to hide a leaning post.
Inspect the base first.
Common causes include:
Loose soil
Wood rot
Corrosion
Vehicle impact
Snowplow damage
Failed footing
Poor original installation
If the post itself remains strong, it may be possible to straighten and stabilize it.
If it is structurally damaged, replace it.
For a full post replacement, see our guide on How to Install a Mailbox Post With or Without Concrete.
Repair or Replace the Old Mailbox?
Not every mailbox problem requires replacement.
Use this quick guide.
| Condition | Repair | Replace |
|---|---|---|
| Loose screw | Yes | Usually no |
| Loose hinge | Usually | Maybe |
| Faded paint | Yes | No |
| Light surface rust | Usually | Not necessary |
| Broken flag | Usually | No |
| Failed lock | Often | Maybe |
| Bent door | Sometimes | Often |
| Repeated water entry | Investigate | Consider |
| Structural rust | Poor repair candidate | Yes |
| Box too small | No | Yes |
| Packages do not fit | No | Upgrade |
| Security is poor | Limited fix | Consider locking model |
The key question is:
Will the repair solve the real problem?
If not, replacement is usually the better long-term choice.
When Mailbox Replacement Is a Good Time to Upgrade
If the old mailbox already needs to come off the post, consider whether the same style still fits the way you receive mail today.
Choose a Larger Mailbox If:
Mail frequently sticks out
Catalogs get folded
You do not empty the mailbox every day
Padded envelopes are common
Small packages sometimes need more room
Choose a Locking Mailbox If:
Mail sits unattended for hours
The mailbox is far from the house
Mail theft is a concern
You receive sensitive documents
Do not compare only the lock.
Also look at:
Door construction
Hinges
Mail opening
Material
Internal anti-fishing design
Choose Rear Access If:
The mailbox is beside traffic
You want to collect mail from the property side
The box sits in a fence or wall
Roadside retrieval is inconvenient
Choose Front Access If:
The rear is against a wall
There is no space behind the mailbox
All access needs to happen from one side
Consider a Parcel Box If Packages Are the Real Problem
If packages are regularly:
Left at the front door
Exposed to rain
Visible from the street
Too large for the existing mailbox
then replacing one traditional mailbox with another may not solve anything.
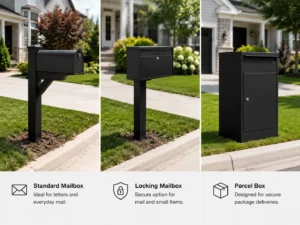
A parcel box is designed around package delivery rather than only letter delivery.
Which Replacement Type Makes the Most Sense?
| Current Problem | Better Replacement Direction |
|---|---|
| Old mailbox is simply worn | Similar standard mailbox |
| Not enough mail capacity | Large-capacity mailbox |
| Mail theft concern | Locking mailbox |
| Need capacity + security | Large locking mailbox |
| Frequent packages | Parcel box |
| Unsafe roadside retrieval | Rear-access mailbox |
| Rear of mailbox is blocked | Front-access mailbox |
| Heavy rain or snow | Weather-resistant metal mailbox |
This is why replacing a mailbox should be treated as a problem-solving decision, not simply a like-for-like product swap.
10 Common Mailbox Replacement Mistakes
1. Buying Before Measuring
Measure the current mailbox, board, and available space first.
2. Assuming Mounting Holes Are Standard
They are not.
3. Reusing a Rotten Mounting Board
A good mailbox still needs a good base.
4. Ignoring the Bottom of the Post
Damage often occurs near ground level.
5. Installing a Larger Box Without Rechecking Position
A deeper mailbox changes the front-door location.
6. Overtightening Screws
This can twist the mailbox body.
7. Blocking Drainage Holes
Do not cover intentional openings underneath the box.
8. Reusing Bad Fasteners
Replace stripped or badly corroded hardware.
9. Choosing a Replacement Only by Appearance
Size, access, security, and mounting compatibility matter more.
10. Replacing the Box Without Fixing the Original Problem
If the old box was too small, insecure, or unable to receive packages, another similar mailbox will create the same problem again.
Mailbox Replacement Checklist
Before buying:
Measure mailbox width
Measure mailbox depth
Measure mounting board
Check mounting-hole layout
Inspect the post
Check available clearance
Decide whether you need more capacity
Decide whether locking is important
Decide front or rear access
Consider package delivery needs
After removing the old mailbox:
Inspect hidden wood or metal
Check for rot
Check for rust
Test post stability
Remove damaged screws
Clean the mounting area
Before tightening the new mailbox:
Center it
Check support area
Check final height
Check curb position
Open the front door
Check rear clearance if applicable
Check drainage
Test the lock
Tighten evenly
Mailbox Replacement FAQ
Can I Replace Just the Mailbox and Keep the Post?
Yes.
If the post is straight, stable, structurally sound, and in the correct location, you can often reuse it.
You may only need a different mounting board.
Will Any Mailbox Fit My Existing Post?
No.
The post may still work, but mailbox width, depth, footprint, and mounting-hole layout vary.
Measure before buying.
Can I Drill New Holes in the Existing Mounting Board?
Yes, if the board is solid and the new holes have enough good material around them.
If the board is weak or full of previous holes, replace it.
Can I Put a Bigger Mailbox on the Same Post?
Often yes.
Check:
Post strength
Mounting-board size
Mailbox weight
New front-door position
Door clearance
Do I Need a New Post If the Holes Do Not Match?
Usually not.
A new mounting board or adapter plate is often enough.
Why Does My New Mailbox Door Not Close?
The mailbox may have twisted during mounting.
Loosen the fasteners, square the box, test the door, and retighten gradually.
Should I Reuse Old Screws?
Only if they are in good condition and suitable for outdoor use.
Replacing damaged or corroded fasteners is usually the better choice.
What Height Should a Replacement Curbside Mailbox Be?
For U.S. curbside delivery, common USPS guidance places the mailbox approximately 41–45 inches above the road surface.
Always check the current USPS and local Post Office requirements before changing the delivery location.
How Far Should It Be From the Curb?
Common U.S. curbside guidance places the mailbox approximately 6–8 inches back from the curb or road edge.
A larger replacement should be rechecked because its front door may sit farther forward than the old one.
Should I Upgrade to a Locking Mailbox?
Consider it if mail remains unattended, theft is a concern, or you receive sensitive documents.
Should I Upgrade to a Parcel Box?
If packages—not letters—are the main problem, a parcel box may be the better long-term solution.
The Simplest Mailbox Replacement Decision
Use this sequence.
Is the post still good?
Yes → keep it.
No → repair or replace it.
Is the mounting board strong and large enough?
Yes → reuse it.
No → replace it.
Does the new mailbox fit the mounting pattern?
Yes → install it.
No → drill suitable new holes or use an adapter.
Is the replacement larger?
Yes → recheck support, height, clearance, and front-door position.
Was the old mailbox too small or insecure?
Yes → upgrade the mailbox type rather than simply copying the old one.
For many homes, that reduces the entire job to:
Remove → inspect → adapt → install → test.
Replacing Your Mailbox? Measure These 5 Things First
Before ordering, record:
Existing post size
Mounting-board width and depth
Maximum available mailbox space
Preferred front or rear access
Typical mail and package size
Take a photo of the post and mounting area as well.
That makes it much easier to determine whether you need:
Only a replacement mailbox
A new mounting board
A different bracket
A larger locking mailbox
A parcel box
A completely new support
HomeBox Solutions supplies outdoor mailbox and parcel box solutions for different mounting layouts, capacities, access directions, and security needs.
If you are not sure whether a new mailbox will work with your existing post, send us your post dimensions, mounting-board size, available space, and installation photos.
We can help you determine whether the existing post can stay or whether a different mailbox or parcel box configuration would make more sense.
Popular Parcel Box and Letterbox Products
Choose from existing product styles or develop your own custom series.
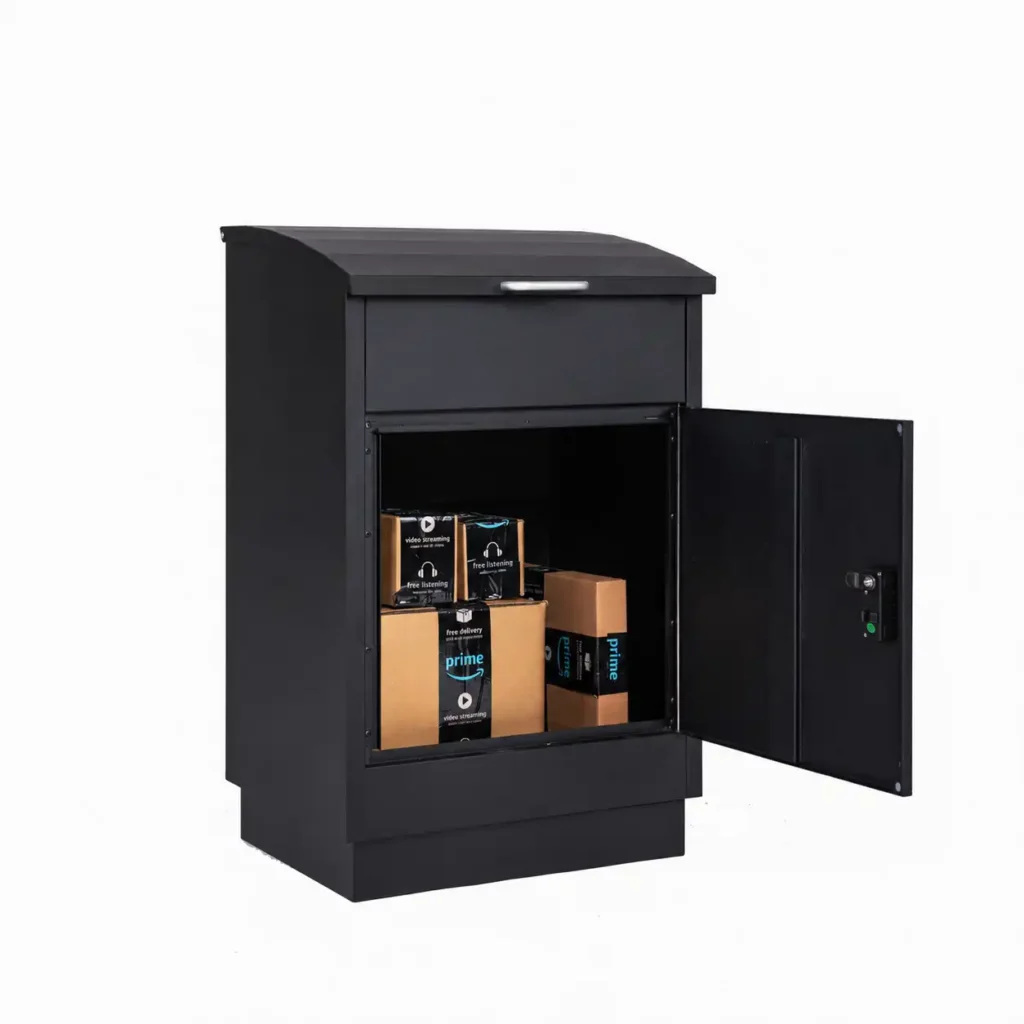
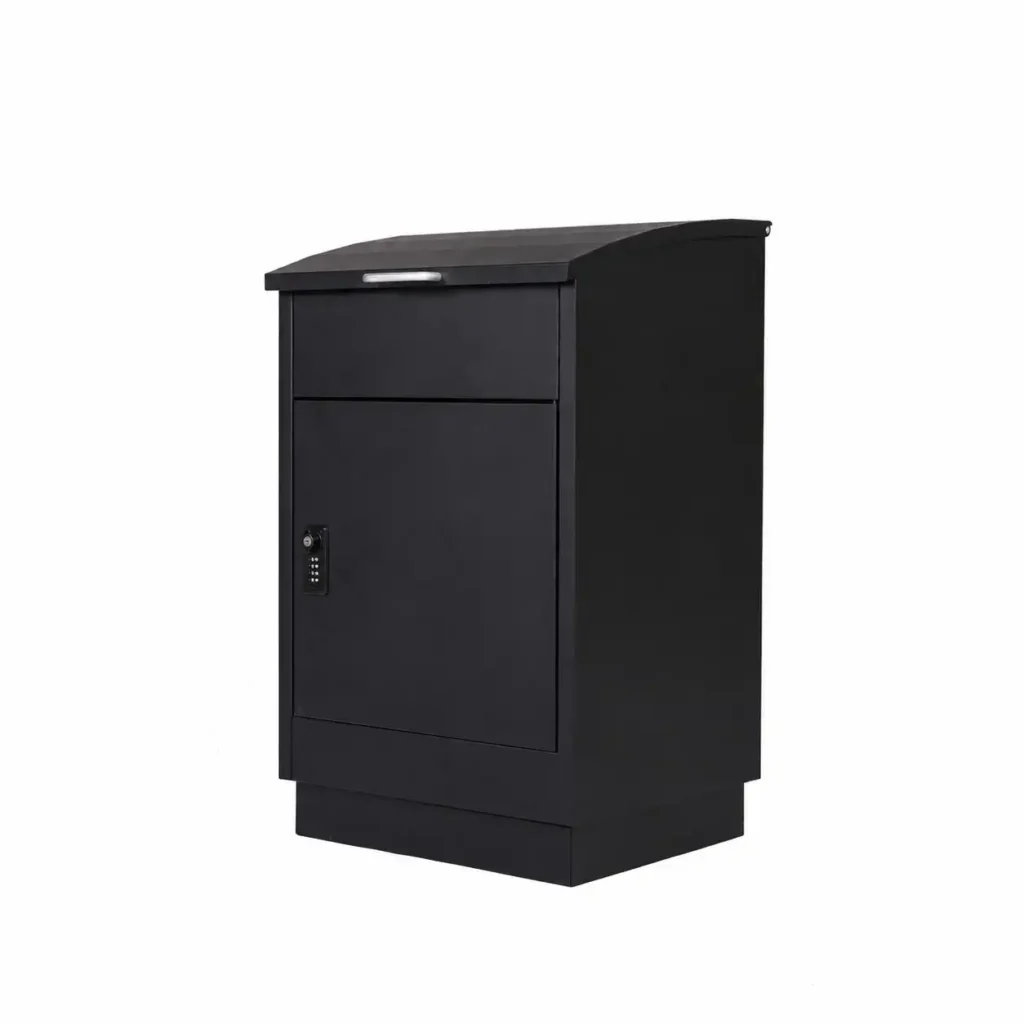
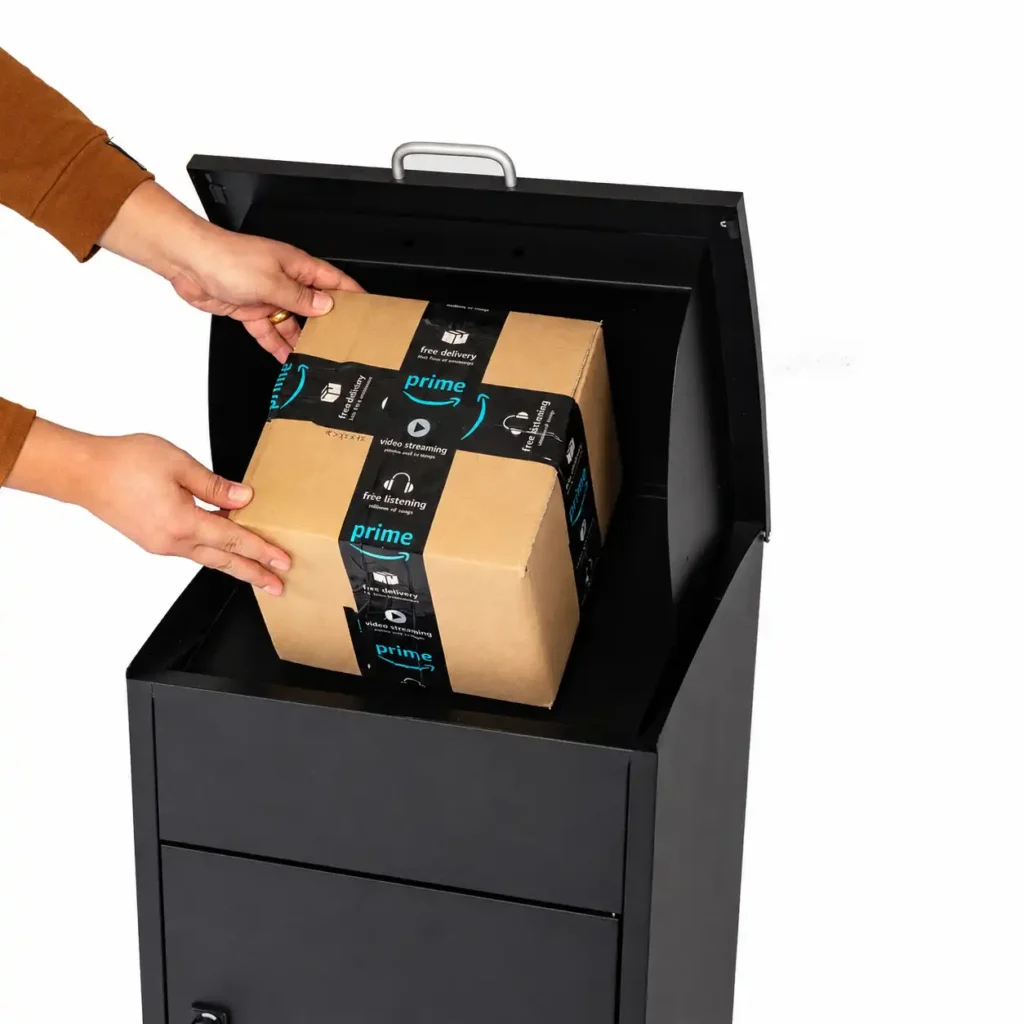
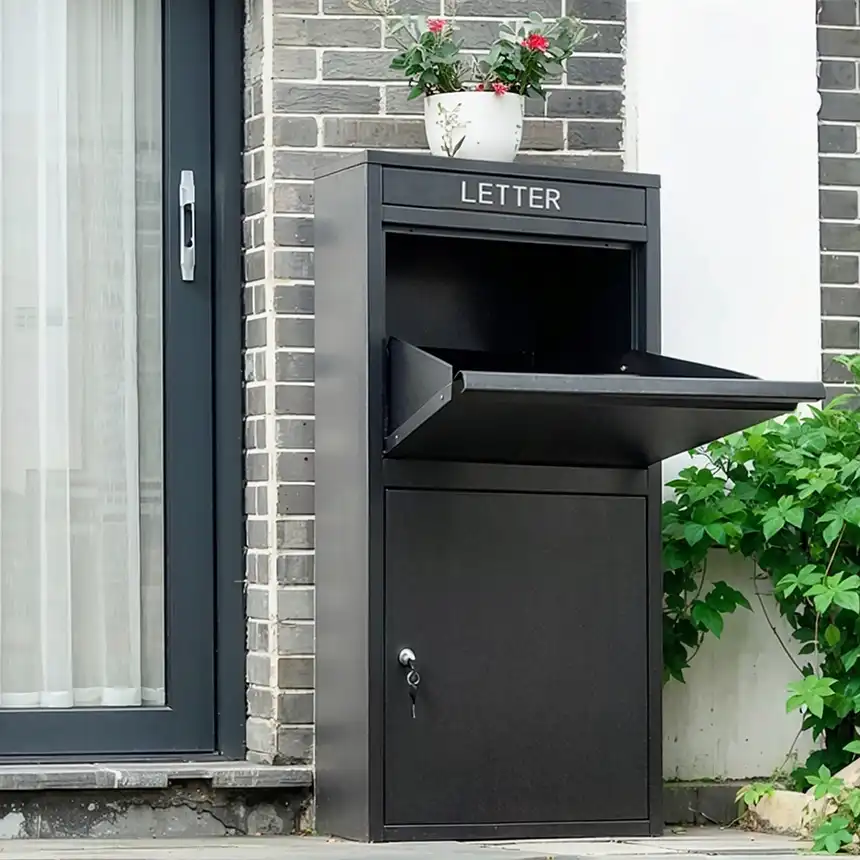
Extra Large Parcel Boxes
High-capacity parcel boxes for oversized packages and busy delivery locations.

Trash Bin Enclosure
Outdoor trash bin enclosures provide a clean and secure way to store one, two, three, or multiple wheeled bins.
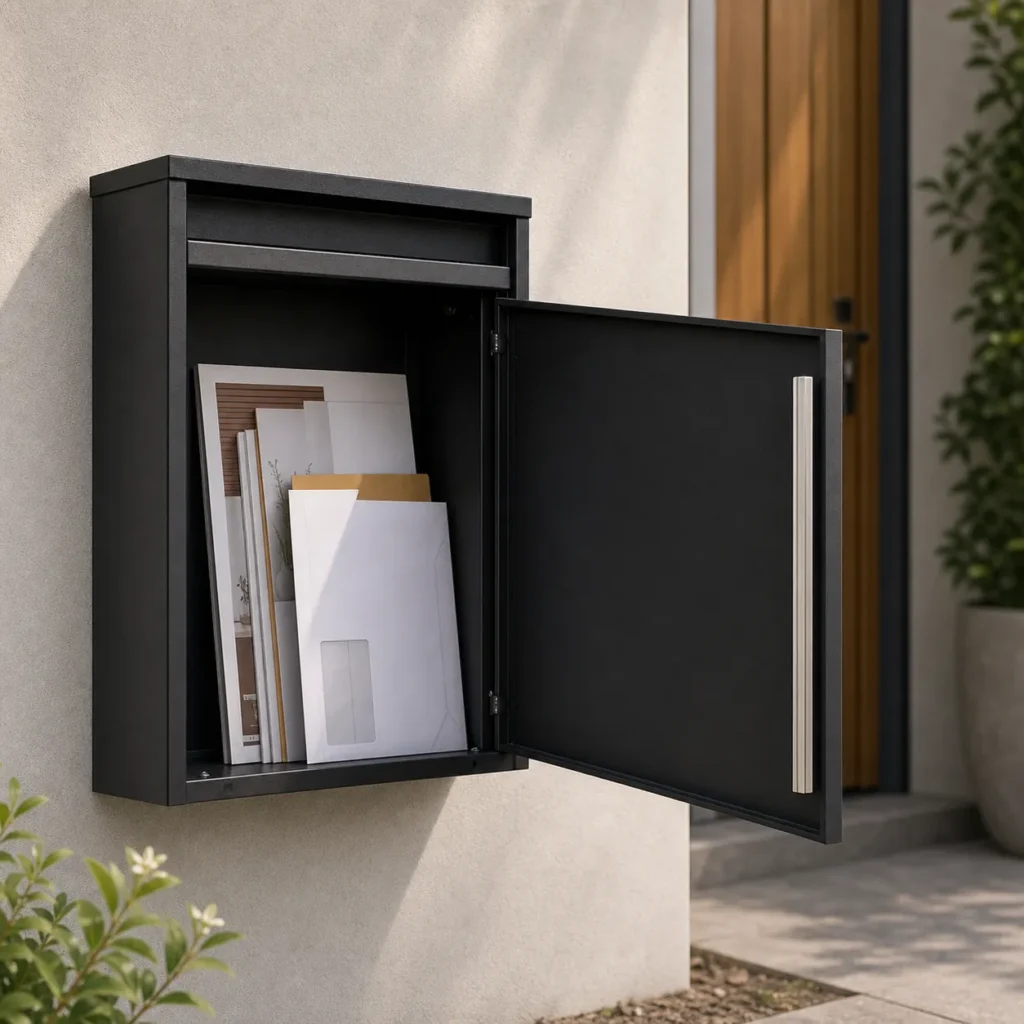
Letter and Mail Boxes
Letter boxes are designed to make mail and small parcel receiving more organized, secure, and convenient.
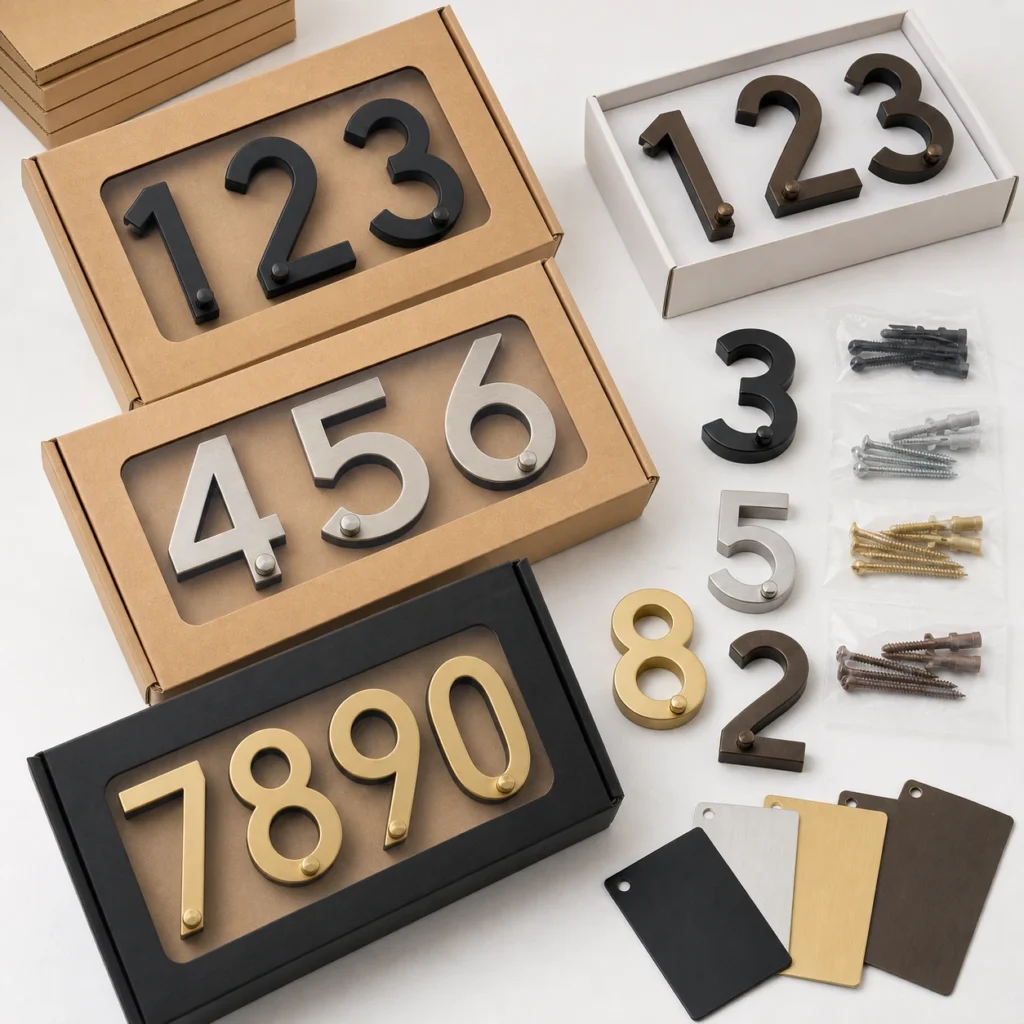
House Numbers
House numbers are small details, but they affect the first impression of a property, the visibility of an address.
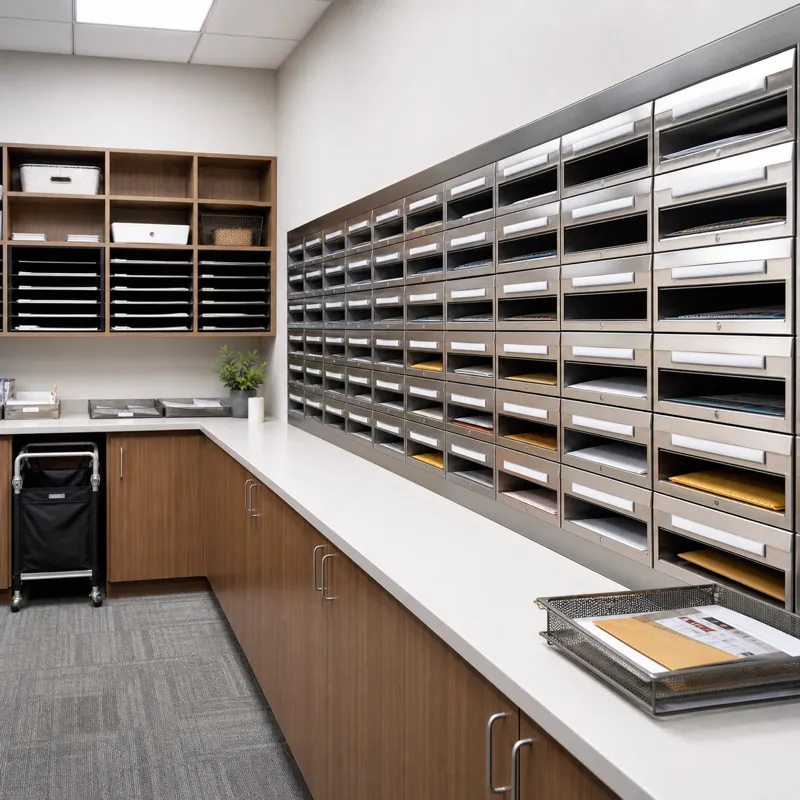
Mail Slots
Mail slots are designed for projects where appearance, size, and installation details matter.