Installation Type
24
Aug
Aug
Installing a mailbox post is not just about digging a hole and putting a post into the ground.
The post must be straight, stable, correctly positioned, and strong enough for the mailbox. At the same time, a roadside mailbox support should not become an unnecessarily rigid obstacle.
For most installations, the process is:
Choose the location → measure the finished mailbox → check underground utilities → prepare the hole → level and secure the post → install the mounting board → attach the mailbox.
The biggest question is usually:
Should you install the mailbox post with concrete or without concrete?
The answer depends on your post system, soil, mailbox weight, and location. This guide explains both methods and helps you choose the right one.
Contents
hide
Quick Answer: How Should You Install a Mailbox Post?
Start here if you are not sure which installation method to use.
| Situation | Better Starting Point |
|---|---|
| Manufacturer requires concrete | Follow the supplied installation instructions |
| Firm soil + direct-bury post | Concrete may not be necessary |
| Modular mailbox post | Ground anchor may be easier |
| Loose or sandy soil | Additional stabilization may be needed |
| Very wet ground | Prioritize drainage and post durability |
| Large or heavy mailbox | Check post and bracket load capacity |
| Want easy future replacement | Ground anchor or removable system |
| Roadside installation | Avoid an excessively rigid support |
| Existing post is solid | You may only need a new mounting board |
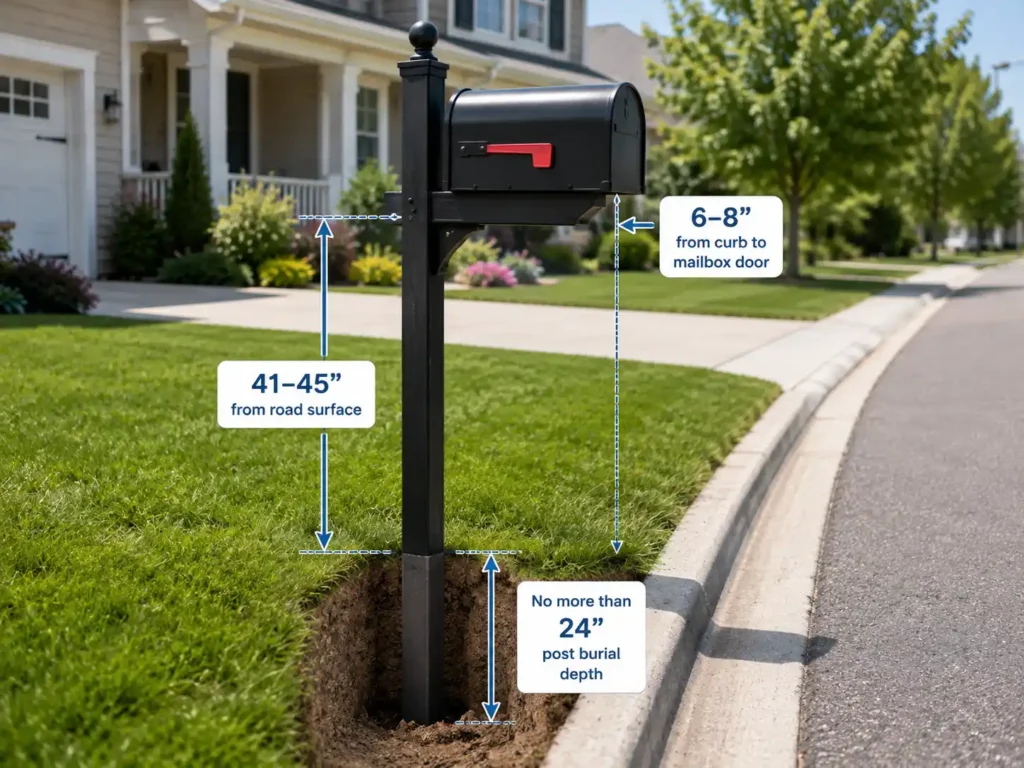
For U.S. curbside delivery, USPS currently says mailboxes are generally installed 41–45 inches above the road surface and 6–8 inches back from the curb or road edge to the mailbox door. USPS also advises contacting the local Post Office before installing or replacing a curbside mailbox because local conditions can affect placement.
Before Installing a Mailbox Post, Check These 5 Things
Getting these right before digging will prevent most installation problems.
1. Confirm the Mailbox Location
Do not decide where the post goes until you know where the finished mailbox door will be.
For a typical U.S. curbside installation:
Mailbox height: 41–45 in. above the road
Setback: 6–8 in. from the curb or road edge to the mailbox door
These measurements apply to the finished mailbox, not simply the post.
This becomes important when replacing a small mailbox with a deeper model.
The post may remain in exactly the same place, but a longer mailbox can move the door several inches closer to the road.
2. Check Underground Utilities
Before digging a new hole, confirm that the location is clear of underground utility lines.
Do not assume an area is safe simply because an old mailbox post was nearby.
The new hole may be wider or in a slightly different position.
3. Measure the Mailbox First
Before setting the post, measure:
Mailbox width
Mailbox depth
Mailbox height
Mounting footprint
Mounting-hole spacing
Position of the front door
Position of a rear access door, if included
This tells you where the post and mounting board actually need to be.
4. Check the Ground
Look at the soil before choosing a foundation method.
Ask:
Is it firm or loose?
Does water collect here?
Is it sandy?
Has the ground been disturbed?
Are there large roots?
Does the ground slope toward the road?
Does frost movement affect posts in your area?
A foundation that works well in firm soil may perform poorly in loose or waterlogged ground.
5. Check the Mailbox Weight
Do not look only at the empty mailbox.
Think about the load after it is installed.
A large metal mailbox may also hold:
Catalogs
Thick envelopes
Small packages
Several days of mail
A bigger box can place much more load on the post and mounting bracket than a traditional lightweight mailbox.
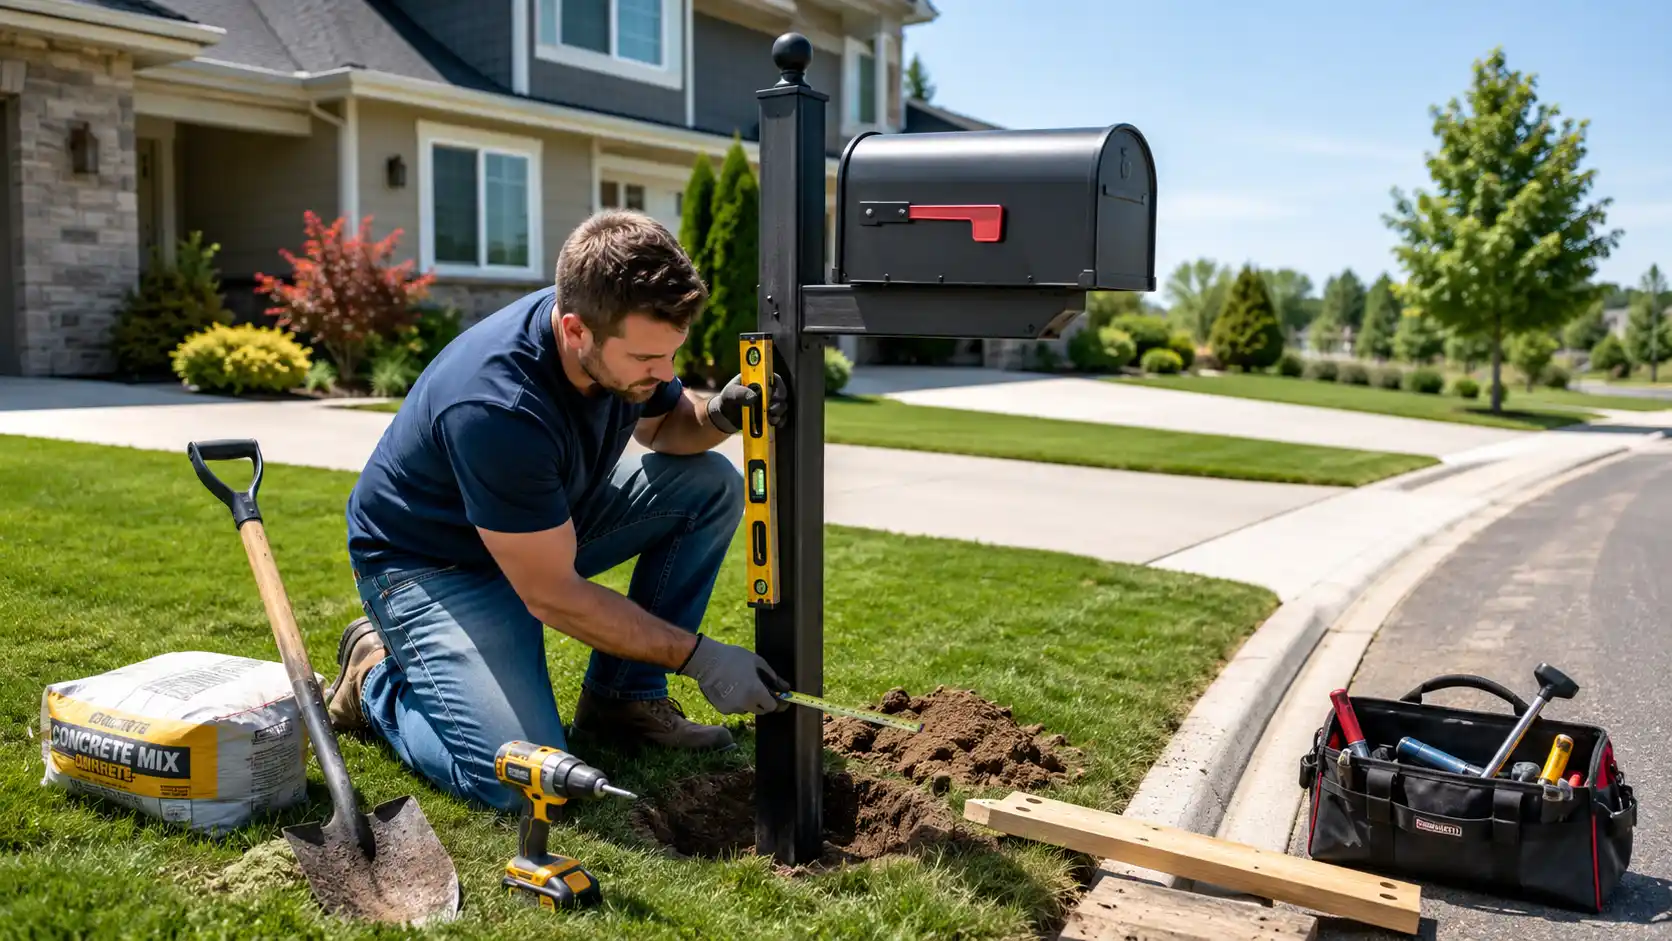
How Deep Should a Mailbox Post Be?
USPS guidance references mailbox supports buried no more than 24 inches deep and recommends support designs that can bend or fall away if struck by a vehicle.
This does not mean every post should automatically be buried exactly 24 inches.
The correct depth also depends on:
Post design
Manufacturer instructions
Soil
Ground anchor system
Mailbox weight
Local requirements
Do Not Use Post Depth to Set Mailbox Height
This is an easy mistake.
For example, you cannot simply say:
24 inches underground + 42 inches above ground = correct post length.
The lawn and road may not be at the same elevation.
You also need to account for:
Mounting bracket
Mounting board
Mailbox floor
Difference between lawn and road level
The better approach is to establish the finished mailbox height first, then work backward to determine the post position.
What Size Mailbox Post Should You Use?
USPS points to Federal Highway Administration guidance that identifies a 4 × 4 inch wood support or 2-inch-diameter standard steel or aluminum pipe as examples of supports designed to safely break away if struck. It also warns against unyielding roadside supports such as heavy pipes and concrete posts.
That is an important distinction:
A mailbox post needs to be stable, but the strongest possible roadside post is not automatically the safest post.
Do not simply replace a normal mailbox support with:
A massive steel column
A concrete column
An oversized rigid pipe
A heavily reinforced structure
without considering applicable local and roadside safety requirements.
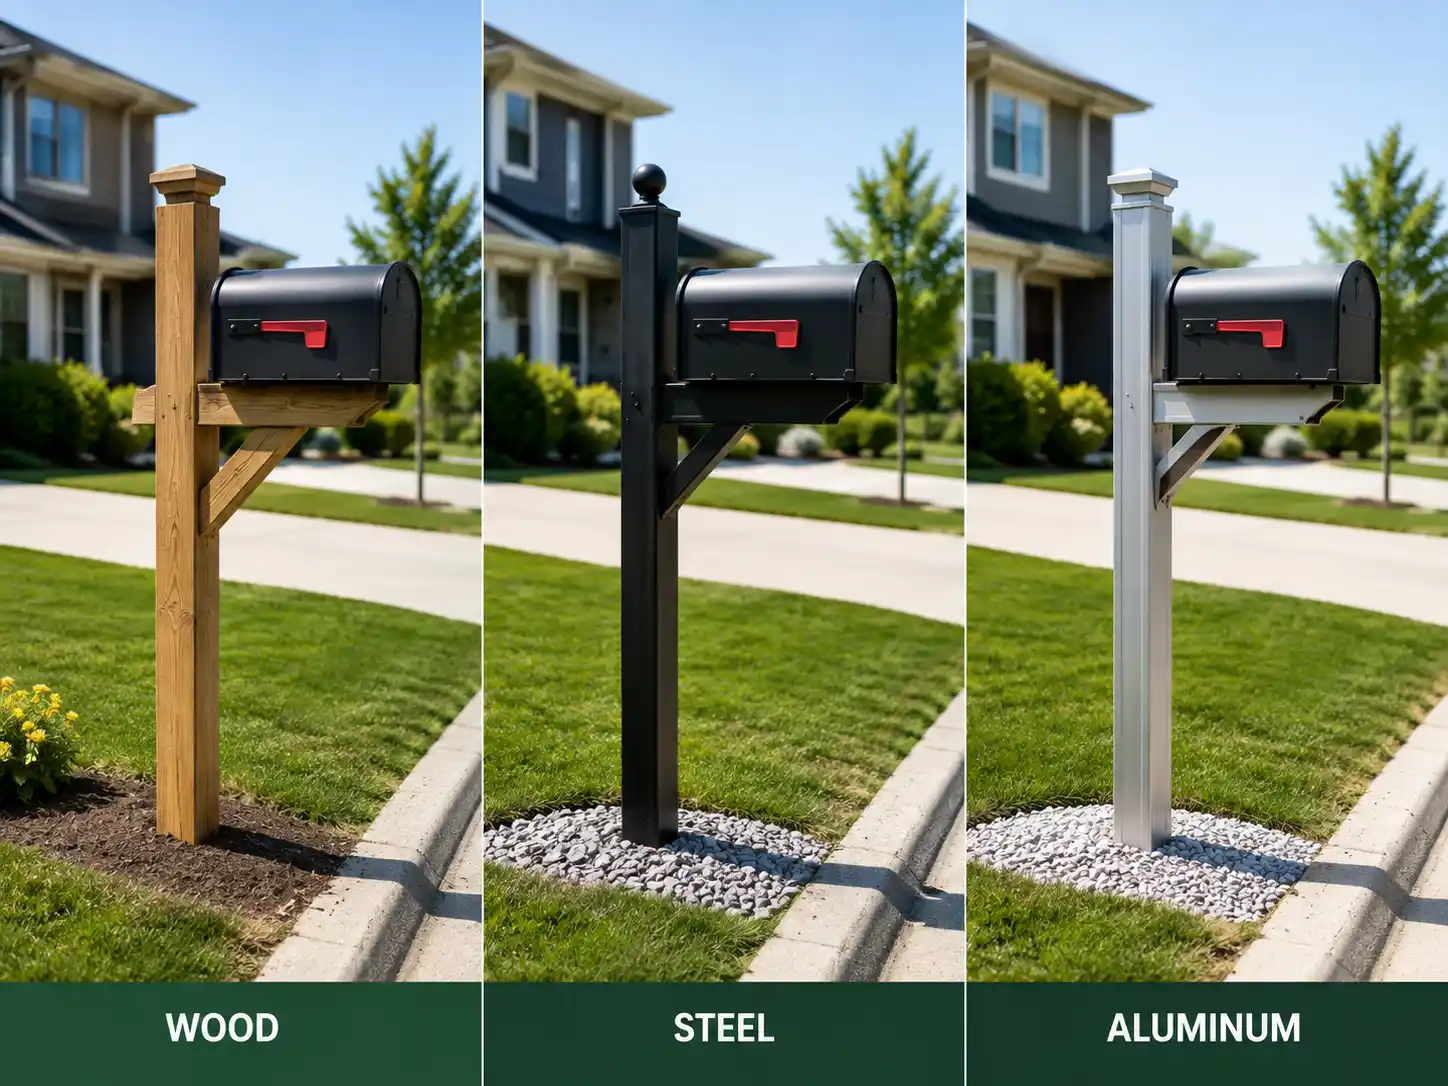
Wood vs Steel vs Aluminum Mailbox Posts
Each material has advantages.
| Material | Best Features | What to Watch |
|---|---|---|
| Wood | Easy to cut, drill, and repair | Rot, splitting, maintenance |
| Steel | Strong, clean appearance, good for metal mailbox systems | Corrosion protection |
| Aluminum | Lightweight and corrosion resistant | Correct section and load capacity |
| Decorative post system | Integrated appearance and hardware | Compatibility and actual structural support |
Wood Mailbox Posts
Wood is popular for DIY installation because it is easy to:
Cut
Drill
Attach a mounting board
Modify later
The weak point is often near ground level.
If you are reusing an old wood post, inspect the area just above and below the soil carefully.
A post can look solid at the top while being badly weakened at the base.
Steel Mailbox Posts
Steel works well with modern metal mailboxes and can provide a clean, integrated appearance.
Check:
Coating condition
Wall thickness
Welds
Mounting bracket
Drainage
Rust around ground level
If powder coating or paint is damaged during installation, repair the exposed area before corrosion spreads.
Aluminum Mailbox Posts
Aluminum offers good corrosion resistance and lower weight.
It can be useful in wet or coastal environments, but the post still needs sufficient strength and a suitable mounting system for the mailbox being used.
Do You Need Concrete for a Mailbox Post?
No, not every mailbox post needs concrete.
Concrete is one installation method, not a universal requirement.
Mailbox posts may also use:
Direct burial
Compacted backfill
Gravel
Ground anchors
Screw-in anchors
Manufacturer-designed mounting bases
The right method depends on the specific post.
When Concrete May Make Sense
Concrete may be appropriate when:
The post manufacturer specifies it
Ground conditions require more stabilization
The installation design has been engineered around a concrete footing
Local requirements allow the chosen system
When Concrete May Not Be Necessary
You may not need it when:
The post is designed for direct burial
Firm soil provides adequate support
The system uses a ground anchor
The post is designed to be removable
A manufacturer provides another approved installation method
For roadside installations, remember that USPS favors supports that are stable during normal use but can bend or fall away during a vehicle impact. Heavy metal pipes and concrete posts are specifically identified as potentially dangerous examples.
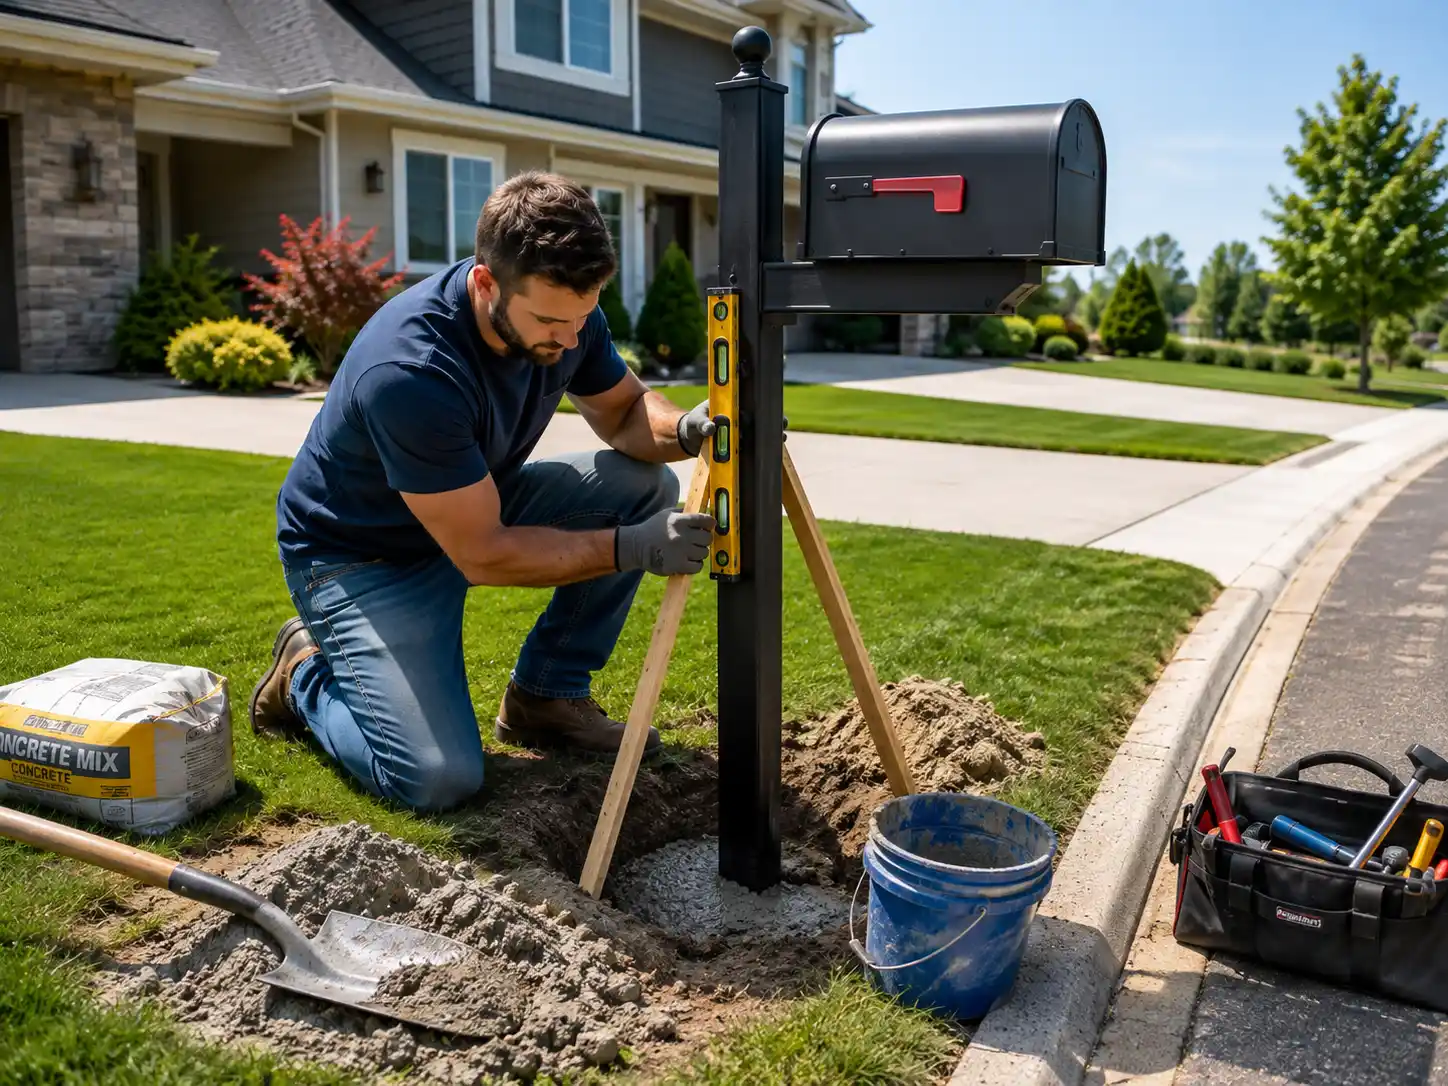
How to Install a Mailbox Post With Concrete
If your post system calls for concrete, follow this process.
Step 1: Mark the Finished Mailbox Position
Start at the road—not at the post hole.
Work out where the mailbox door must sit.
For typical curbside placement:
Mailbox door → curb or road edge = 6–8 inches
Then measure backward to find the correct post location.
Step 2: Calculate the Finished Mailbox Height
The final mailbox generally needs to sit within the 41–45 inch range measured from the road surface to the inside floor or lowest mail-entry point, depending on design.
Account for:
road level + lawn level + exposed post + bracket + mounting board + mailbox
Do not cut the post based only on ground level.
Step 3: Prepare the Hole
Dig according to the post manufacturer’s instructions and applicable roadside requirements.
For common breakaway-style roadside supports, USPS/FHWA guidance references burial no deeper than 24 inches.
Keep the hole only as large as needed for the chosen installation system.
Step 4: Put the Post in Position
Place the post in the hole.
Use a level on two sides.
Check:
Front to back
Left to right
Do not judge it by eye.
A small lean becomes much more visible once the mailbox is attached.
Step 5: Brace the Post
Use temporary supports to keep the post still.
Before adding concrete, check again:
Finished mailbox height
Curb setback
Post direction
Mailbox orientation
This is much easier to correct now than later.
Step 6: Add the Concrete
Mix and place the concrete according to the post or foundation instructions.
Keep checking the level while filling.
Do not let the post rotate.
A perfectly vertical post facing the wrong direction still creates an installation problem.
Step 7: Let the Base Stabilize
Do not immediately install a large mailbox.
Allow the footing to reach the condition required by the concrete or post-system instructions before loading it.
Step 8: Install the Mounting Board or Bracket
Once the post is stable, attach the mounting system.
Then check the finished position again before securing the mailbox.
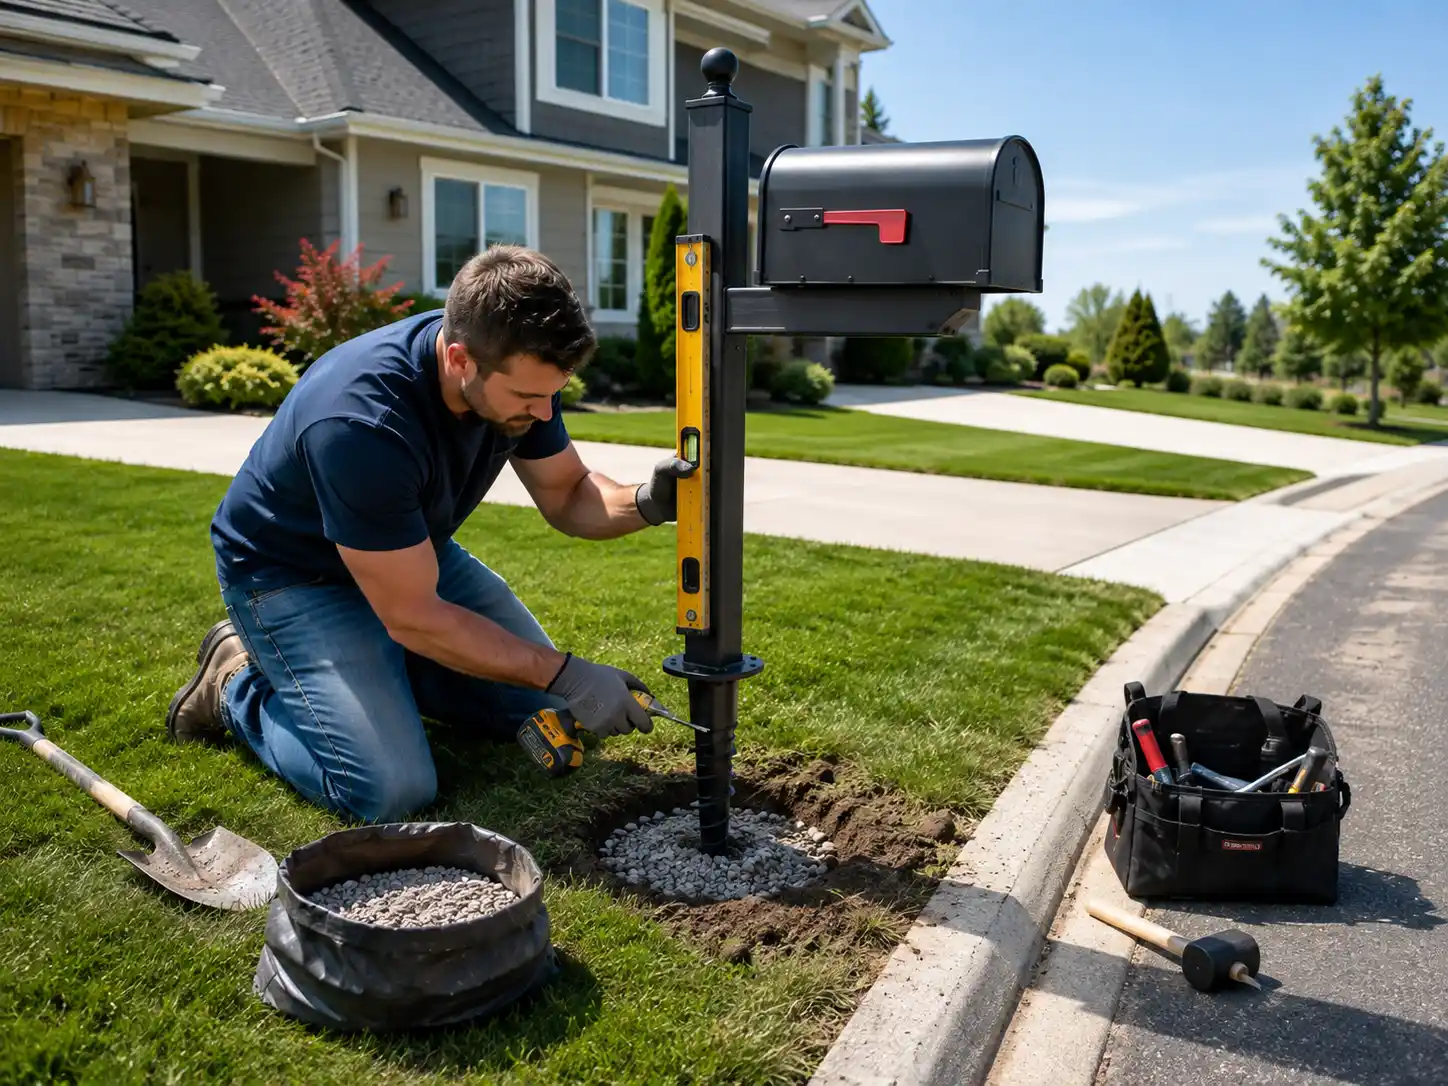
How to Install a Mailbox Post Without Concrete
Concrete-free installation can be simpler and easier to repair later.
The best method depends on the post design.
Method 1: Direct Burial With Compacted Backfill
This can work with compatible posts in suitable soil.
Place the post in the hole and add backfill gradually.
Compact each layer instead of filling the entire hole at once.
Keep checking the post with a level.
This method is more suitable when:
Soil is firm
Drainage is reasonable
The mailbox is not unusually heavy
The post is intended for direct burial
Method 2: Gravel
Gravel may help drainage and can be used around some post systems.
But simply filling a large hole with loose gravel does not guarantee a stable mailbox.
The material still needs to support and restrain the post.
Use this approach only when it fits the post design and ground conditions.
Method 3: Ground Anchor
Some mailbox systems use a metal anchor installed below ground.
The visible post then attaches to that anchor.
Benefits can include:
Less excavation
Easier post replacement
Easier adjustment
No large concrete footing
Follow the anchor manufacturer’s installation depth and load requirements.
Method 4: Screw-In Anchor
A helical or screw-style anchor is turned into the soil.
The mailbox post attaches above it.
This can work well in suitable ground but may be less practical in:
Rocky soil
Ground with large roots
Very loose fill
Extremely soft ground
Do not force an anchor system into soil it was not designed for.
Concrete vs No Concrete: Which Is Better?
There is no universal winner.
The best choice is the one that gives your mailbox enough stability without creating unnecessary installation problems.
| Factor | Concrete | No Concrete |
|---|---|---|
| Installation effort | Higher | Often lower |
| Future removal | More difficult | Usually easier |
| Adjustment later | Difficult | Often easier |
| Stability in difficult soil | Can help in suitable designs | Depends heavily on anchor/system |
| Drainage concerns | Needs proper design | Gravel/anchor systems may help |
| DIY simplicity | Moderate | Often easier |
| Roadside safety | Foundation/support must remain appropriate | Can work well with breakaway-style systems |
For most homeowners, the first question should not be:
“Which method is stronger?”
It should be:
“Which method is designed for this post and this location?”
How to Attach a Mailbox to the Post
Once the post is stable, the next weak point is often the mounting board.
A mailbox usually attaches through either:
A wooden mounting board
A metal bracket
A proprietary mounting plate
Check the Mounting Board Size
The board should support the base of the mailbox without interfering with:
Drainage holes
Door movement
Lock components
Rear access
Fastener locations
Center the Mailbox Before Drilling
Put the mailbox on the board first.
Then check:
Front overhang
Rear overhang
Side-to-side position
Curb setback
Door clearance
Only then mark the mounting holes.
Tighten Screws Evenly
Do not overtighten fasteners against thin sheet metal.
If the bottom of the mailbox twists, the front door or lock may stop aligning properly.
Why Won’t My Mailbox Door Close After Installation?
If the mailbox door worked before installation but does not close afterward, do not immediately replace the latch.
First check the mounting.
Try:
Loosen the mounting screws slightly.
Make sure the mailbox body is square.
Open and close the door.
Check the latch alignment.
Retighten the screws evenly.
An uneven mounting board or overtightened screw can twist the metal body just enough to affect the door.
How to Keep a Mailbox Post From Leaning
If a mailbox post leans, adding another screw to the mailbox will not fix it.
The problem is usually at ground level.
Common causes include:
Loose soil
Poor compaction
Water around the base
Rot
Corrosion
Impact
Undersized support
Heavy mailbox
Post installed out of level
New Post Is Leaning
If you have just installed it, fix the base before installing the mailbox.
Do not use the mailbox weight to “hold it straight.”
Old Post Has Started Leaning
Push the post gently from different directions.
If the whole post moves at ground level:
Remove the mailbox if necessary.
Expose the base.
Check for rot or corrosion.
Re-level the post.
Repair or rebuild the foundation.
Replace the post if structural damage is present.
If a wood post is rotten below ground, straightening it is only a temporary fix.
Can You Reuse an Existing Mailbox Post?
Yes—often you can.
Before keeping it, check four things.
Is the Post Stable?
Push it gently.
A good post should not rock noticeably at the base.
Is It Structurally Sound?
For wood, look for:
Rot
Splits
Soft areas
For metal, look for:
Rust
Perforation
Bent sections
Damaged welds
Is the Location Still Correct?
If the new mailbox is deeper than the old one, the front door may move closer to the road.
Recheck the finished 41–45 inch height and 6–8 inch setback rather than assuming the old post position will still work.
Does the Mounting Board Fit?
This is usually easier to change than the post.
A new mailbox may simply need:
Wider board
Longer board
New hole pattern
Adapter plate
Can You Put a Larger Mailbox on the Same Post?
Sometimes—but check more than the screw holes.
A larger mailbox changes four things.
1. Weight
More steel means more weight.
The larger interior can also hold more mail or parcels.
2. Leverage
A deeper mailbox extending farther from the post puts more force on the mounting system.
3. Setback
A longer box may move the door too close to the road.
4. Mounting Footprint
The old mounting board may no longer support the full bottom of the mailbox.
Before upgrading, check:
post condition + mounting board + mailbox weight + final position
If all four work, you may not need a new post.
10 Common Mailbox Post Installation Mistakes
1. Digging Before Buying the Mailbox
Know the mailbox dimensions first.
2. Measuring Height From the Lawn
Use the road surface as your reference for curbside USPS placement.
3. Measuring Setback to the Post
The USPS setback is measured to the mailbox door.
4. Assuming Every Post Needs 24 Inches of Burial
Twenty-four inches is a maximum referenced for common breakaway-style supports, not a universal instruction to bury every mailbox post exactly that deep.
5. Using an Excessively Rigid Roadside Support
USPS identifies heavy metal and concrete posts as potentially dangerous and favors supports that bend or fall away if struck.
6. Choosing Concrete Without Checking the Post Instructions
Start with the design of the post, not a generic rule.
7. Installing the Mailbox Before the Base Is Stable
This makes final alignment harder.
8. Reusing a Weak Mounting Board
A strong post cannot compensate for rotten wood or badly corroded hardware.
9. Overtightening the Mailbox
This can twist the body and affect the door or lock.
10. Ignoring Why You Are Replacing the Mailbox
If your old mailbox was too small or insecure, installing another similar box does not solve the real problem.
When a Larger Mailbox Needs a Different Post
You do not automatically need a stronger post every time the mailbox gets larger.
But you should reassess the support if you are moving from a lightweight traditional mailbox to:
Large-capacity mailbox
Locking mailbox
Large steel mailbox
Mailbox with rear access
Parcel delivery box
Check the product’s mounting requirements first.
The right solution may be:
A larger mounting plate
Different bracket
New post
Freestanding base
Separate parcel box
rather than reinforcing the existing curbside post.
Final Mailbox Post Installation Checklist
Before finishing, check:
Location
Mailbox is in the correct delivery position
Finished height is correct
Curb setback is correct
Post
Straight front-to-back
Straight side-to-side
Stable at ground level
No visible structural damage
Mounting
Board or bracket supports the mailbox
Fasteners are secure
Mailbox is centered
Drainage holes remain open
Operation
Front door opens fully
Door closes easily
Latch aligns
Lock operates normally
Carrier flag works if fitted
Daily Use
House number is visible
Carrier access is clear
Retrieval side is convenient
Mailbox capacity matches normal deliveries
USPS also periodically encourages homeowners to straighten loose mailbox posts, repair hinges, address rust, and maintain clear, readable address numbers.
Mailbox Post Installation FAQ
How deep should a mailbox post be?
For common breakaway-style curbside supports, USPS/FHWA guidance references burial no more than 24 inches deep. The exact installation still depends on the post design and local conditions.
How high should a mailbox be?
For typical curbside delivery, USPS generally specifies 41–45 inches from the road surface to the inside floor of the mailbox or lowest mail-entry point for applicable locked designs.
How far should the mailbox be from the curb?
USPS generally specifies 6–8 inches from the front face of the curb or road edge to the mailbox door.
Do you have to use concrete for a mailbox post?
No. Direct-bury posts, ground anchors, screw anchors, and other manufacturer-designed systems may not require concrete.
Is a 4 × 4 post okay for a mailbox?
A 4 × 4 wood support is one of the examples referenced by USPS/FHWA for a breakaway-friendly curbside support.
Can I use a steel mailbox post?
Yes. USPS/FHWA guidance references a 2-inch-diameter standard steel or aluminum pipe as another example of an appropriate breakaway-style support.
Why does my mailbox post keep leaning?
The most common causes are weak soil, poor compaction, water around the base, impact, rot, corrosion, or a support that is not suitable for the mailbox weight.
Can I reuse my old mailbox post?
Yes, if it is stable, structurally sound, properly located, and suitable for the new mailbox. You may only need to replace the mounting board.
Can I put a larger mailbox on my existing post?
Possibly. Check the post condition, mounting-board size, mailbox weight, depth, and final curb setback before installing it.
Choose the Mailbox Before You Install the Post
If you are building a completely new mailbox installation, choose the mailbox first.
This gives you the actual:
Dimensions
Weight
Mounting footprint
Hole spacing
Door clearance
Access direction
You can then design the post around the mailbox rather than trying to make an already-installed post fit the wrong product.
If you mainly receive letters, a standard curbside mailbox may be enough.
If your concern is mail security, consider a locking mailbox.
If packages are regularly left outside because they do not fit, a larger mailbox or dedicated parcel box may be a better solution.
Before ordering, record four details:
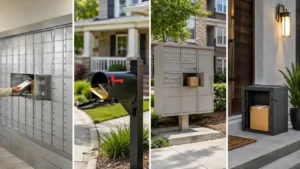
1. Installation type
Post mount, wall mount, freestanding, or built-in.
2. Available dimensions
Width, depth, and height.
3. Access direction
Front access or rear access.
4. Normal deliveries
Letters, large envelopes, or parcels.
HomeBox Solutions supplies mailbox and parcel box solutions for different residential and project installations.
If you are unsure whether an existing post can support a new mailbox, send us the mailbox size, existing post dimensions, mounting area, and installation photos. We can help you identify the most suitable configuration before you rebuild the post.
Popular Parcel Box and Letterbox Products
Choose from existing product styles or develop your own custom series.
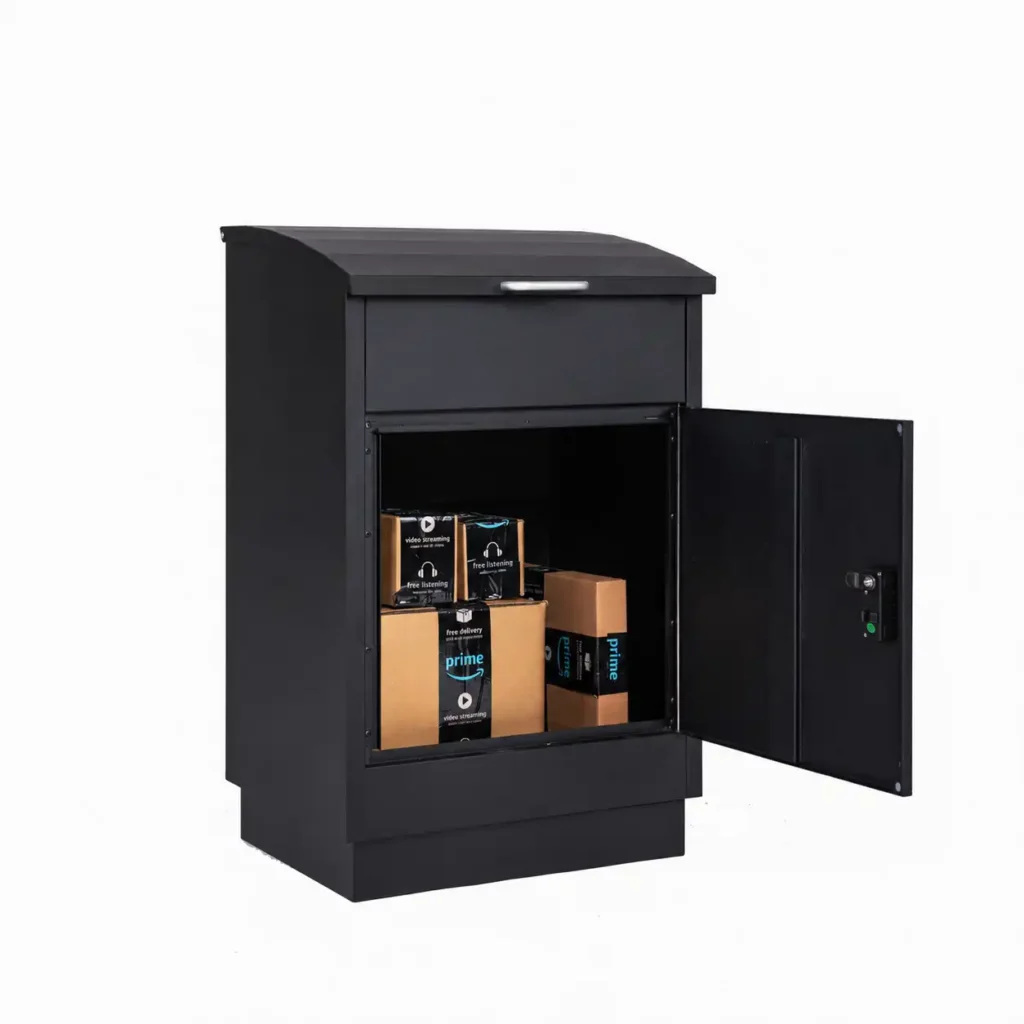
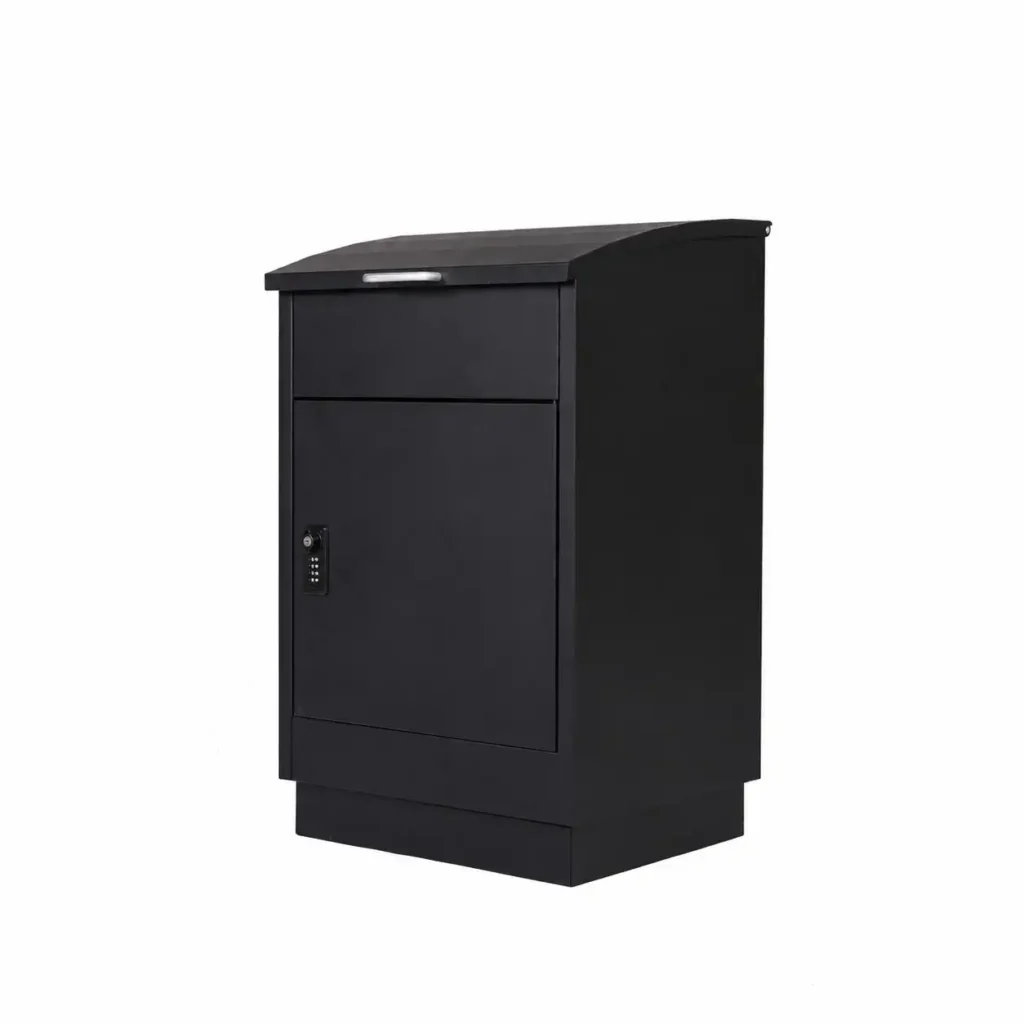
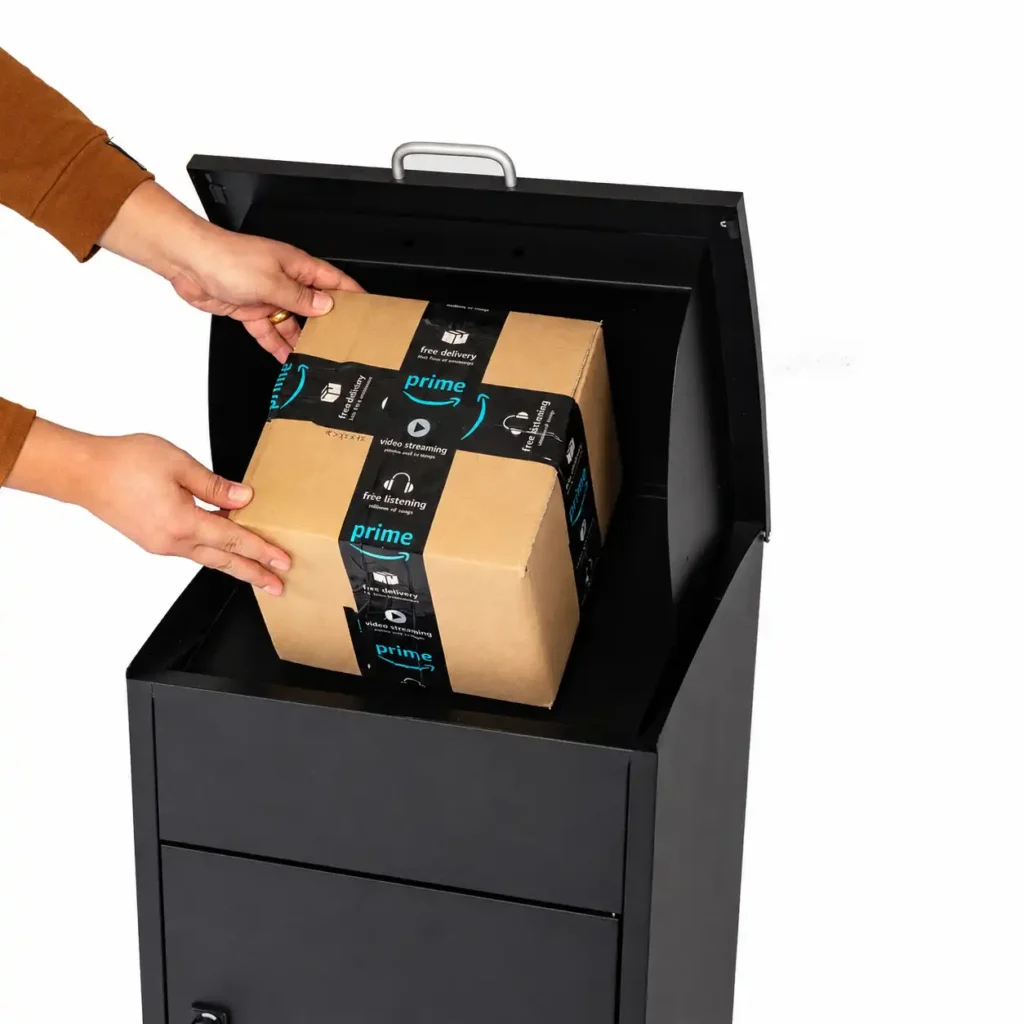
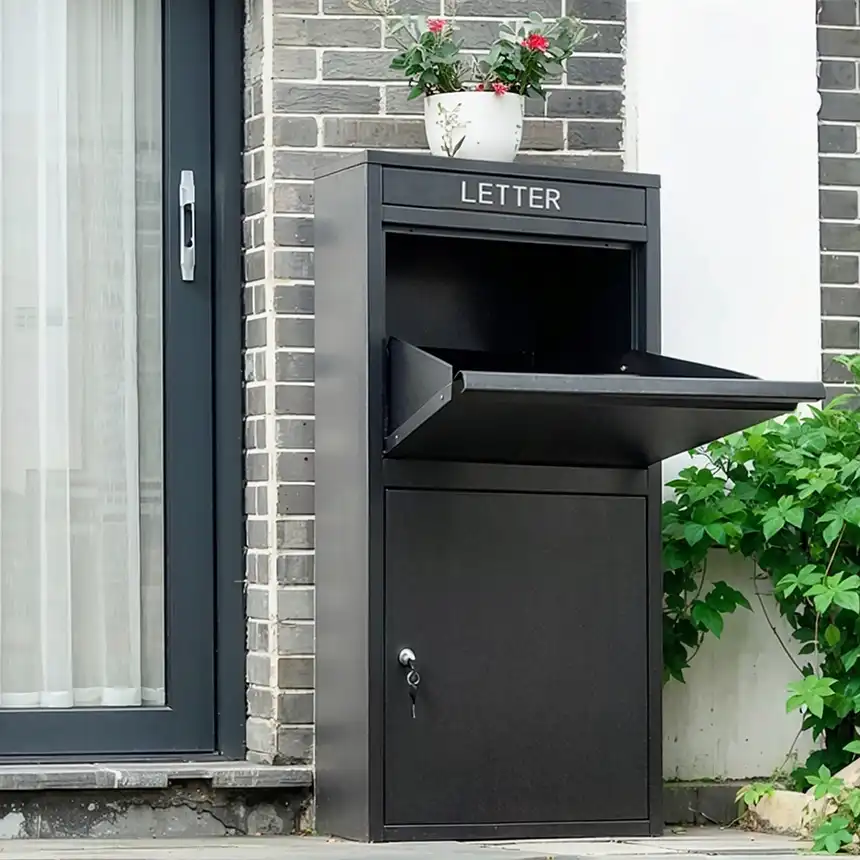
Extra Large Parcel Boxes
High-capacity parcel boxes for oversized packages and busy delivery locations.
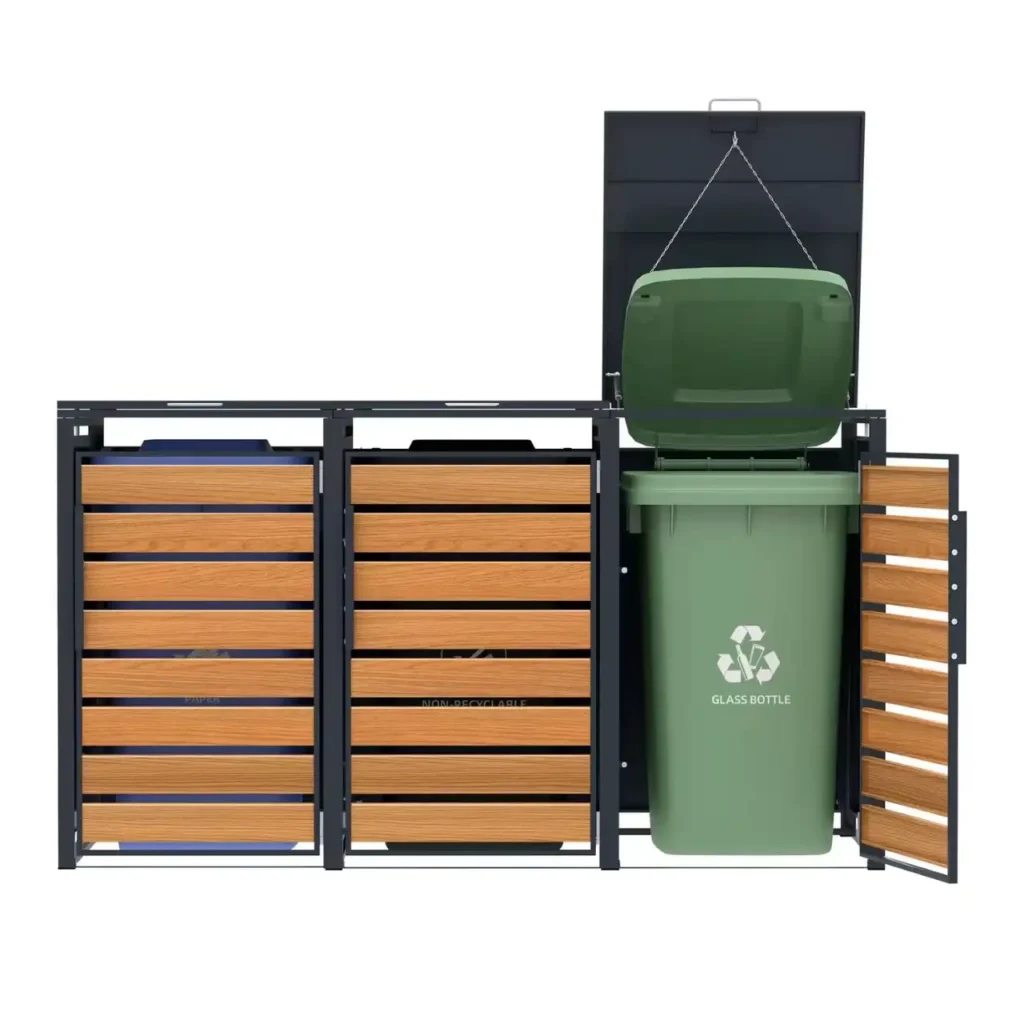
Trash Bin Enclosure
Outdoor trash bin enclosures provide a clean and secure way to store one, two, three, or multiple wheeled bins.
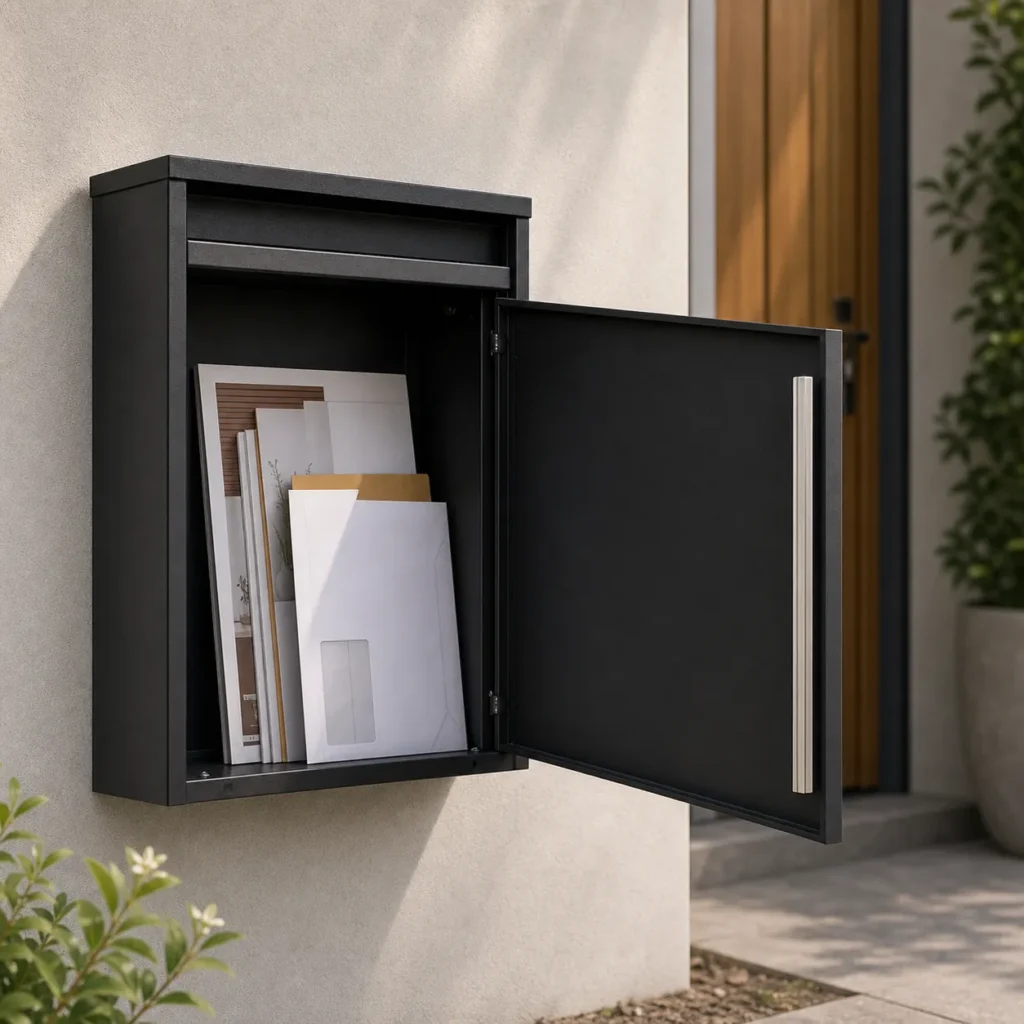
Letter and Mail Boxes
Letter boxes are designed to make mail and small parcel receiving more organized, secure, and convenient.

House Numbers
House numbers are small details, but they affect the first impression of a property, the visibility of an address.
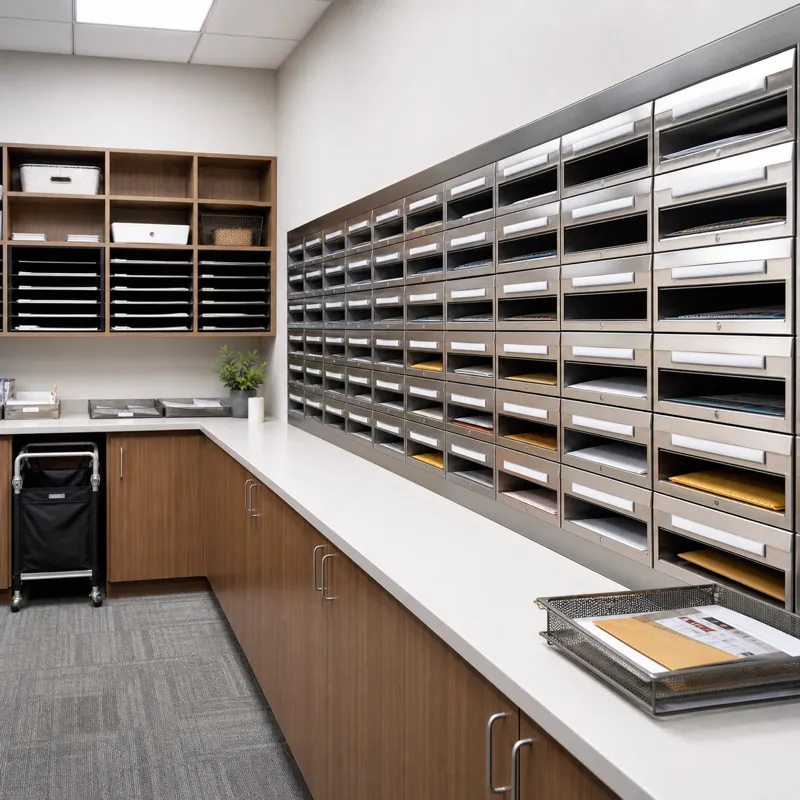
Mail Slots
Mail slots are designed for projects where appearance, size, and installation details matter.