Installation Type
17
Aug
Aug
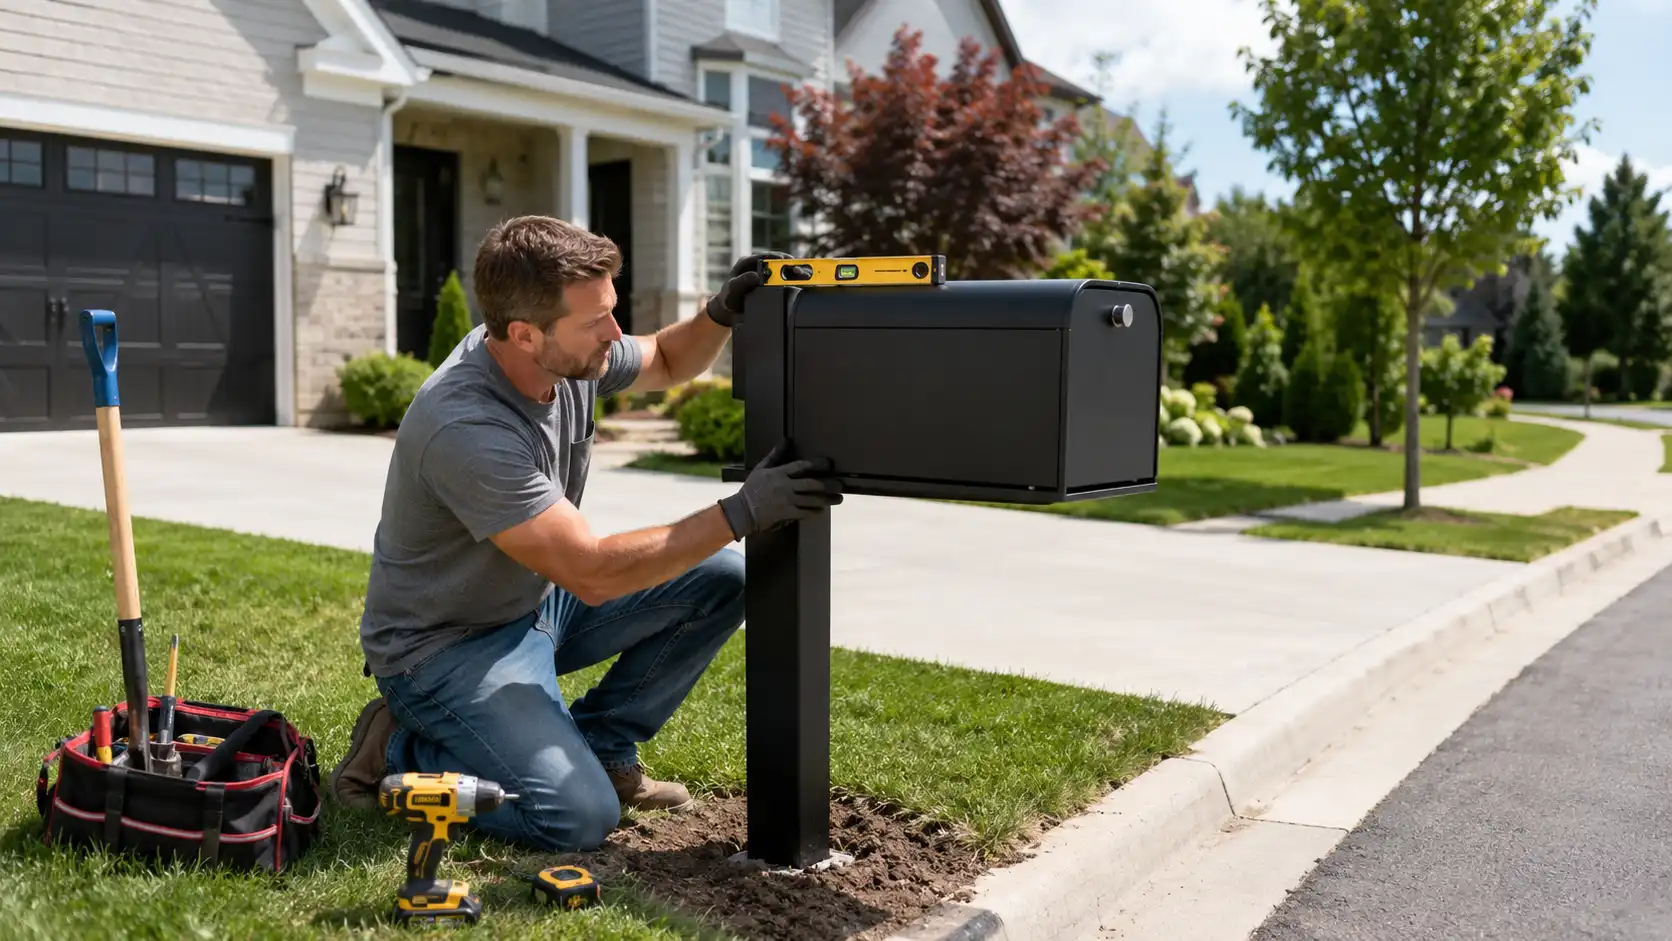
Installing a mailbox is not difficult, but getting the height, location, post, and mounting position right matters.
A mailbox that is installed too low, too far from the road, or on a weak post may need to be moved later. A mailbox that is mounted unevenly may also have problems with the door, lock, or water drainage.
For most homeowners, the job becomes much easier if you follow the right order:
Check the location → measure the mailbox → install the support → mount the mailbox → test the door and access.
This guide explains how to install a curbside or wall-mounted mailbox, how to reuse an existing post, and what to check before replacing an old mailbox.
Contents
hide
Before Installing a Mailbox, Check These 4 Things
Do not start digging as soon as the new mailbox arrives.
First, check how and where the mailbox will be used.
1. Confirm How Mail Is Delivered
The first question is whether your property already receives mail through:
A curbside mailbox
A wall-mounted mailbox
A door slot
A community or cluster mailbox
If you already have curbside delivery, do not simply move the mailbox to the front wall of the house because it is more convenient.
USPS states that customers who want to replace curbside delivery with a wall-mounted mailbox should first get permission from their local postmaster.
For most replacement projects, keeping the mailbox near its existing approved delivery location is the easiest option.
2. Check the Mailbox Size Before Installation
Measure the new mailbox itself, not only the post.
Pay attention to:
| Measurement | Why It Matters |
|---|---|
| Mailbox width | Determines whether the existing mounting board is wide enough |
| Mailbox depth | Affects the final position of the front door |
| Mailbox height | Affects total installation height |
| Mounting hole spacing | Determines whether old holes can be reused |
| Door opening | Needs enough space to open fully |
| Rear door opening | Important for rear-access mailboxes |
This is especially important when replacing a small traditional mailbox with a larger mailbox or parcel mailbox.
The old post may still be usable, but the mounting board may need to be replaced.
3. Check the Condition of the Existing Post
If you are replacing an old mailbox, try moving the post gently by hand.
Look for:
Leaning
Rot near ground level
Rust
Cracks
Loose concrete or soil
A damaged mounting board
Loose screws or brackets
If the post is straight and stable, you may only need to replace the mailbox and mounting board.
If the post moves at ground level, fixing only the mailbox will not solve the problem.
4. Think About Why You Are Replacing the Mailbox
This can save you from buying the wrong product twice.
Ask yourself what is wrong with the current mailbox.
Is it:
Too small?
Rusted?
Difficult to close?
Not secure?
Letting rain inside?
Unable to hold packages?
Difficult to access from your side of the property?
If the real problem is capacity or security, installing another basic mailbox of the same type may not solve it.
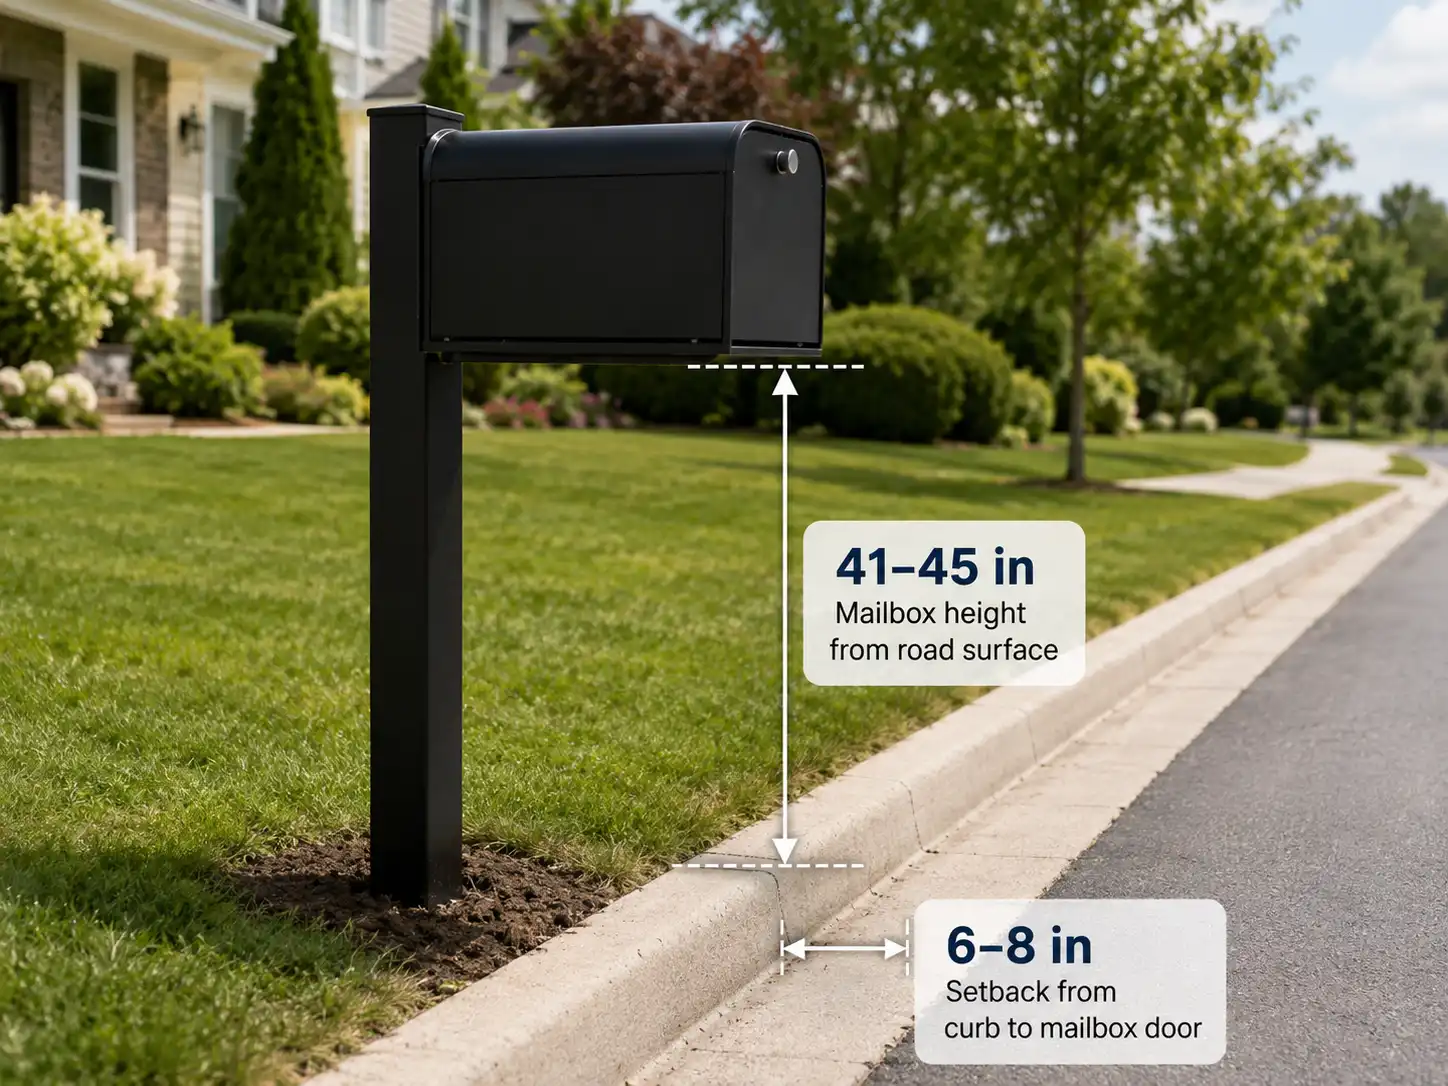
USPS Mailbox Height and Placement Requirements
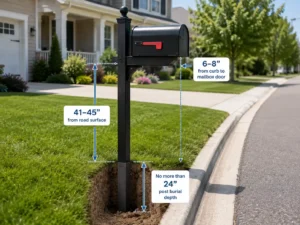
For a typical U.S. curbside mailbox, USPS currently gives the following installation guidance.
| Installation Item | USPS Guidance |
|---|---|
| Mailbox height | 41–45 inches |
| Height measured from | Road surface |
| Height measured to | Bottom of mailbox / inside floor or lowest point of mail entry depending on design |
| Distance from curb or road edge | 6–8 inches |
| Post burial depth | No more than 24 inches |
| Typical wood support | Up to 4 × 4 inches |
| Typical metal support | 2-inch-diameter standard steel or aluminum pipe |
USPS also recommends contacting the local Post Office before installing or replacing a curbside mailbox because road conditions and delivery arrangements may differ.
How High Should a Mailbox Be?
For curbside delivery, the mailbox is generally installed 41 to 45 inches above the road surface.
One common mistake is measuring from the lawn.
If your lawn is six inches higher than the road, measuring from the grass can put the mailbox at the wrong height.
Always use the road surface as your reference point.
How Far Should a Mailbox Be From the Curb?
USPS guidance places the mailbox 6 to 8 inches back from the front face of the curb or road edge to the mailbox door.
Notice that this measurement is to the mailbox door, not simply to the post.
This matters because some mailboxes extend much farther forward from the post than others.
If your road has no raised curb or has an unusual shoulder, contact your local Post Office before choosing the exact location.
What Do You Need to Install a Mailbox?
For a typical post-mounted mailbox, prepare the tools and hardware before you start.
You may need:
Tape measure
Level
Shovel or post-hole digger
Drill
Screwdriver
Wrench or socket set
Mailbox post
Mounting board or bracket
Exterior-rated screws or bolts
Gravel or suitable post foundation material
Concrete if required by your chosen post system
Pencil or marker
The exact hardware depends on the mailbox and post.
If your mailbox comes with mounting instructions, check them before drilling new holes.
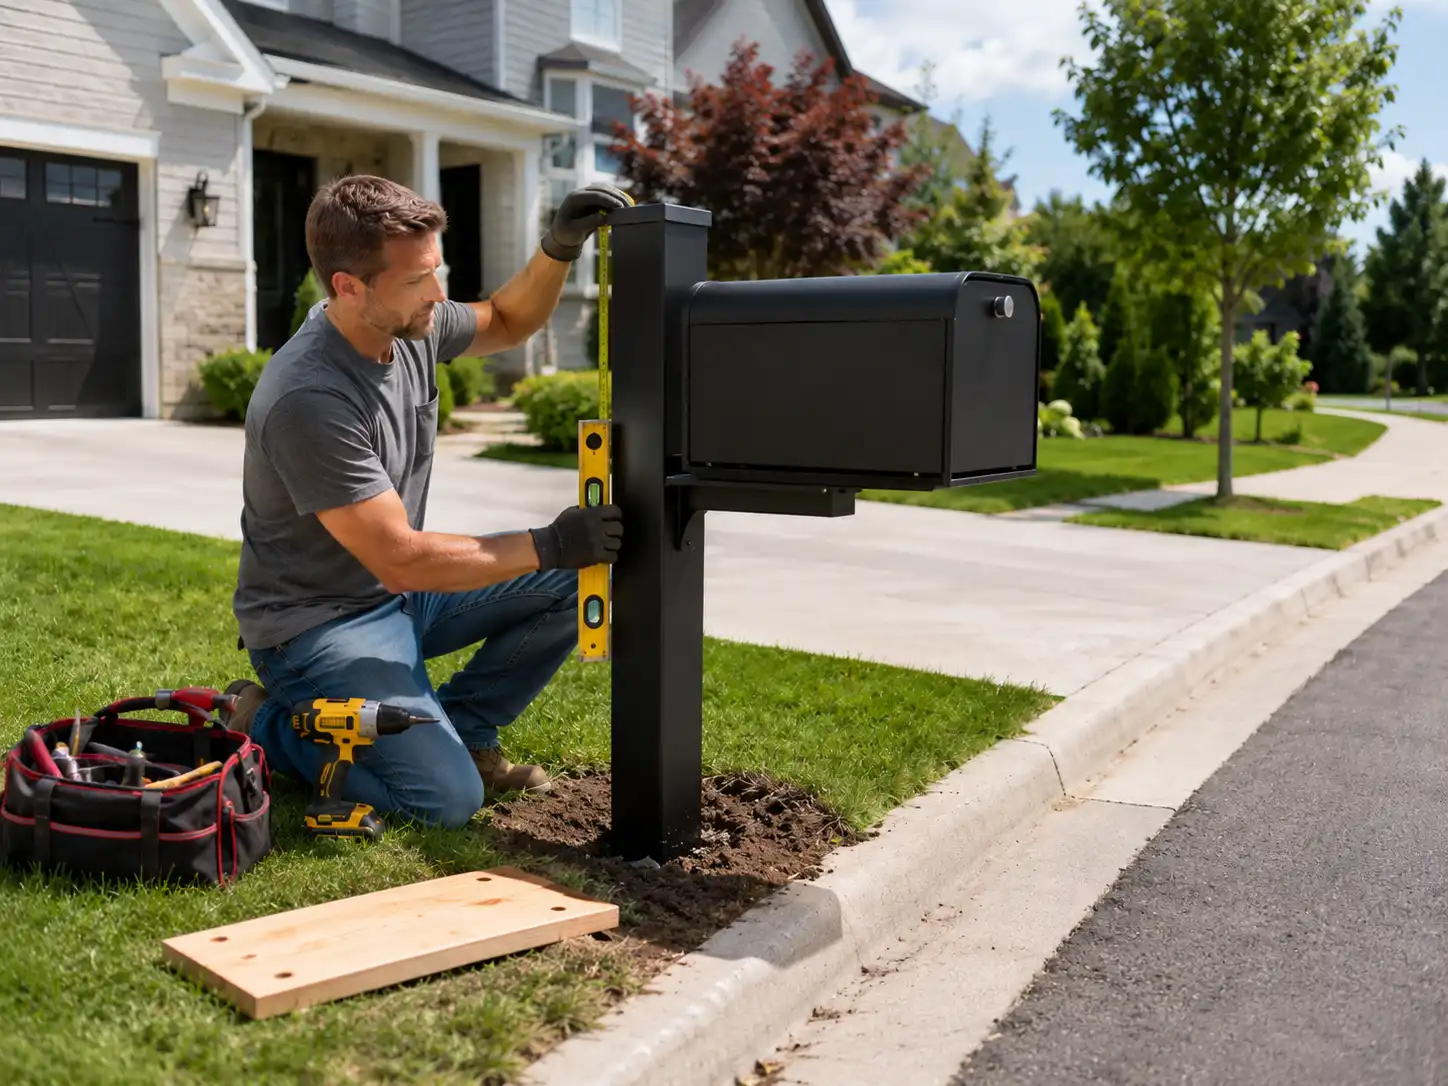
How to Install a Post-Mount Mailbox
Most curbside mailbox installations can be completed in seven main steps.
Step 1: Mark the Final Mailbox Position
Start by deciding where the front door of the mailbox will sit.
Do not mark only the center of the post.
A mailbox may extend several inches in front of the post, so the post hole must be positioned based on the finished mailbox location.
Check:
Mailbox door → curb or road edge = about 6–8 inches
Then confirm that the location gives the carrier a clear approach.
Before digging, also check for underground utilities.
Step 2: Measure the Required Post Height
Work backward from the final mailbox height.
For example, if the mailbox must sit within the USPS 41–45 inch range, you need to consider:
Road surface → ground level → post → mounting board → bottom of mailbox
Do not simply cut the post to 41 inches.
The road and lawn may not be at the same height, and the mounting bracket adds height.
Measure the complete assembly.
Step 3: Prepare the Post Hole
USPS guidance states that mailbox supports should generally be buried no more than 24 inches deep.
The exact hole size will depend on:
Soil condition
Post type
Mailbox weight
Mounting system
Local requirements
The goal is to make the mailbox stable without creating an unnecessarily rigid roadside obstacle.
USPS notes that good curbside supports should be stable but able to bend or fall away if struck. It references FHWA guidance for supports such as a 4 × 4 inch wood post or 2-inch-diameter standard steel or aluminum pipe and warns against potentially dangerous rigid supports such as heavy metal or concrete posts.
Step 4: Set and Level the Mailbox Post
Place the post in the hole.
Use a level to check it from both the front and side.
Do not judge by eye.
A small lean at ground level becomes much more visible once a long mailbox is installed on top.
Secure the post according to the post manufacturer’s instructions.
If the post system uses concrete, gravel, a ground anchor, or another foundation method, allow it to become stable before mounting the mailbox.
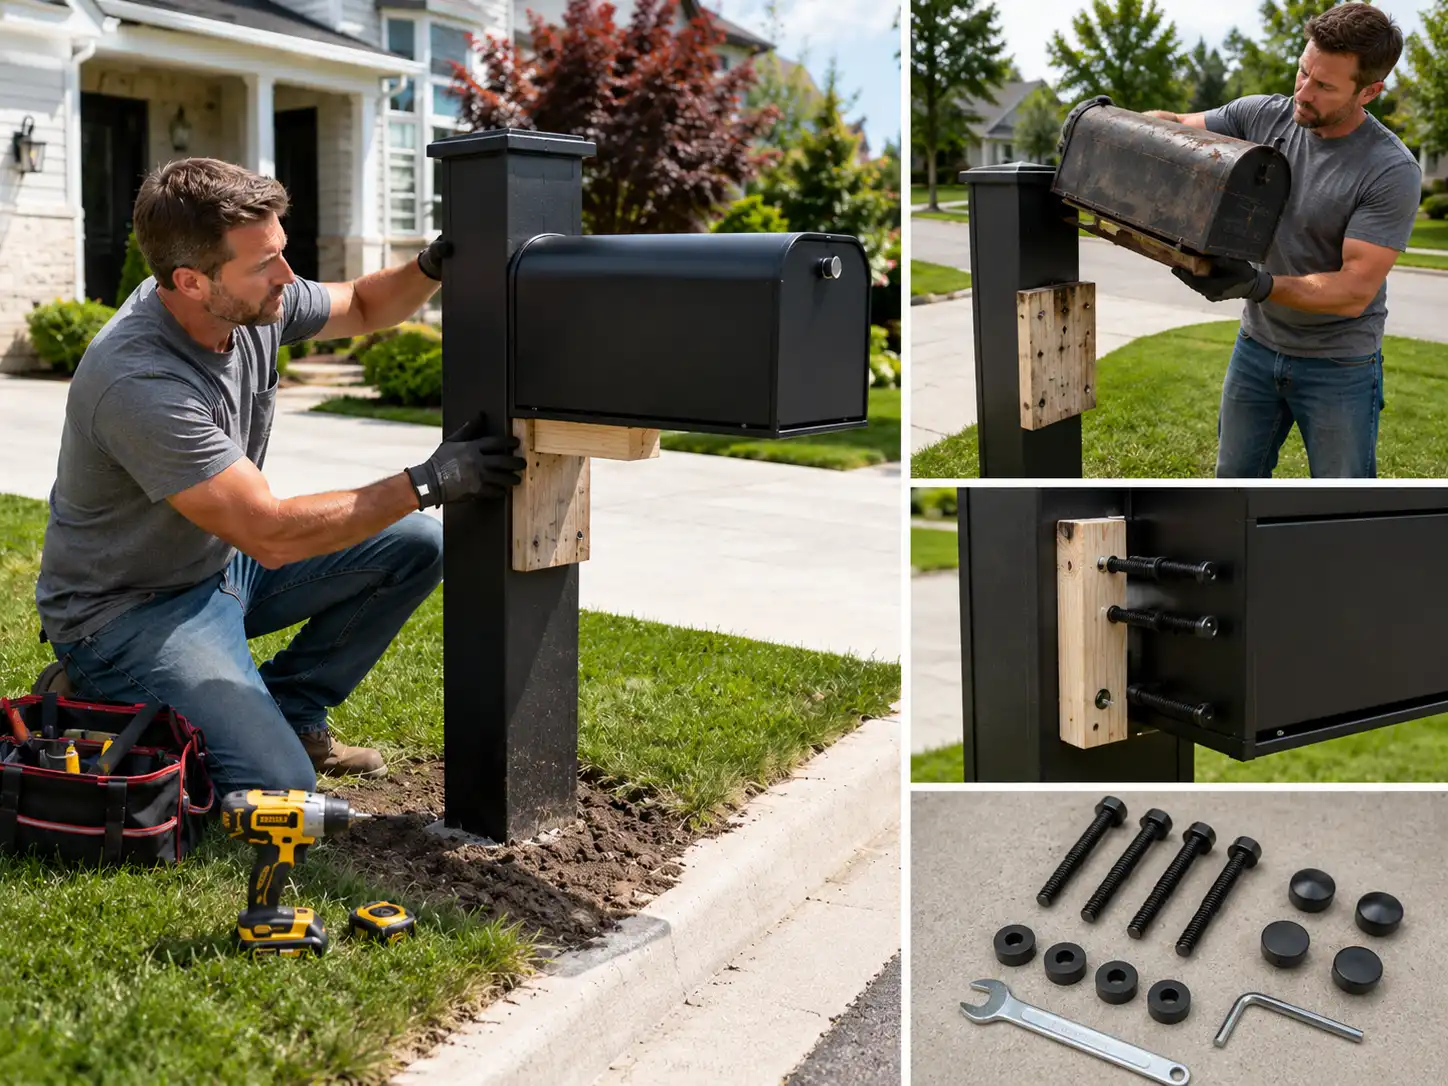
Step 5: Install the Mounting Board or Bracket
Many curbside mailboxes attach to a wooden mounting board or metal bracket rather than directly to the post.
Place the board or bracket on top of the post and check:
Is it level?
Is it centered?
Is it large enough for the mailbox?
Does it block any drainage holes?
Does it allow the door to open completely?
If you are replacing an existing mailbox, do not assume the old mounting board will fit.
Compare the old board with the footprint of the new mailbox first.
Step 6: Attach the Mailbox
Place the mailbox on the mounting board.
Before tightening anything, check the final position again.
The mailbox should:
Sit straight
Be centered on the support
Meet the required height
Meet the required curb setback
Open toward the correct direction
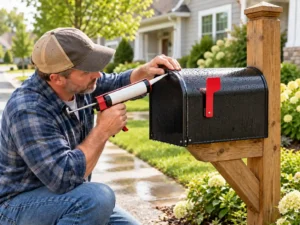
Install the recommended screws or bolts.
Tighten them evenly.
Do not overtighten thin metal panels because this can distort the mailbox body.
Step 7: Test the Mailbox Before Finishing
Open and close the mailbox several times.
If it has a lock, test the lock.
If it has a carrier flag, raise and lower it.
Check that:
The door opens fully
The door closes without force
The latch aligns correctly
The lock works smoothly
The mailbox does not move on the post
Drainage openings are not blocked
It is easier to correct a small alignment problem now than after the installation is completely finished.
Do You Need Concrete for a Mailbox Post?
Not every mailbox post needs concrete.
The better question is:
What does this post system need to remain stable in this soil and location?
Concrete may be useful for some manufacturer-designed post systems or ground conditions, while other installations may use ground anchors, compacted material, or another foundation method.
Consider:
| Situation | What to Check |
|---|---|
| Firm soil | Standard post system may be enough |
| Loose or sandy soil | Additional stabilization may be needed |
| Heavy mailbox | Check post load capacity |
| Large parcel mailbox | Use a support designed for the extra size and weight |
| Strong wind area | Check anchoring requirements |
| Roadside location | Avoid creating an unsafe rigid obstacle |
| Snowplow area | Placement and support design are especially important |
Do not assume that “more concrete” automatically means a better mailbox installation.
USPS specifically emphasizes breakaway-friendly roadside support design for safety.
For more detail, see our guide on How to Install a Mailbox Post With or Without Concrete.
Can You Install a New Mailbox on an Existing Post?
Yes. In many cases, replacing only the mailbox is the fastest solution.
You can normally reuse the post if it is:
Straight
Stable
Free from serious rot or corrosion
Strong enough for the new mailbox
Installed in the correct location
The biggest problem is usually the mounting board.
If the New Mailbox Is Wider
Replace the old mounting board with a wider one.
Do not let the sides of a heavy mailbox hang too far beyond the support.
If the Mounting Holes Do Not Match
Do not force new screws into weak areas of the old board.
Replace the board or use a suitable adapter plate.
If the New Mailbox Is Longer
Check the curb setback again.
A longer mailbox may move the front door several inches closer to the road even though the post has not moved.
This is one of the most common problems when changing mailbox size.
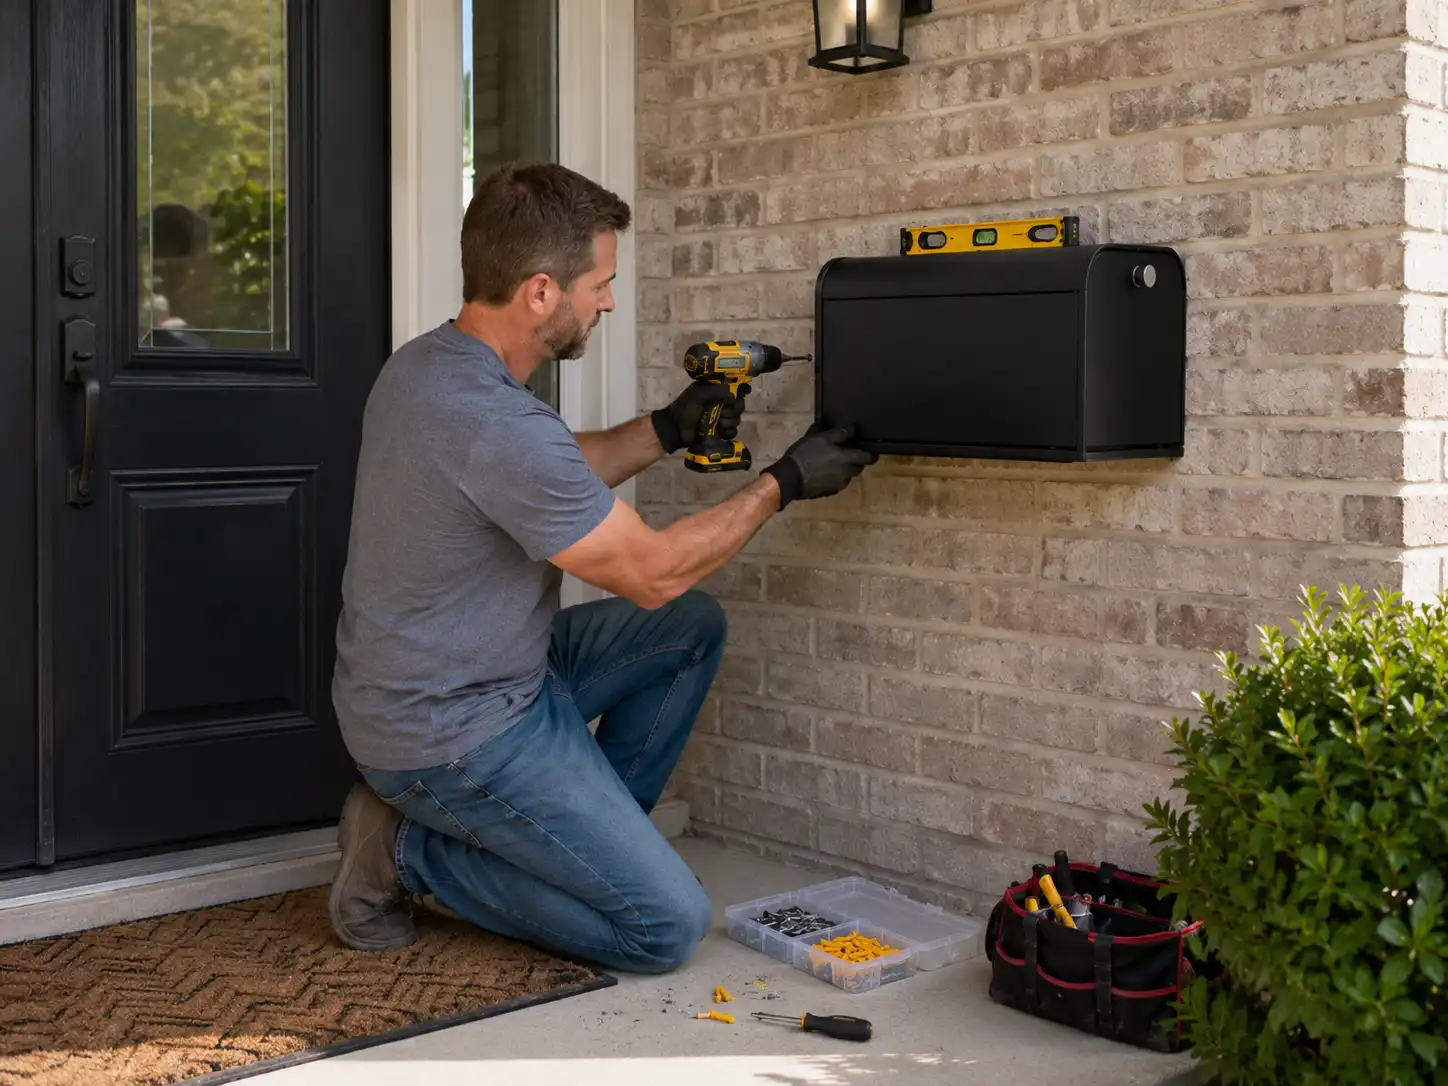
How to Install a Wall-Mount Mailbox
Wall-mounted mailbox installation is different from curbside installation because the wall structure carries the weight.
USPS says wall-mounted mailboxes should be placed near the main entrance where the carrier can easily see and access them. It also states that wall-mounted mailboxes do not require the same PMG approval seal used for approved curbside mailbox designs.
Choose the Right Location
The mailbox should be:
Easy for the carrier to see
Easy for you to reach
Clear of the door swing
Away from heavy roof runoff
Mounted to a strong surface
Choose the Correct Fastener
Different walls need different anchors.
Brick or concrete: use suitable masonry anchors.
Wood: fasten into solid framing whenever possible.
Siding: do not rely only on thin siding material. Find solid backing or use a mounting system designed for that wall construction.
Level Before Drilling
Hold the mailbox or installation template against the wall.
Mark every hole.
Check with a level before drilling.
Once masonry holes are drilled, moving the mailbox a few millimeters can be difficult.
Protect the Mounting Area From Water
Rain running down the wall can enter around mounting holes.
Use appropriate exterior sealing around vulnerable fixing points when necessary, but do not block drainage openings designed into the mailbox.
For a complete installation process, see our separate guide to How to Install a Wall-Mount Mailbox on Brick, Siding or Concrete.
Common Mailbox Installation Problems
A mailbox can look correctly installed but still have small problems.
Here are some of the most common ones.
| Problem | Common Cause | What to Do |
|---|---|---|
| Mailbox leans | Post is not level or base is loose | Re-level and stabilize the post |
| Mailbox shakes | Loose mounting screws | Tighten or replace fasteners |
| Door will not close | Mailbox body was twisted during installation | Loosen fasteners, square the box, then retighten |
| Door rubs | Mounting screws are too tight | Loosen and realign |
| Lock is difficult to turn | Door and lock are misaligned | Check door position before replacing the lock |
| Water gets inside | Poor alignment, exposed seams, damaged seal, or poor drainage | Check the door, seams, mounting angle, and drainage |
| New mailbox does not fit | Different footprint or mounting holes | Replace mounting board or use adapter |
| Box is too close to road | Post was measured instead of mailbox door | Recheck the final 6–8 inch setback |
| Box is too low | Height was measured from lawn instead of road | Recheck height from road surface |
8 Mailbox Installation Mistakes to Avoid
1. Measuring From the Post Instead of the Mailbox Door
The final mailbox position matters more than the post position.
Always install based on the finished assembly.
2. Measuring Height From the Grass
USPS height guidance uses the road surface as the reference.
3. Buying Before Measuring the Mounting Area
Mailbox dimensions and mounting-hole patterns are not universal.
Measure first.
4. Reusing a Rotten Mounting Board
A new mailbox cannot fix a weak base.
Replace damaged support parts at the same time.
5. Overtightening the Screws
This can twist the mailbox body and make the door or lock difficult to use.
6. Blocking Drainage Holes
Small openings in the bottom of a metal mailbox may be intentional.
Do not cover them with the mounting board or sealant.
7. Changing the Delivery Location Without Checking
Moving from curbside delivery to a wall-mounted mailbox may require approval from your local postmaster.
8. Replacing a Small Mailbox With Another Small Mailbox
Think about why you are changing the mailbox.
If packages, theft, or limited capacity caused the problem, simply installing another traditional box may only delay the next replacement.
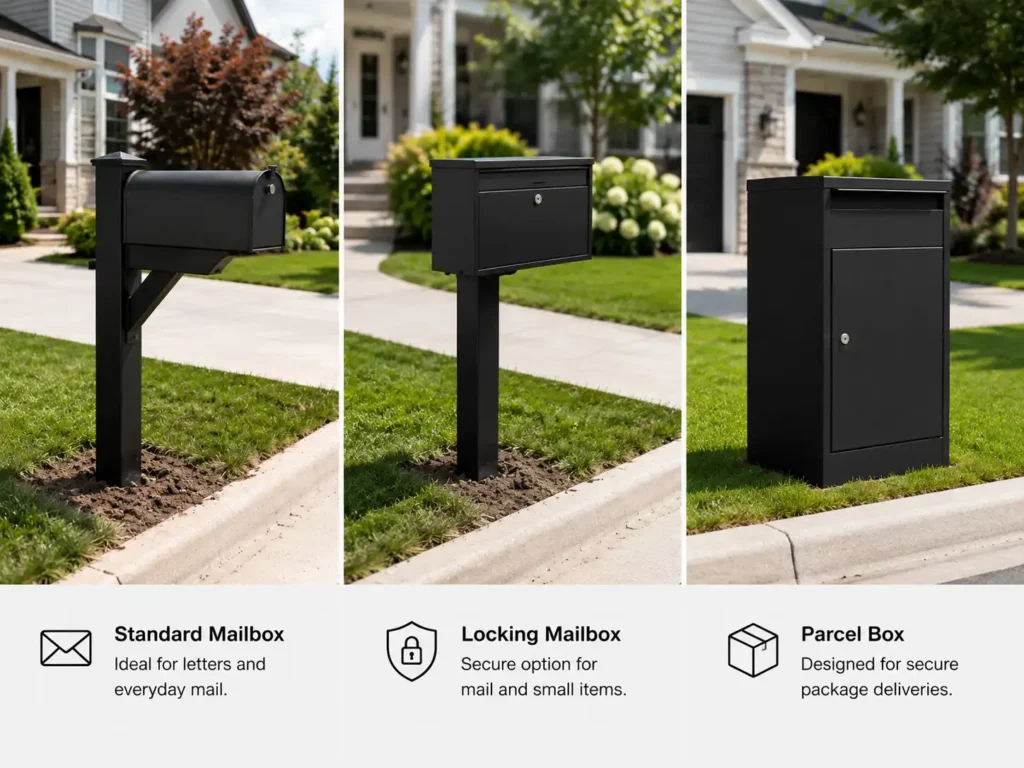
Standard Mailbox, Locking Mailbox, or Parcel Box?
Installation is also the best time to decide whether your old mailbox type still fits the way you receive mail.
| Your Main Need | Better Starting Point |
|---|---|
| Letters and small mail | Standard mailbox |
| Mail left outside for long periods | Locking mailbox |
| Checks or sensitive documents | Locking mailbox |
| Frequent online orders | Parcel mailbox / parcel box |
| Larger catalogs and envelopes | Large-capacity mailbox |
| Packages exposed to rain | Weather-protected parcel box |
| Want to retrieve mail away from roadside traffic | Rear-access mailbox |
| Mailbox backs against a wall or fence | Front-access mailbox |
Choose a Standard Mailbox If
A standard mailbox is usually enough when you mostly receive letters, bills, postcards, and small envelopes.
It is simple, affordable, and easy to install.
Choose a Locking Mailbox If
A locking mailbox may be worth the upgrade if mail sits outside for several hours or your mailbox is in a public area.
Do not compare products only by the lock.
Also check:
Mail slot size
Internal capacity
Retrieval door size
Hinge design
Door overlap
Material thickness
Weather protection
A strong lock on a weak door does not create a secure mailbox.
Choose a Parcel Box If
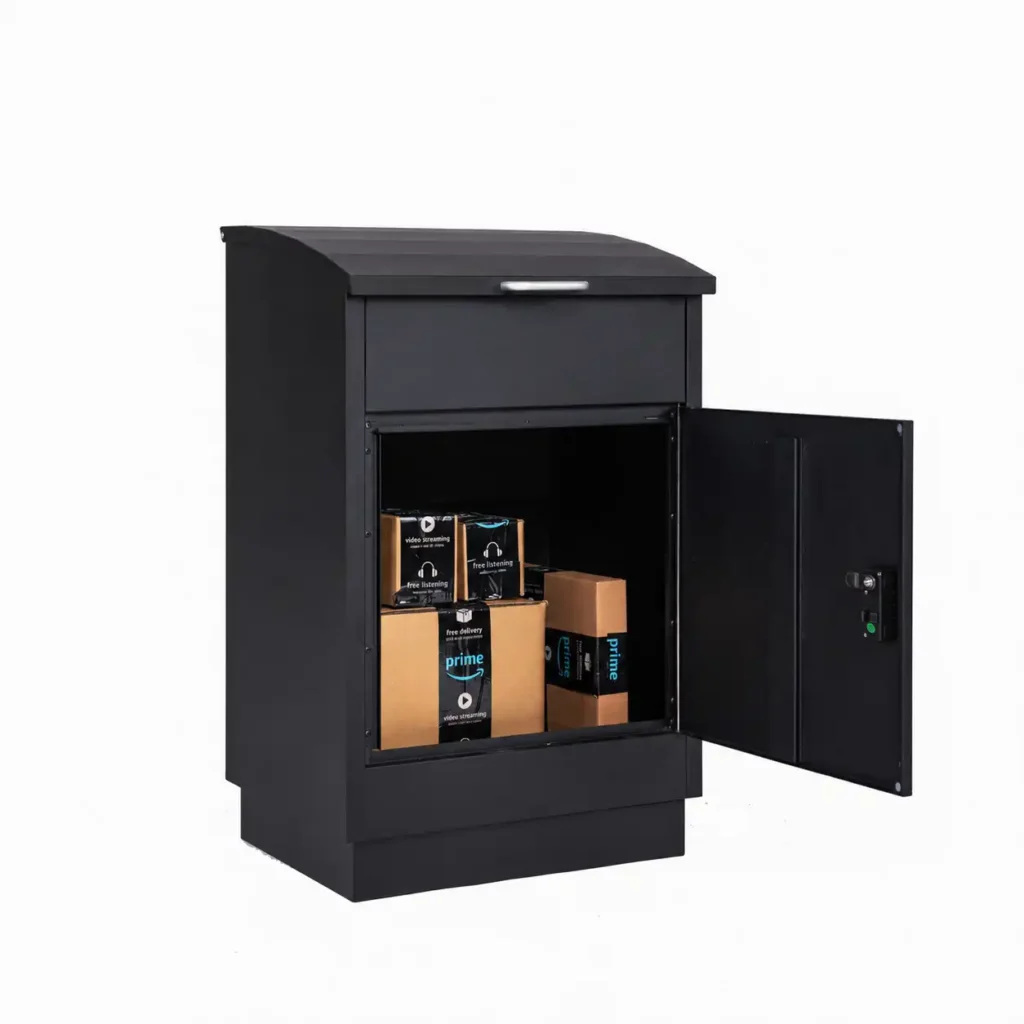
If your real problem is packages rather than letters, a parcel box may be a better solution.
A parcel box can provide:
A larger delivery opening
More internal storage
Better package protection
Separate delivery and retrieval access
Anti-fishing or anti-removal features depending on design
A large mailbox and a parcel box are not necessarily the same product.
A large mailbox mainly provides more space.
A parcel box is designed around package delivery.
Front Access or Rear Access: Choose Before Installation
Access direction affects daily use.
Front-Access Mailbox
With front access, delivery and retrieval happen from the same side.
This can work well when:
The mailbox is against a wall
Rear access is blocked
The box is near an entrance
The installation space is shallow
Rear-Access Mailbox
With rear access, mail or parcels can be collected from the opposite side of the delivery opening.
This can be useful when:
The mailbox is beside a road
The mailbox is built into a fence
You want to retrieve mail from inside the property
The box is installed in a wall or column
Think about access before drilling or building.
A mailbox can fit perfectly into a space but still be inconvenient if the retrieval door opens toward traffic, a fence, landscaping, or another obstacle.
Final Mailbox Installation Checklist
Before putting away your tools, check the whole installation.
Placement
Mailbox is in the correct delivery location
Height is correct
Curb setback is correct
Carrier has clear access
Support
Post is straight
Base is stable
Mounting board supports the mailbox
Fasteners are tight
Operation
Door opens fully
Door closes smoothly
Lock works
Flag works if included
Weather Protection
Drainage holes are open
Coating was not badly scratched during installation
Mounting holes are protected where needed
Water cannot easily collect inside
Identification
House number is visible
Address information is correct
USPS also recommends regular mailbox maintenance, including tightening loose hinges, repairing rust or loose parts, replacing faded house numbers, and keeping the carrier’s path clear.
When Should You Replace the Mailbox Instead of Repairing It?
You do not need to wait until a mailbox completely fails.
Replacement may make more sense when:
Structural rust is spreading
The door no longer aligns
The lock no longer provides useful security
Water repeatedly gets inside
Mounting points are damaged
The mailbox is too small
Packages are regularly left outside
You are already replacing the post
You want safer front or rear access
If you already need to remove the mailbox, rebuild the post, or drill new mounting holes, this may be the best time to choose a product that better fits your current delivery needs.
How to Choose the Right Mailbox Before You Order
Before buying a new mailbox, write down these five things:
1. Installation type
Post mount, wall mount, recessed, freestanding, or built into a fence or column.
2. Available space
Maximum width, depth, and height.
3. Access direction
Front access, rear access, or both.
4. What you receive
Letters only, large envelopes, small parcels, or frequent packages.
5. Security and weather conditions
Theft risk, heavy rain, snow, coastal exposure, or long periods when mail remains outside.
These five details make it much easier to choose the correct mailbox before installation begins.
Frequently Asked Questions About Mailbox Installation
How high should a mailbox be?
For typical U.S. curbside delivery, USPS guidance places the mailbox about 41 to 45 inches above the road surface, measured to the bottom/inside floor of the mailbox or mail-entry point depending on the design.
How far should a mailbox be from the curb?
USPS recommends placing a curbside mailbox 6 to 8 inches back from the curb or road edge to the mailbox door.
How deep should a mailbox post be?
USPS guidance says the support should generally be buried no more than 24 inches deep.
Do I need concrete for a mailbox post?
Not always. It depends on the post system, soil, mailbox weight, and local conditions. The support needs to be stable while remaining appropriate for a roadside installation.
Can I reuse my old mailbox post?
Yes, if it is straight, stable, undamaged, correctly located, and strong enough for the new mailbox. You may still need a new mounting board.
Can I put a bigger mailbox on my old post?
Often yes, but check the mounting-board size, post strength, final mailbox height, and curb setback. A deeper mailbox changes the position of the front door even when the post stays in the same place.
Does a curbside mailbox need USPS approval?
USPS states that curbside mailboxes bearing the Postmaster General approval seal meet USPS size and construction standards. Custom-built curbside mailbox designs need to meet applicable standards and should be shown to the local postmaster for approval.
Can I replace a curbside mailbox with a wall-mounted mailbox?
Check first. USPS says customers switching from curbside delivery to a wall-mounted mailbox need permission from their local postmaster.
Does a wall-mounted mailbox need a PMG seal?
USPS says wall-mounted mailboxes do not need the PMG seal required for approved curbside mailbox designs.
What size mailbox should I buy?
Choose the size based on what you actually receive. If most deliveries are letters, a standard mailbox may be enough. If small packages regularly do not fit, consider a larger mailbox or a dedicated parcel box.
Need a Mailbox That Fits Your Installation?
The best mailbox is not simply the largest or strongest one.
It should fit your installation space, delivery method, access direction, security needs, and normal mail or package volume.
Before ordering, measure your available installation space and decide whether you need:
Post mount or wall mount
Front or rear access
Standard or locking access
Letter or parcel capacity
Standard size or a project-specific solution
HomeBox Solutions supplies outdoor mailbox and parcel box solutions for different residential and project installations.
If you are not sure which configuration fits your project, send us your available dimensions, installation method, access direction, and typical package size. We can help you narrow down the right mailbox before you start drilling, building, or replacing the existing installation.
Popular Parcel Box and Letterbox Products
Choose from existing product styles or develop your own custom series.
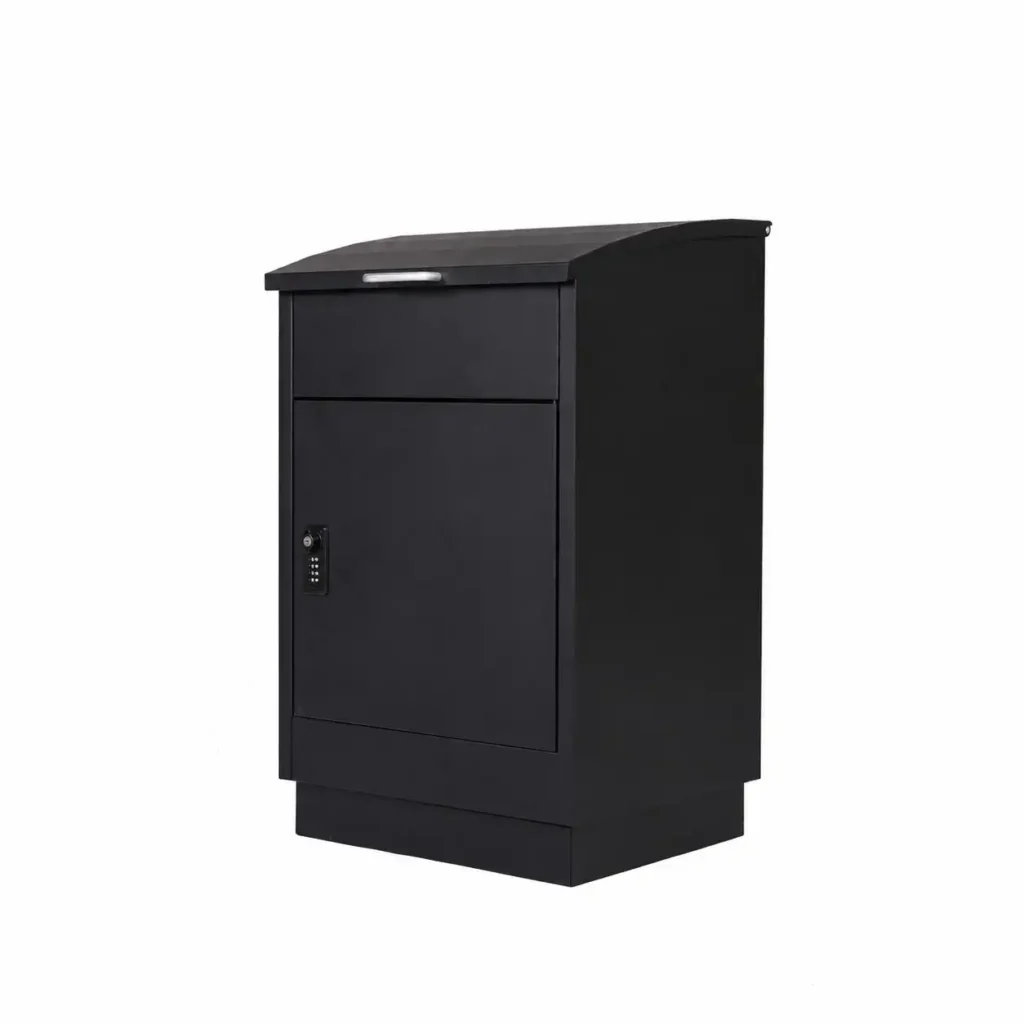
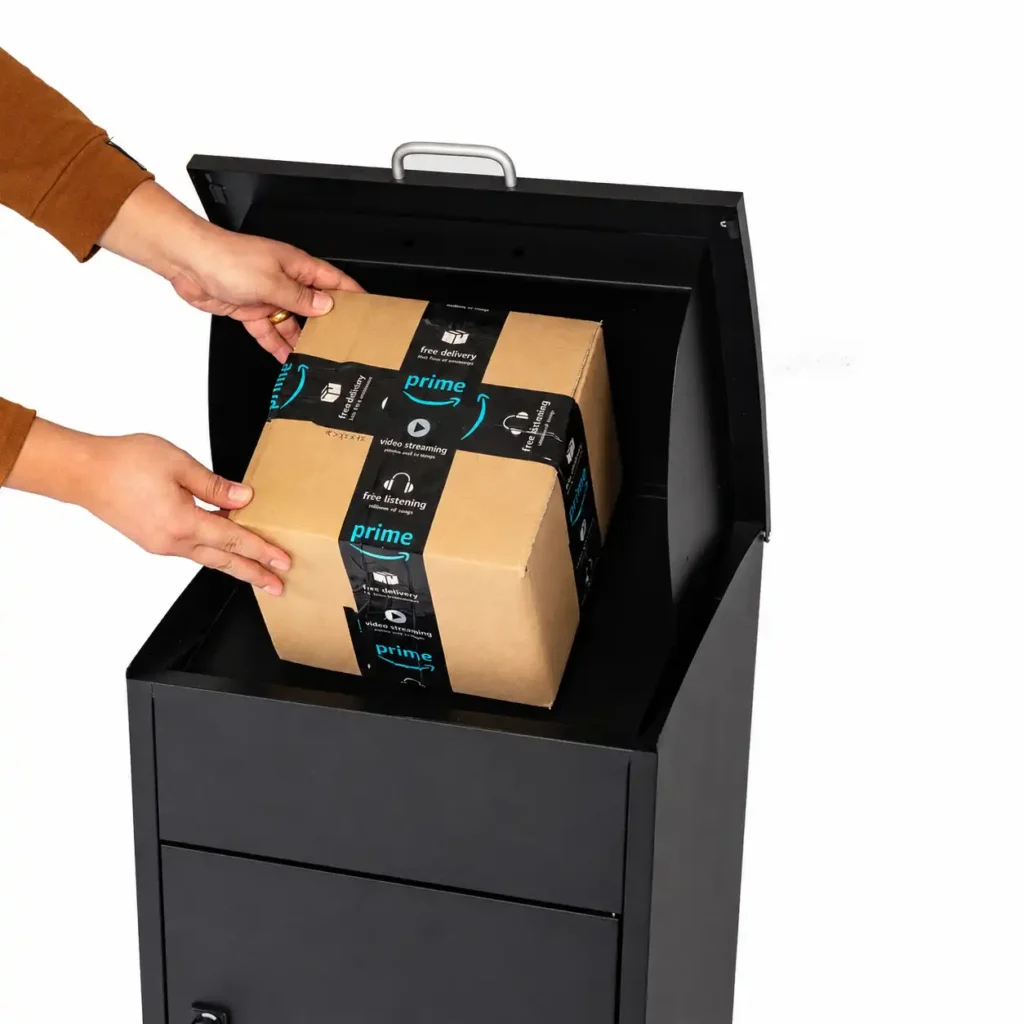
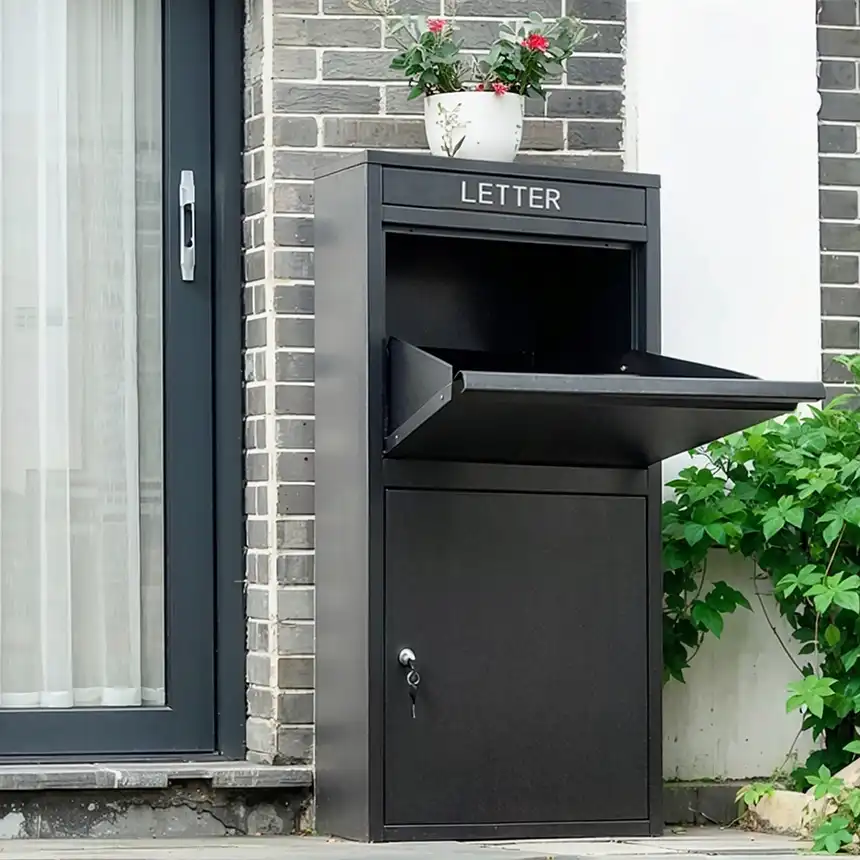
Extra Large Parcel Boxes
High-capacity parcel boxes for oversized packages and busy delivery locations.
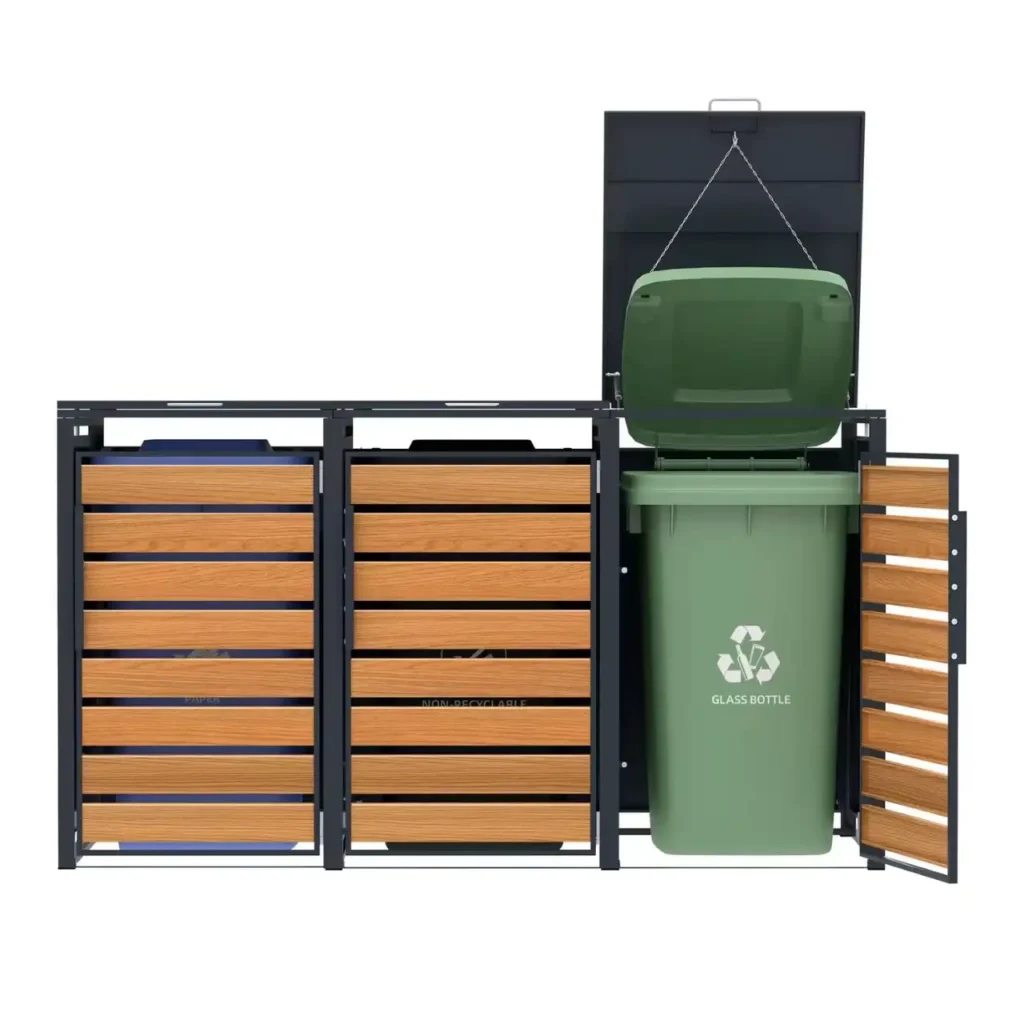
Trash Bin Enclosure
Outdoor trash bin enclosures provide a clean and secure way to store one, two, three, or multiple wheeled bins.
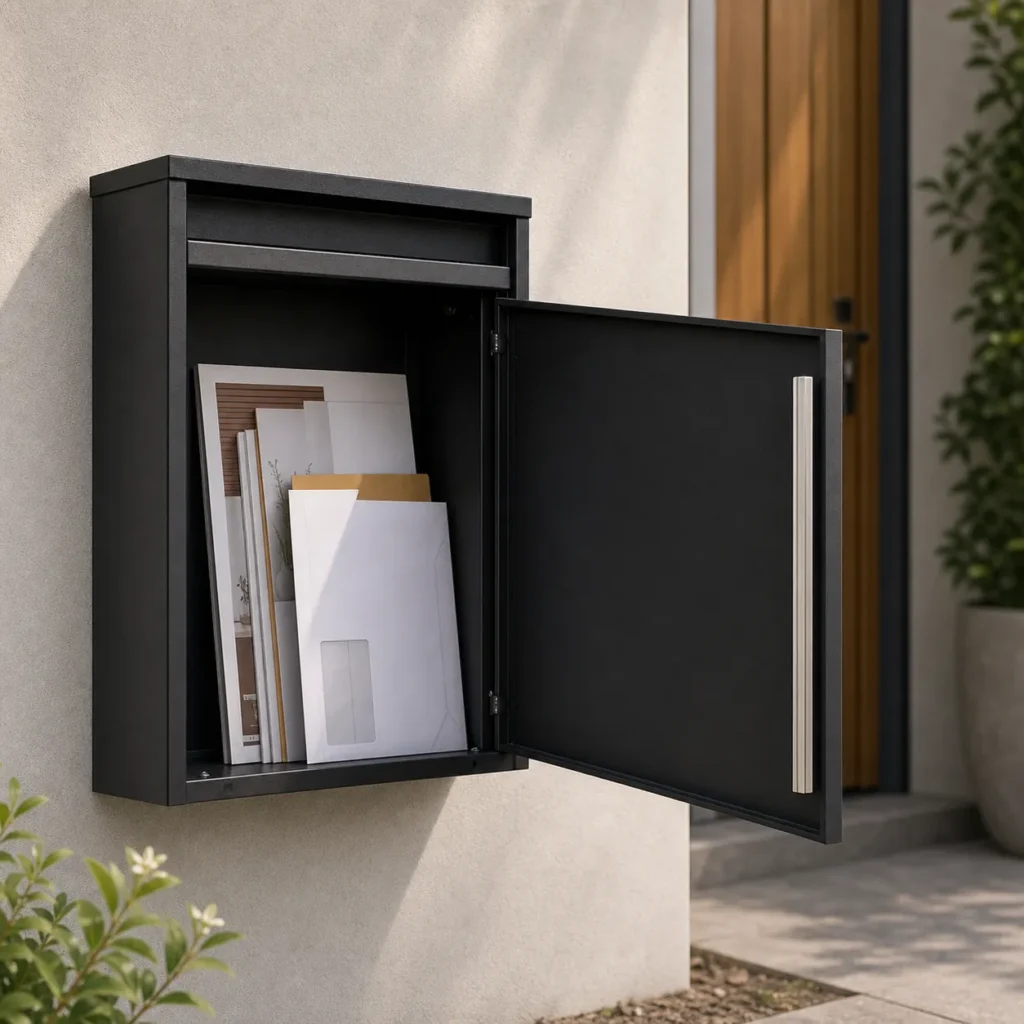
Letter and Mail Boxes
Letter boxes are designed to make mail and small parcel receiving more organized, secure, and convenient.
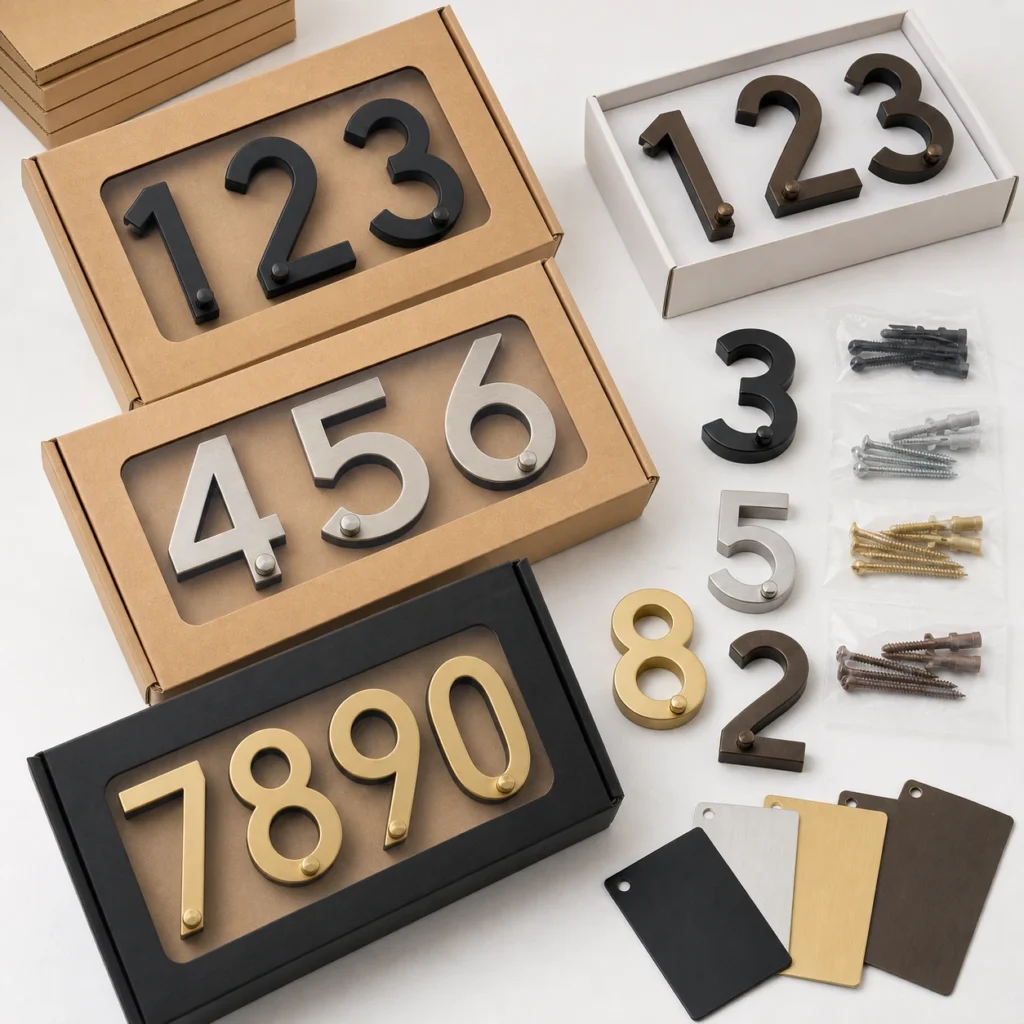
House Numbers
House numbers are small details, but they affect the first impression of a property, the visibility of an address.
Mail Slots
Mail slots are designed for projects where appearance, size, and installation details matter.