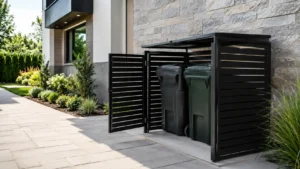
Installation Type
Trash Bin Enclosures
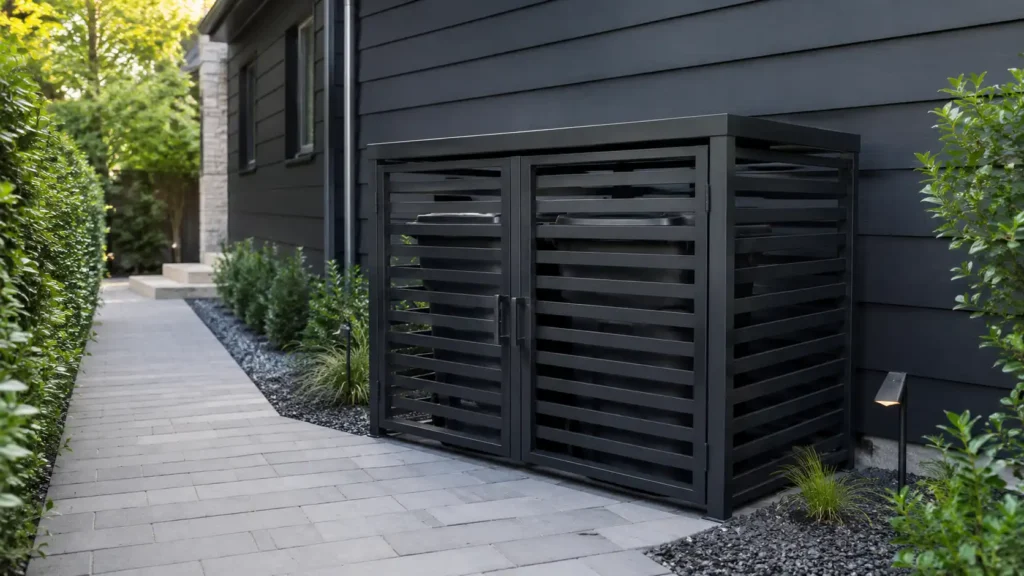
How to Build a Trash Bin Enclosure: DIY Plans, Dimensions, and Materials
05
Aug
Aug
A DIY trash bin enclosure can hide unattractive garbage cans, organize trash and recycling, and keep wheeled bins from rolling across a driveway or yard.
The basic structure may look simple. Most designs use a frame, side panels, and one or more front doors.
The difficult part is making the enclosure fit correctly.
Many DIY garbage can enclosures are measured around the plastic bin body only. The builder forgets about the wheels, rear handle, open lid, door swing, and space needed to tilt the bin backward.
The result may look good but become frustrating every collection day.
A practical trash bin enclosure must provide enough room to:
- Open every bin lid
- Reach the handles
- Tilt each bin onto its wheels
- Remove one bin without moving the others
- Open and close the enclosure doors
- Wash the floor and panels
- Allow heat and moisture to escape
- Accept a slightly different replacement bin
This guide explains how to build a trash bin enclosure for one, two, or three outdoor bins. It includes measurement formulas, sample dimensions, base options, material comparisons, door construction tips, ventilation, drainage, and common mistakes.
The sample sizes are planning examples only. Always measure the actual bins before cutting materials or ordering a custom enclosure.
Contents
hide
How Do You Build a Trash Bin Enclosure?
To build a trash bin enclosure, first measure the full width, depth, and open-lid height of every bin. Prepare a level, well-drained base, build a square frame, attach ventilated side panels, install strong front doors, and add a roof only when additional coverage is needed.
The complete process is:
- Count and measure the bins.
- Choose an installation location.
- Prepare a level base.
- Build or install the structural frame.
- Attach the side and rear panels.
- Build and hang the front doors.
- Add a fixed roof or lift-up lid if required.
- Install handles, hinges, latches, and anchors.
- Test every bin through its full movement.
Do not start with a generic plan. Start with the bins and the way people will use them.
What Should You Plan Before Building a Trash Bin Enclosure?
The design should be based on the number of bins, available space, collection route, and required level of protection.
A simple three-sided privacy screen needs less planning than a fully covered cabinet with locks and hydraulic lids.
How Many Bins Do You Need to Store?
Count every container that will use the enclosure.
A property may have:
- One general waste bin
- One trash bin and one recycling bin
- Trash, recycling, and yard waste bins
- Different bin sizes for different waste streams
- Extra seasonal or commercial waste containers
Consider whether another bin may be added later.
Building a double-bin enclosure that has no room for a future yard-waste bin may lead to another construction project within a few years.
For multiple bins, decide whether the enclosure should have:
- One wide front door
- Two large doors
- One door for each bin
- Removable internal dividers
- One shared top lid
- Separate top lids
Individual doors usually make a two- or three-bin trash enclosure easier to use. One bin can be removed while the others remain secured.
Where Will the Enclosure Be Installed?
Common locations include:
- Beside the house
- Along a driveway
- Near the garage
- Against a fence
- Behind a commercial building
- Near a shared collection area
Inspect the area before choosing the layout.
Check for:
- Utility meters
- Drainpipes
- Outdoor faucets
- Air-conditioning units
- Gates
- Windows
- Walkways
- Vehicle doors
- Property boundaries
- Uneven or sloping ground
Do not block equipment that requires airflow, inspection, or maintenance access.
How Will the Bins Reach the Curb?
Plan the complete route from the enclosure to the collection point.
The route should not require users to:
- Lift a heavy bin over a step
- Turn through a very narrow gate
- Pull the bin across soft soil
- Move a parked vehicle
- Remove every bin to reach one container
- Hold a large enclosure door open in strong wind
Open the proposed door area and practice moving the bins before construction begins.
Do You Need Front Doors?
An open-front enclosure is easier and less expensive to build.
Front doors provide better visual coverage and can help keep bins inside the structure.
Doors are useful when:
- The bins face the street.
- The site is exposed to wind.
- The ground has a slight slope.
- Animals enter the storage area.
- The enclosure needs a latch or lock.
- Several people use the bins.
- The project is for an apartment, office, or school.
Doors add weight and repeated movement to the structure. The posts, frame, hinges, and base must be strong enough to support them.
Does the Enclosure Need a Roof?
A trash bin enclosure does not always need a roof.
An open-top design is easier to build and naturally ventilated. It is often enough when the main goal is to hide the bin body.
A roof or lift-up top is helpful when you need:
- Complete visual coverage
- More protection from rain and direct sun
- Better control against animal access
- A cabinet-style appearance
- A top lid that opens with the garbage can lid
A covered enclosure must account for two separate movements:
- The enclosure lid
- The garbage can lid
These parts must open without hitting each other.
Should the Enclosure Be Anchored?
Anchoring is recommended for:
- Tall privacy screens
- Lightweight vinyl panels
- Large front doors
- Covered enclosures
- Exposed driveways
- Coastal and high-wind areas
- Metal enclosures
- Commercial installations
Possible fixing methods include:
- Posts set in concrete
- Concrete expansion anchors
- Ground screws
- Ground spikes
- Paver anchors
- Wall brackets
- A weighted structural base
A lightweight no-dig screen may work in a protected residential yard. It is not always suitable for a heavy gate or an exposed site.
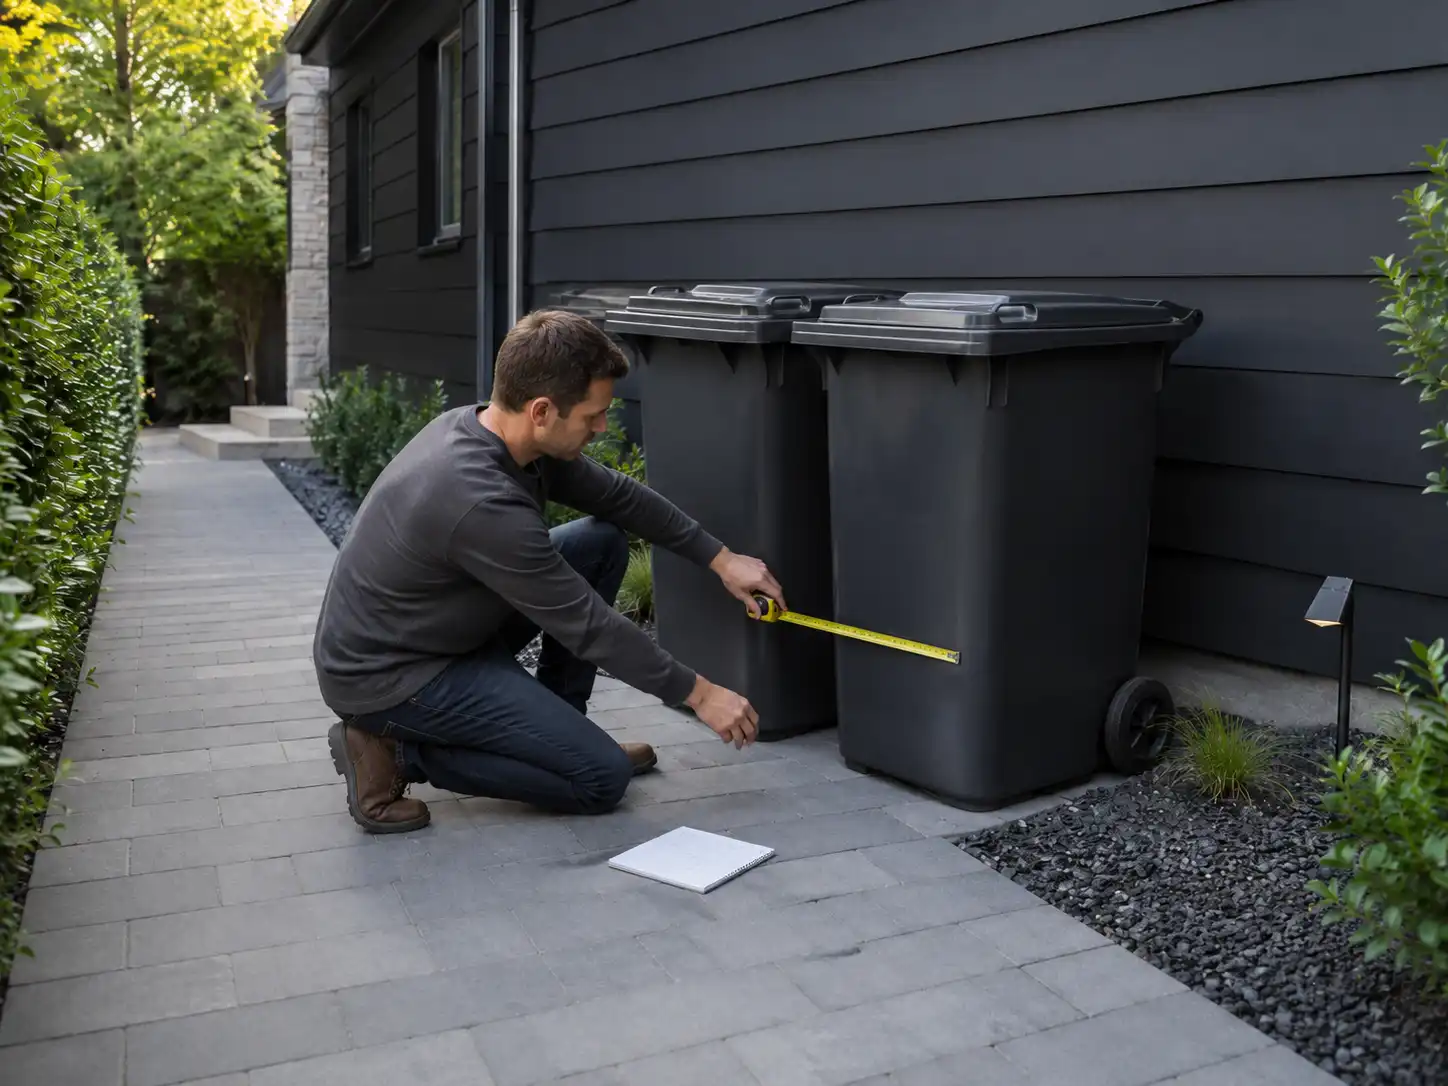
How to Measure Trash Cans for an Enclosure
Do not use gallon capacity as the only measurement.
Two 96-gallon trash cans can have different wheels, handles, body shapes, lid heights, and overall depth.
Measure every bin individually.
Measure the Widest Point
Measure across the widest part of the complete bin.
Include:
- Wheels
- Axle ends
- Side handles
- Lid edges
- Raised side sections
The wheels are often wider than the plastic body.
Record the width of every trash and recycling bin.
Measure the Full Depth
Measure from the front edge to the farthest point at the back.
Include:
- Rear handle
- Wheels
- Lid hinge
- Raised rear sections
Then tilt the bin backward as though you are preparing to roll it.
The bin may require more depth while tilting than while standing upright.
Measure the Closed Height
Measure from the ground to the highest point with the lid closed.
For an open-top enclosure, the side panels are often slightly higher than the closed bin.
For a covered enclosure, the closed height is not enough. You also need the open-lid measurement.
Measure the Lid Through Its Full Movement
Slowly open the bin lid and measure the highest point it reaches.
Record:
- Height with the lid closed
- Height with the lid fully open
- Highest point during movement
- Rear clearance around the hinge
- Space needed for your hand
The highest point may occur before the lid is fully open.
This is one of the most common measurement errors in DIY trash can enclosure plans.
Test the Removal Path
Place the bins in the proposed storage area and test normal use.
Try to:
- Open each lid
- Pull one bin forward
- Tilt it onto the wheels
- Turn it toward the driveway
- Remove one bin without moving the others
- Return it without hitting the frame
The movement test is often more useful than a tape measure alone.
Trash Bin Enclosure Size Formula
There is no universal finished size. Use the following formulas with your actual bin dimensions.
Internal Width for One Bin
Bin width
- left-side clearance
- right-side clearance
A practical starting allowance is:
- 2–3 inches on the left
- 2–3 inches on the right
Formula:
Internal width = bin width + 4–6 inches
Internal Width for Two Bins
Bin 1 width
- Bin 2 width
- clearance between the bins
- clearance along both outside walls
A practical starting allowance is:
- 2–4 inches between the bins
- 2–3 inches along each outer side
Formula:
Internal width = total bin width + 6–10 inches
Internal Width for Three Bins
Add:
- Width of all three bins
- Two internal gaps
- Two outside clearances
Formula:
Internal width = total bin width + 8–14 inches
The larger allowance is useful when the bins have wide wheels or are difficult to steer.
Internal Depth
Use the deepest bin as the starting point.
Add:
- 2–4 inches behind the bin
- 3–6 inches in front of the bin
Formula:
Internal depth = deepest bin depth + 5–10 inches
Increase the depth when the bin needs to tilt significantly before rolling.
Internal Height for an Open-Top Enclosure
Formula:
Internal height = closed-bin height + 2–4 inches
This normally hides most of the bin while keeping the lid easy to reach.
Internal Height for a Covered Enclosure
Formula:
Internal height = highest moving lid point + 2–4 inches
Also account for:
- Roof framing
- Hinges
- Hydraulic supports
- Hand clearance
- Drainage slope
Example Trash Bin Enclosure Dimensions
The following table uses example bins measuring 28 inches wide, 34 inches deep, and 45 inches high.
These are not standard dimensions for every municipal bin.
| Enclosure Layout | Example Internal Width | Example Internal Depth | Example Open-Top Height |
|---|---|---|---|
| Single-bin enclosure | 32–34 inches | 39–44 inches | 47–49 inches |
| Two-bin enclosure | 62–66 inches | 39–44 inches | 47–49 inches |
| Three-bin enclosure | 92–98 inches | 39–44 inches | 47–49 inches |
| Two mixed-size bins | Total bin width plus 6–10 inches | Deepest bin plus 5–10 inches | Tallest bin plus 2–4 inches |
These are clear internal dimensions.
The exterior enclosure will be larger after adding:
- Posts
- Structural frames
- Panel thickness
- Door frames
- Hinges
- Roof overhang
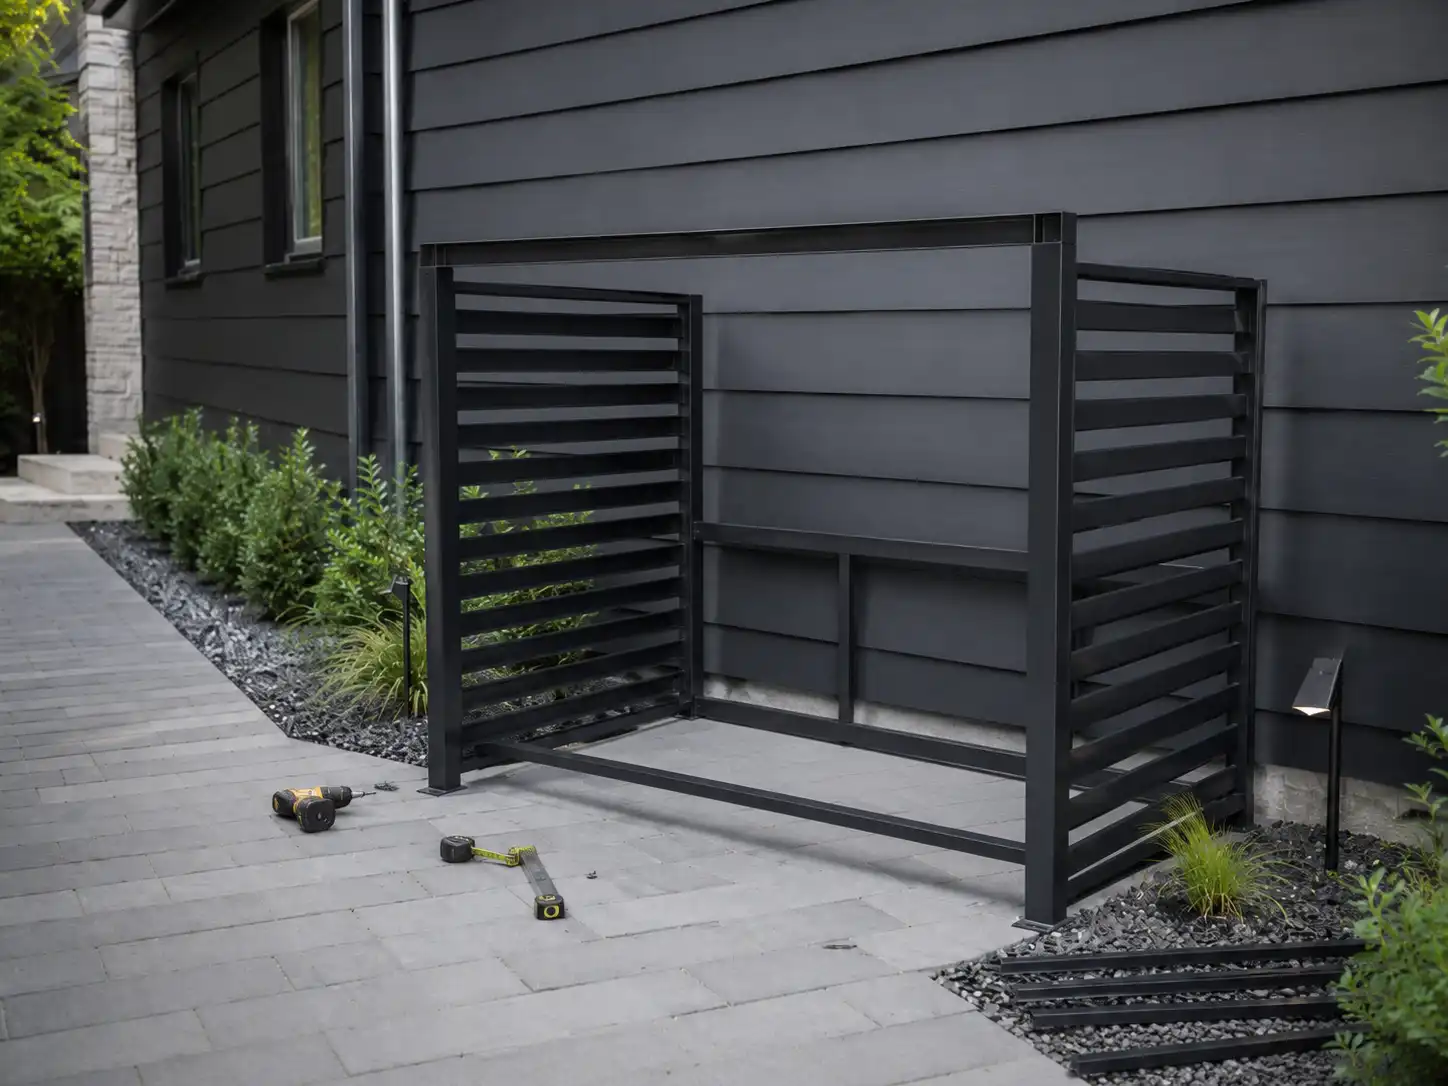
What Size Enclosure Do You Need for a 96-Gallon Trash Can?
A 95- or 96-gallon trash can enclosure must be based on the specific bin model.
Do not assume all 96-gallon bins are identical.
Measure:
- Maximum width across the wheels
- Maximum depth including the handle
- Closed height
- Open-lid height
- Tilted movement depth
For one large bin, the internal enclosure may need approximately 4–6 inches of additional width and 5–10 inches of additional depth beyond the actual container.
For two 96-gallon bins, add the full width of both bins plus the internal and side clearances.
The door opening should be wider than the bin because large bins rarely roll out in a perfectly straight line.
Recommended Clearance Around Trash Bins
| Area | Suggested Planning Clearance | Purpose |
| Outer sides | 2–3 inches per side | Prevents wheels and lids from scraping |
| Between bins | 2–4 inches | Allows lid movement, cleaning, and handle access |
| Behind bins | 2–4 inches | Protects handles and lid hinges |
| In front of bins | 3–6 inches | Provides room for pulling and door hardware |
| Door opening | 3–4 inches wider than the bin | Allows angled wheel movement |
| Above a closed bin | 2–4 inches for open-top designs | Hides the bin without blocking access |
| Above the moving lid | 2–4 inches for covered designs | Prevents contact with the roof |
These are starting points.
Provide more clearance when:
- The bins are very heavy.
- The users have limited mobility.
- The access route is not straight.
- The ground is slightly uneven.
- Several people use the enclosure.
- Replacement bin sizes may change.
What Is the Best Base for a Trash Bin Enclosure?
The base controls drainage, stability, door alignment, and how easily the bins roll.
Concrete Slab
Concrete provides a stable and washable surface.
It is suitable for:
- Heavy enclosures
- Bolted metal frames
- Frequent cleaning
- Commercial properties
- High-use waste areas
The slab should slope slightly away from the building.
Do not create a low point where dirty water collects beneath the bins.
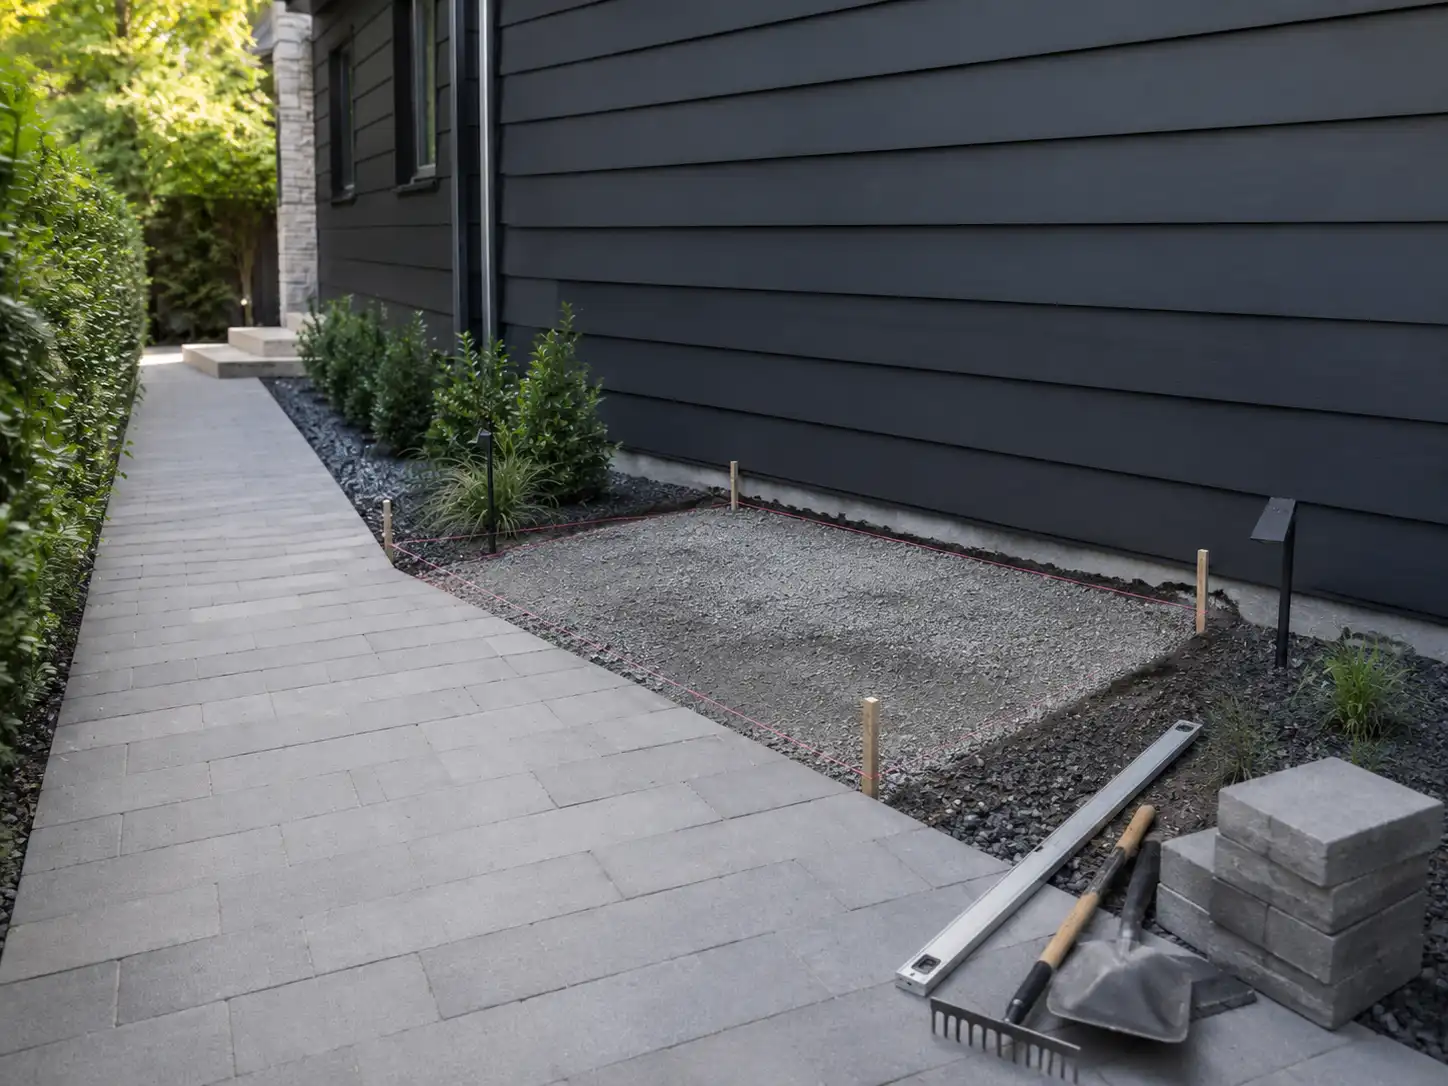
Paver Base
Pavers are a practical residential option.
A typical installation may use:
- Excavated soil
- Compacted aggregate
- Leveling sand
- Pavers
- Joint sand
Make sure the pavers are level and fully supported.
Loose or uneven pavers can cause:
- Doors to drag
- Frames to twist
- Bin wheels to catch
- Water to collect
Compacted Gravel Base
Gravel works well where drainage is important.
A basic gravel base may include:
- Landscape edging
- Geotextile fabric
- Compacted crushed stone
- A finer compacted top layer
Avoid large, loose stones beneath the bin wheels. Heavy containers may become difficult to move.
Compacted gravel is more practical than decorative loose gravel for the main rolling path.
Raised Wooden Floor
A raised wooden base can support a cabinet-style enclosure.
However, it creates a threshold.
Add a ramp if the bin wheels must move onto the raised floor.
Use pressure-treated wood for parts close to the ground and provide airflow beneath the floor.
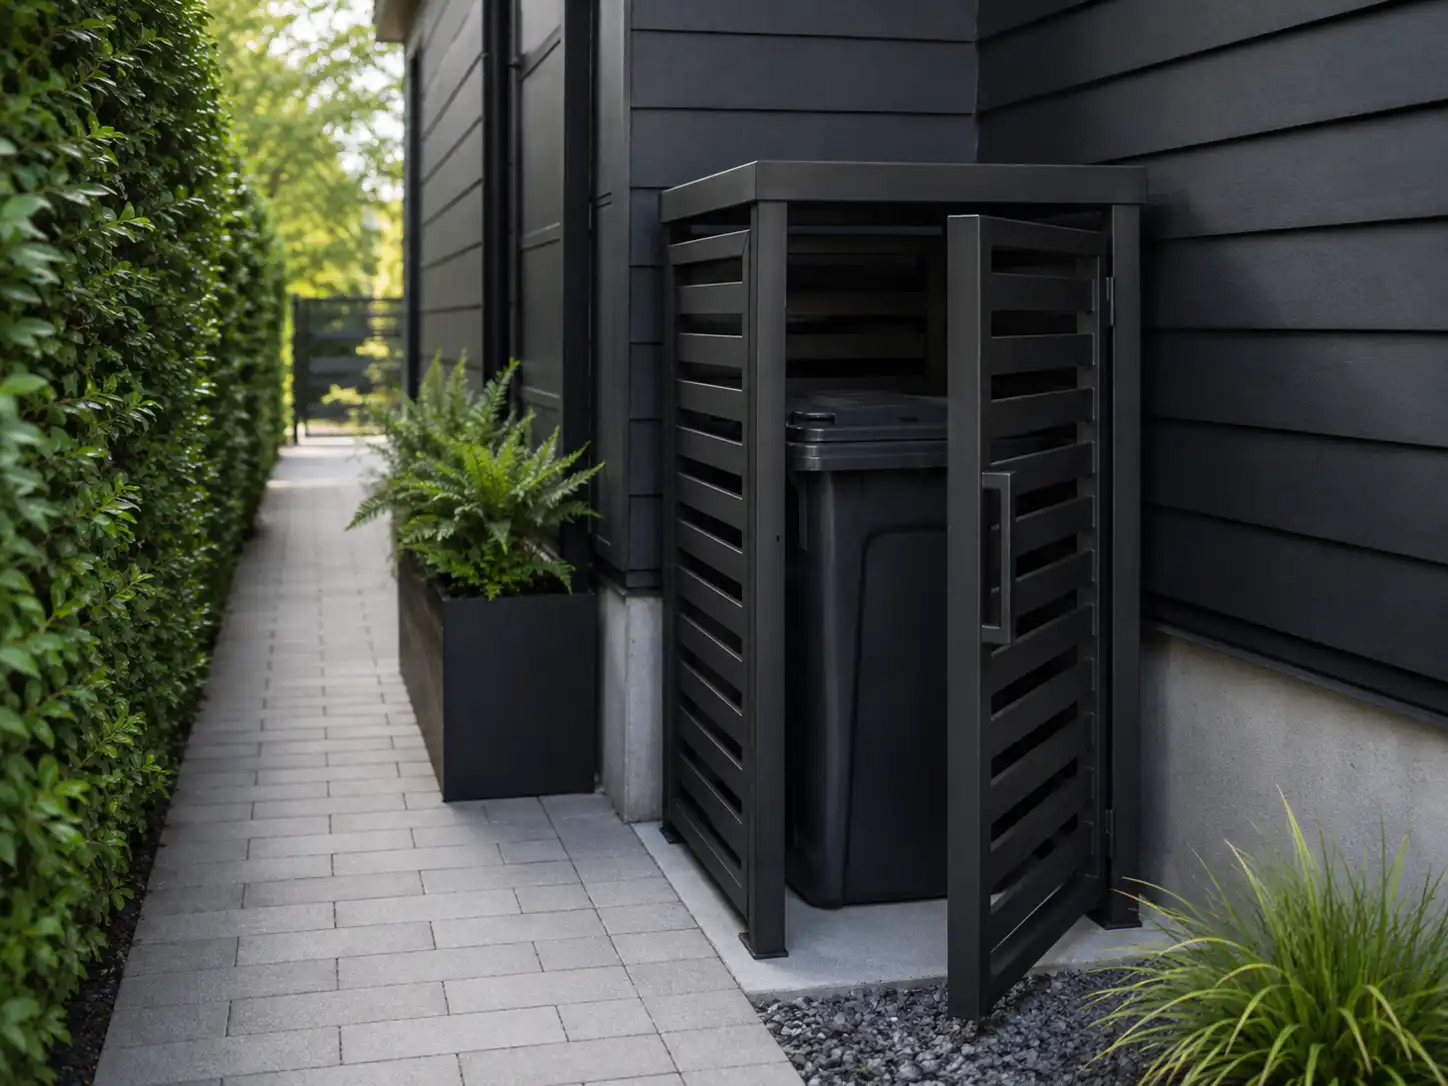
Best Materials for a DIY Trash Bin Enclosure
The right material depends on appearance, weather, maintenance, structural requirements, and available tools.
| Material | Main Advantages | Main Limitations | Best Use |
| Pressure-treated lumber | Affordable and suitable for structural framing | Can twist, shrink, or crack as it dries | Posts, frames, bases, and simple screens |
| Cedar | Natural appearance and good outdoor use | Costs more and may still need finishing | Visible slats and residential screens |
| Exterior plywood | Covers large areas quickly | Edges need sealing and solid panels reduce airflow | Doors, roofs, and cabinet walls |
| Vinyl | Easy to wash and does not need staining | Lightweight systems need secure posts and anchors | Simple privacy screens |
| Composite boards | Consistent appearance and lower routine finishing | Heavy and may require closer support spacing | Decorative panels |
| Galvanized steel | Strong and suitable for doors, frames, and locks | Requires metal fabrication tools | Durable residential and commercial enclosures |
| Powder-coated metal | Custom colors, strong doors, narrow frames, and low routine maintenance | Usually requires professional manufacturing | Custom and commercial projects |
Pressure-Treated Lumber
Pressure-treated lumber is commonly used for:
- Posts
- Floor frames
- Door frames
- Structural rails
Use exterior-rated fasteners that are compatible with treated wood.
Allow for natural movement. Boards may shrink or twist after installation.
Cedar
Cedar is popular for visible slats and decorative screens.
It can be:
- Stained
- Sealed
- Painted
- Left to weather naturally
Keep the lower boards away from standing water.
Even naturally durable wood lasts longer when it can dry after rain.
Exterior Plywood
Exterior plywood can be used for solid doors, roofs, and cabinet walls.
Seal:
- Front face
- Rear face
- All cut edges
- Screw holes
- Corners
Solid plywood provides strong visual coverage but may trap heat and moisture. Add vents or slatted sections.
Vinyl Panels
Vinyl works well for quick visual screening.
It is easy to clean and does not require routine staining.
Check:
- Panel thickness
- Post strength
- Ground fixing system
- Wind exposure
- Temperature resistance
- Whether a front gate can be supported
A lightweight vinyl screen should not automatically be treated as a structural enclosure.
Composite Boards
Composite boards can provide a clean, wood-like appearance.
They may require:
- A metal or treated-wood frame
- Closer support spacing
- Correct expansion gaps
- Manufacturer-approved fasteners
Composite material is often heavier than expected.
Galvanized or Powder-Coated Metal
Metal is useful when the enclosure needs:
- Strong front doors
- Narrow but rigid frames
- Locks
- Custom sizes
- Perforated ventilation
- Hydraulic top lids
- Frequent commercial use
A metal enclosure is usually less practical as a basic DIY woodworking project.
Professional fabrication may be more suitable when precise doors, heavy lids, or long-term structural stability are important.
Tools and Materials for a Wooden Enclosure
Common Tools
- Tape measure
- Pencil
- Level
- Framing square
- Circular saw or miter saw
- Drill and driver
- Clamps
- Shovel
- Rake
- Tamper
- Post-hole digger
- Safety glasses
- Hearing protection
- Dust mask
Common Materials
- Pressure-treated posts
- Structural framing lumber
- Cedar, treated, or composite slats
- Exterior-rated screws
- Exterior hinges
- Handles
- Gate latches
- Barrel bolts
- Concrete, pavers, or compacted gravel
- Exterior paint, stain, or sealer
- Anchors
- Optional roofing material
- Optional hydraulic lid supports
How to Build a Trash Bin Enclosure Step by Step
The following method is suitable for a typical slatted wooden enclosure with front doors.
Adjust the design for the soil, climate, bin size, and local requirements.
Step 1: Prepare the Installation Area
Mark the full enclosure footprint.
Make the base slightly larger than the finished structure.
Remove:
- Grass
- Roots
- Loose soil
- Debris
- High spots
Install the selected base and check it in several directions with a level.
A small planned slope for drainage is acceptable. The enclosure frame itself must remain square.
Step 2: Mark the Posts and Door Opening
Use stakes and string to mark the corners.
Measure the two diagonals.
When the diagonal measurements are equal, the layout is square.
Mark:
- Rear posts
- Front posts
- Door openings
- Internal divider positions
- Wall clearance
- Door swing
- Bin removal route
Place the bins inside the marked area before installing the posts.
Step 3: Install the Posts or Build the Frame
For a fence-style structure, install posts in concrete or use suitable surface brackets.
For a cabinet-style design, build the side frames on a flat surface and connect them with front and rear rails.
Use temporary braces while checking:
- Level
- Plumb
- Square
- Door opening width
- Roof slope
Do not install decorative panels until the main frame is stable.
Step 4: Attach the Side and Rear Panels
Install slats, boards, lattice, or composite panels.
For slatted walls:
- Use a spacer for consistent gaps.
- Keep each row level.
- Leave enough airflow.
- Use exterior fasteners.
- Avoid very large openings.
Finishing the boards before installation can make painting or staining easier.
Practical Design Note
Narrow, consistent gaps usually provide better visual coverage than a few large gaps.
The ideal gap depends on:
- Viewing angle
- Panel thickness
- Desired ventilation
- Animal-control requirements
Step 5: Build the Front Doors
Build the doors on a flat surface.
A basic rectangular wooden door may sag. Use:
- A rigid perimeter frame
- Diagonal bracing
- Strong corner joints
- Suitable exterior hinges
The brace should transfer the weight of the unsupported upper corner toward the lower hinge side.
Leave a small and even gap around each door for seasonal movement.
Step 6: Install Hinges, Handles, and Latches
Use temporary blocks to hold each door at the correct height.
Install:
- Exterior hinges
- Handles
- Door stops
- Barrel bolts
- Gate latches
- Ground bolts
- Padlock-compatible hardware if needed
Test the door several times before adding more weight.
The latch should be easy to operate while the user is holding or moving a bin.
Step 7: Add a Roof or Lift-Up Top
A fixed roof should include:
- A drainage slope
- An overhang
- Waterproof covering
- Secure wind-resistant attachment
- Ventilation below the roof
Direct water away from the building and front doors.
For a lift-up top, check:
- Lid weight
- Hinge strength
- Opening angle
- Hand clearance
- Interaction with the garbage can lids
- Support hardware
A large solid top can become heavy.
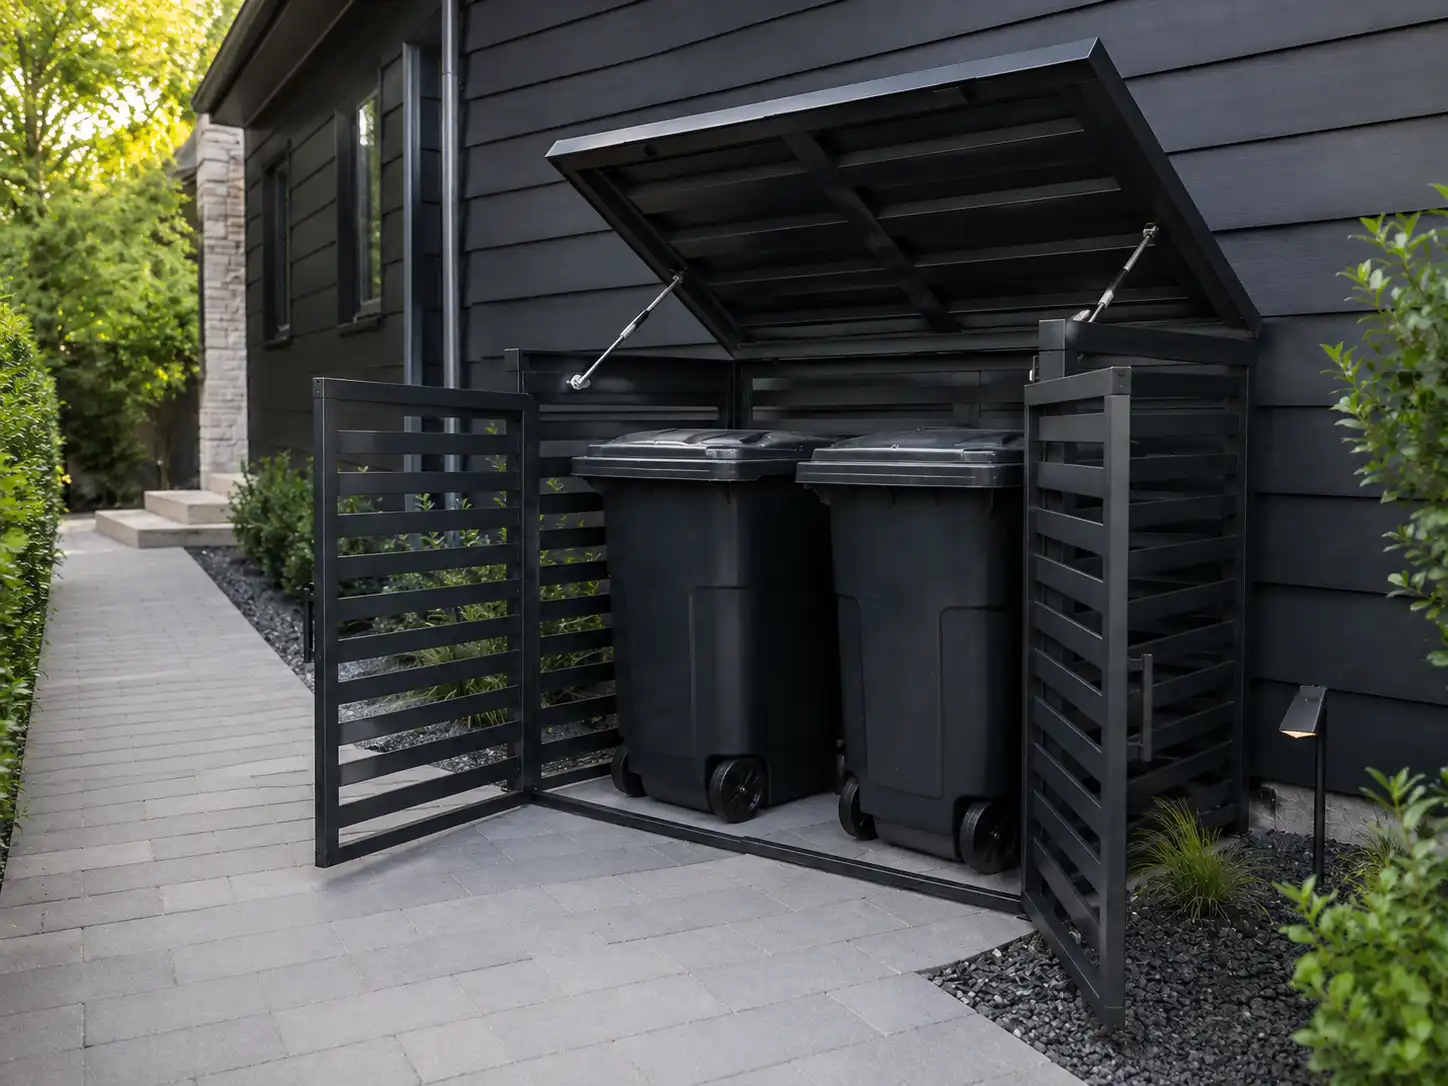
Hydraulic struts may assist opening, but they must match the lid weight, length, hinge location, and required opening angle.
Manufacturer’s Design Note
Selecting a stronger hydraulic strut is not always safer.
An overpowered strut can make the lid difficult to close or place unnecessary force on the hinges and frame.
Step 8: Anchor and Finish the Enclosure
Anchor the structure to the ground or wall using a method suitable for the site.
Apply outdoor finish to:
- Visible surfaces
- Hidden surfaces
- Cut ends
- Door edges
- Roof edges
- Areas near the ground
Then complete a full-use test:
- Open every enclosure door.
- Open every garbage can lid.
- Remove each bin separately.
- Tilt the bins onto their wheels.
- Close and latch the doors.
- Wash the floor.
- Check drainage.
- Confirm that nothing hits a wall, fence, or vehicle.
Four Practical Trash Bin Enclosure Plans
Plan 1: Simple Single-Bin Screen
Best for:
- One bin
- Protected side yards
- Visual coverage
- Beginner builders
Recommended structure:
- Two side frames
- One rear panel
- One front door or open front
- Open top
- Horizontal or vertical slats
Advantages:
- Less material
- Easy ventilation
- Simple cleaning
- No heavy top lid
Limitations:
- Limited weather protection
- The lid remains visible from above
- Wind anchoring may still be required
Plan 2: Double Trash and Recycling Enclosure
Best for:
- One trash bin
- One recycling bin
- Residential side yards
- Driveway storage
Recommended structure:
- One shared frame
- Two individual front doors
- Optional center divider
- Open or lift-up top
- Door latches
Separate doors make it easier to use one bin without opening the full enclosure.
Plan 3: Three-Bin Waste Sorting Enclosure
Best for:
- Trash, recycling, and yard waste
- Large homes
- Apartments
- Schools
- Offices
Recommended structure:
- Three individual doors
- Two internal dividers
- Strong upper rails
- Open top or separate lift-up lids
- Waste-stream labels
A very wide structure needs additional vertical supports to prevent bending.
Plan 4: Narrow Side-Yard Enclosure
Best for:
- Narrow walkways
- One bin
- Bins stored front-to-back
- Limited door swing
Possible configurations include:
- One narrow front door
- Double folding doors
- A removable front panel
- An open-front privacy screen
- Bins arranged in a single row
Check how much walkway remains after the door opens.
Does a Trash Bin Enclosure Need Ventilation?
Covered and mostly solid enclosures should include ventilation.
Ventilation can be provided through:
- Horizontal slats
- Vertical slats
- Perforated panels
- Louvers
- Gaps below the roof
- Protected lower openings
Airflow helps reduce:
- Trapped heat
- Condensation
- Moisture
- Odor concentration
- Slow drying after cleaning
Do not create openings large enough for animals to reach bags or bin lids easily.
Does a Trash Bin Enclosure Need Drainage?
The base should allow rainwater and cleaning water to leave the enclosure.
Good drainage may include:
- A surface sloping away from the building
- Open floor edges
- Compacted gravel
- Drainage gaps
- A sloped roof
- Easy cleaning access
Do not direct wastewater toward:
- A doorway
- A patio
- A neighboring property
- Building foundations
- Sensitive landscaping
Common DIY Trash Bin Enclosure Mistakes
Copying Online Dimensions
Online garbage can enclosure plans are based on specific bins and properties.
Use the design concept, but calculate your own dimensions.
Measuring Only the Bin Body
Include wheels, handles, hinges, lid edges, and movement.
Making the Door Too Narrow
The opening should be wider than the bin because wheeled containers rarely move perfectly straight.
Forgetting Open-Lid Height
A covered enclosure may fit a closed bin but prevent the lid from opening.
Using Weak Door Frames
Wide wooden doors need strong frames and diagonal bracing.
Installing on Uneven Ground
A twisted frame causes door and latch problems.
Prepare the base first.
Allowing Wood to Touch Wet Ground
Keep vulnerable wood away from standing water and seal cut ends.
Blocking All Ventilation
A completely closed cabinet may trap heat, moisture, and odor.
Directing Roof Water Toward the Door
Slope the roof away from the user, building, and access path.
Using Indoor Hardware
Use exterior-rated screws, hinges, handles, and latches.
Failing to Anchor Large Panels
Tall panels and doors can catch the wind.
Adding Heavy Doors to Lightweight Stakes
A basic privacy-screen post system may not support a heavy gate.
Making Cleaning Difficult
Leave enough room to reach the floor, corners, and rear wall.
DIY vs Ready-Made vs Custom Trash Bin Enclosures
| Option | Best For | Advantages | Limitations |
| DIY enclosure | Simple residential projects | Flexible design and potential material savings | Requires tools, time, accurate measurement, and maintenance |
| Ready-made screen | Standard bins and visual coverage | Fast installation | Limited sizes, doors, and anchoring options |
| Ready-made shed | Multiple bins and full coverage | Complete concealment and roof protection | Requires more space and a prepared base |
| Custom metal enclosure | Narrow spaces, multiple bins, locks, hydraulic lids, and commercial use | Exact fit, strong doors, custom colors, and functional options | Higher initial cost and manufacturing lead time |
When Does DIY Make Sense?
DIY is suitable when:
- You have one or two bins.
- The design is simple.
- The ground is easy to prepare.
- You own suitable tools.
- You accept future maintenance.
- No heavy lid or advanced locking system is required.
When Is a Ready-Made Screen Enough?
A ready-made screen may be enough when:
- Appearance is the main concern.
- Standard dimensions fit.
- The area is protected from extreme wind.
- A strong gate is not required.
- Fast installation matters.
When Is a Custom Enclosure Better?
A custom enclosure may be better when:
- The bins are different sizes.
- The installation area is narrow or irregular.
- Individual doors are required.
- The enclosure needs locks.
- A heavy lift-up lid is required.
- Hydraulic supports are needed.
- The finish must match the property.
- The installation is commercial or shared.
- Standard products waste too much space.
Frequently Asked Questions
How do you build a trash can enclosure?
Measure the bins, prepare a level base, build a square frame, attach ventilated panels, install strong doors, add a roof if needed, and anchor the structure.
What size should a trash bin enclosure be?
The internal dimensions should include the full bin width, depth, wheel size, handle projection, open-lid height, door movement, and cleaning clearance.
How much space should you leave around a trash can?
A practical starting point is 2–3 inches along the outside walls, 2–4 inches between bins, 2–4 inches at the rear, and 3–6 inches at the front.
How wide should a two-bin enclosure be?
Add the width of both bins, 2–4 inches between them, and 2–3 inches along each outer side.
Can you build an enclosure for 96-gallon trash cans?
Yes. Measure the specific bins because 95- and 96-gallon containers vary by manufacturer and local collection service.
What is the best material for a trash can enclosure?
Wood is practical for DIY construction, vinyl works for simple screens, and powder-coated metal is suitable for strong doors, custom sizes, locks, and commercial applications.
Does a trash bin enclosure need a roof?
No. Open-top enclosures provide good ventilation and easy access. Add a roof when complete coverage or additional weather protection is required.
Does a trash bin enclosure need ventilation?
Yes, if the structure is covered or mostly solid. Use slats, louvers, perforations, or protected openings.
Should a trash bin enclosure be anchored?
Anchoring is recommended for tall screens, lightweight panels, enclosures with doors, and exposed locations.
Is it cheaper to build or buy a trash can enclosure?
DIY may cost less for a simple wooden screen. Include tools, base preparation, hardware, finishing, labor, and future maintenance in the comparison.
Build Around the Bins, Not a Generic Plan
The best trash bin enclosure is designed around the actual containers and the way people use them.
Do not copy a plan simply because it says “single-bin,” “double-bin,” or “96-gallon.”
Measure:
- Wheels
- Handles
- Lid movement
- Pulling angle
- Door swing
- Collection route
Prepare a stable base, include drainage and ventilation, and make the door openings larger than the static bin dimensions.
A simple DIY screen can work well for one or two residential bins.
A larger enclosure with several doors, locks, a heavy roof, hydraulic supports, or frequent commercial use requires more careful structural planning.
When standard DIY plans do not fit the available space, a custom trash bin enclosure can be manufactured around the exact bin quantity, dimensions, door direction, finish, ventilation, and installation requirements.
Explore our custom trash bin enclosures for single-bin, double-bin, three-bin, residential, and commercial outdoor waste storage projects.
Popular Parcel Box and Letterbox Products
Choose from existing product styles or develop your own custom series.
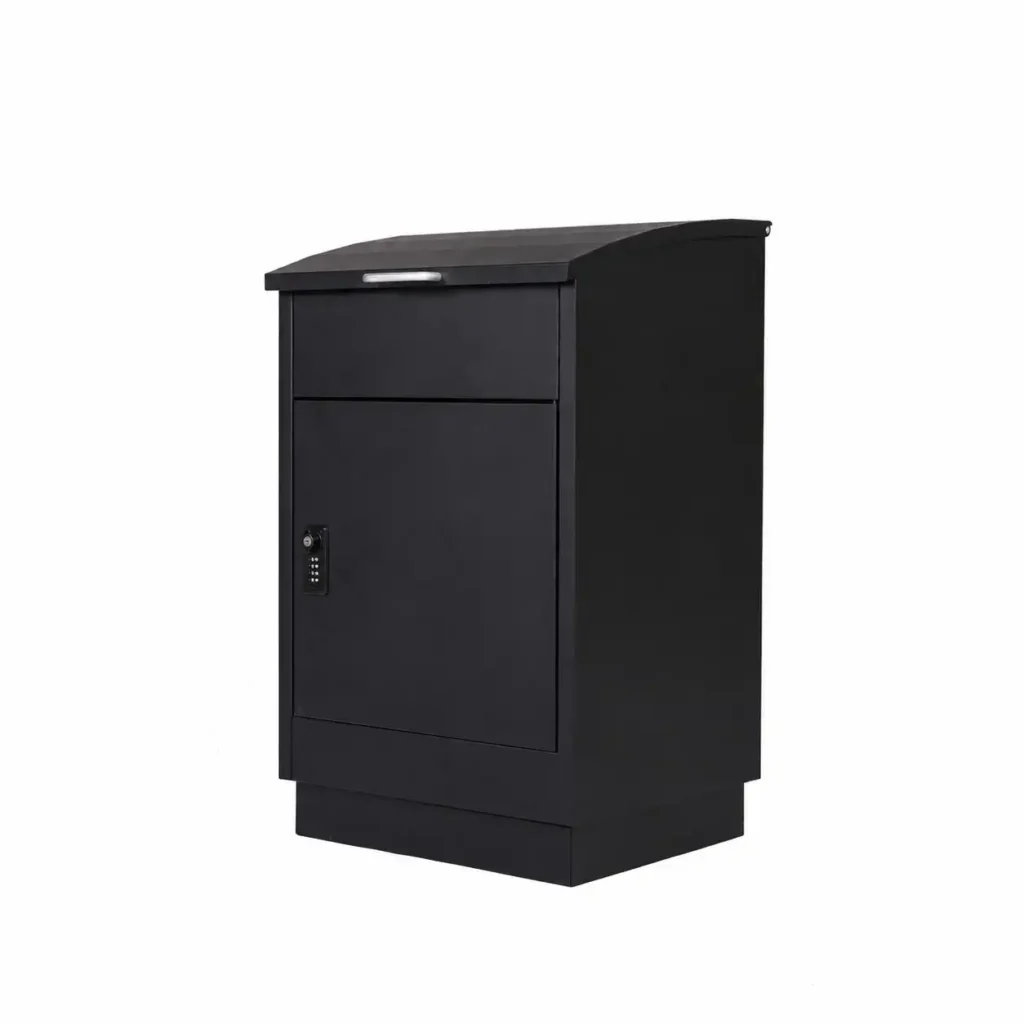
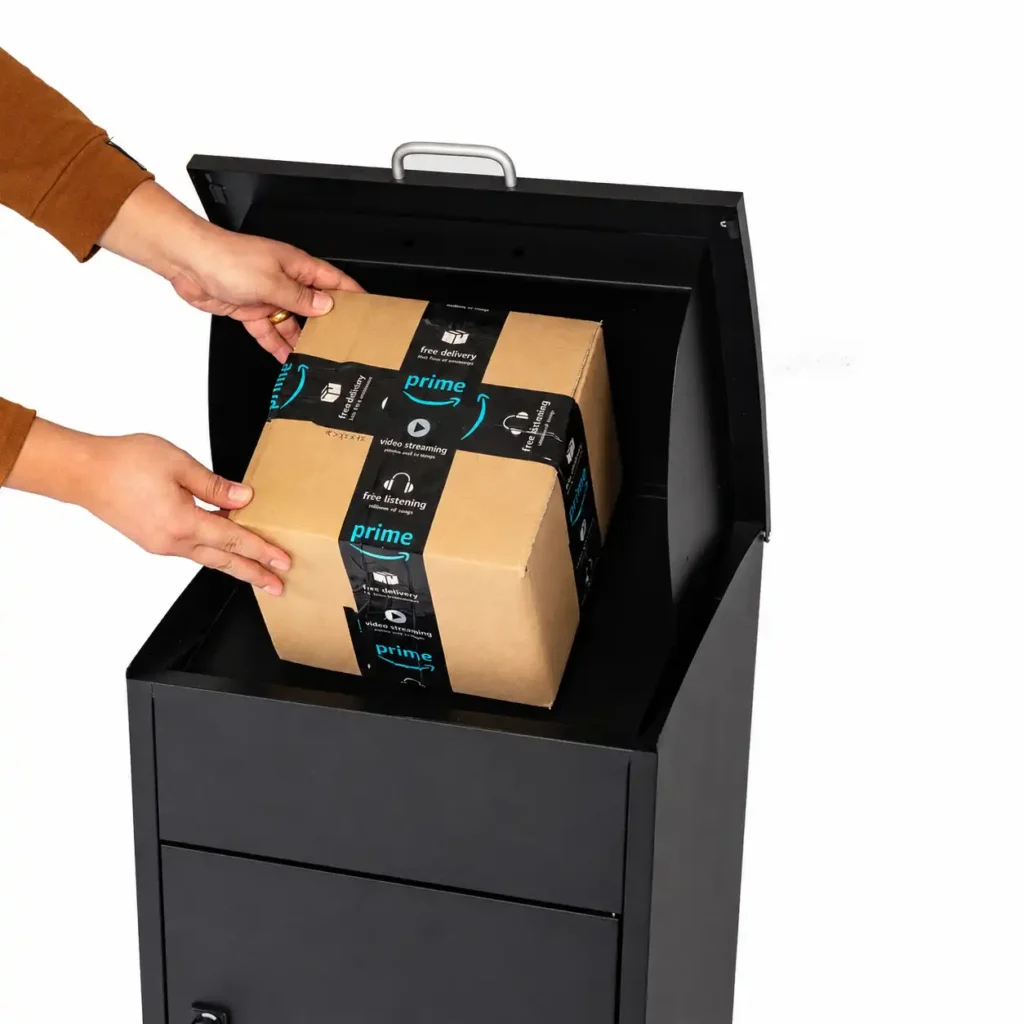
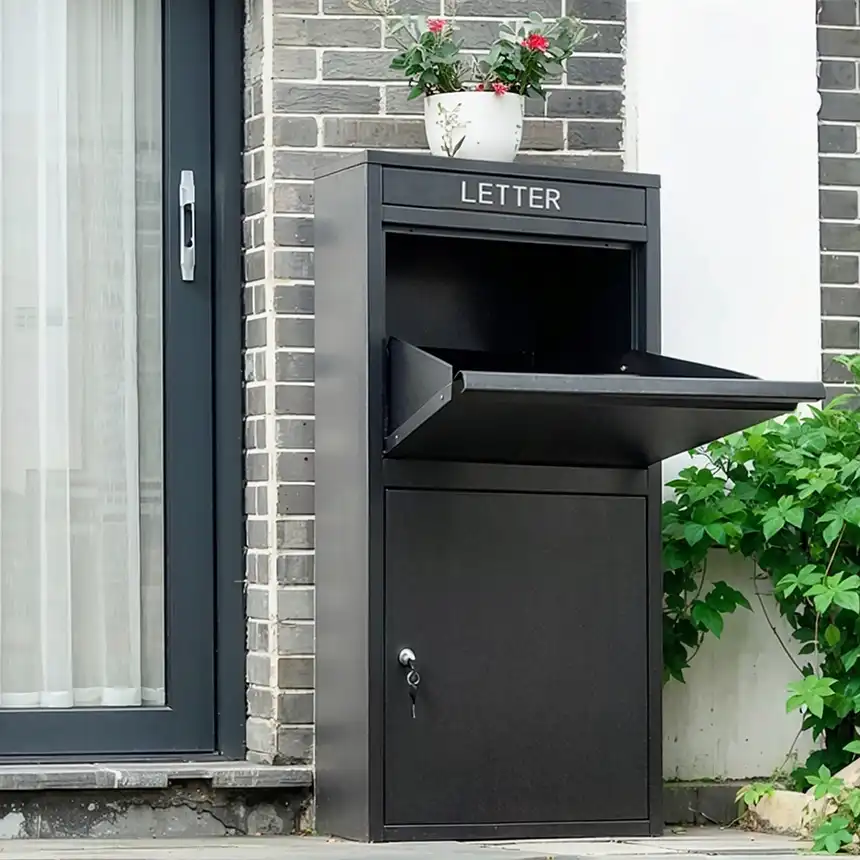
Extra Large Parcel Boxes
High-capacity parcel boxes for oversized packages and busy delivery locations.
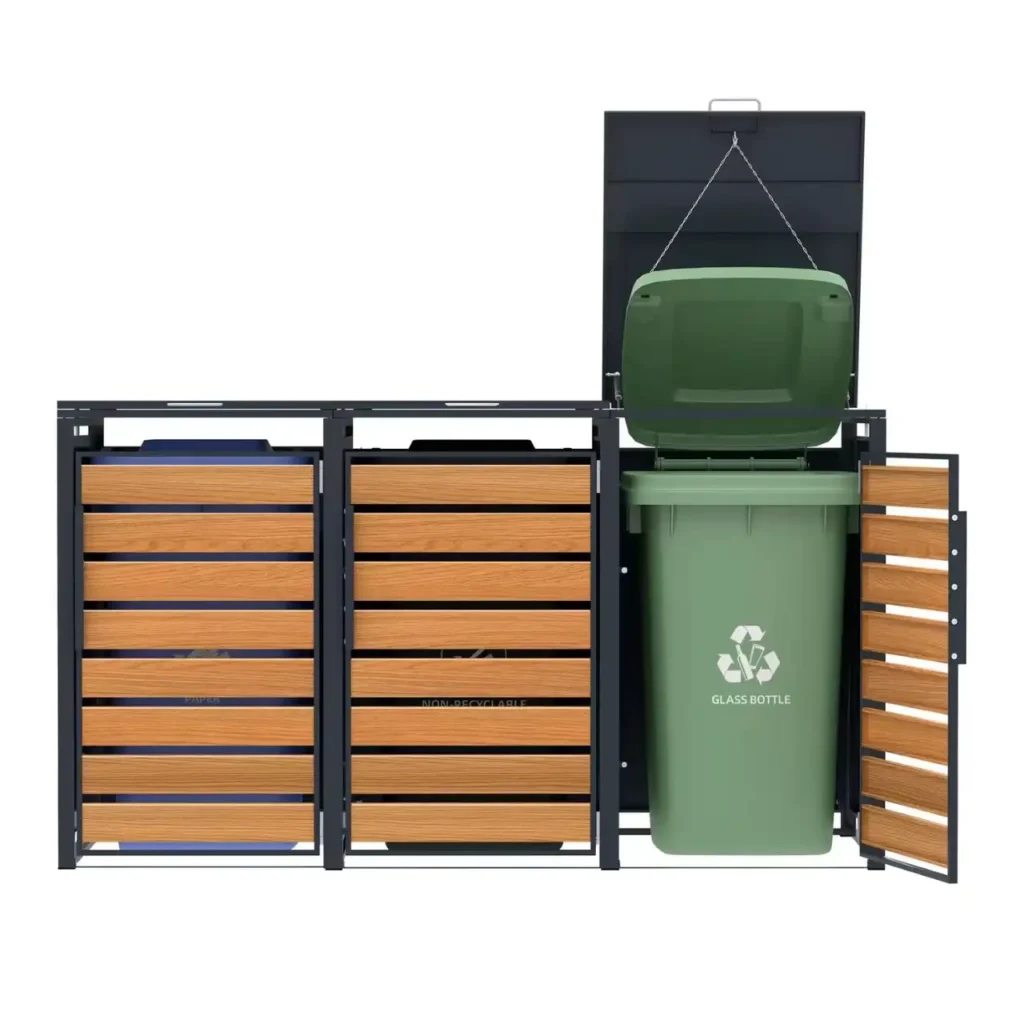
Trash Bin Enclosure
Outdoor trash bin enclosures provide a clean and secure way to store one, two, three, or multiple wheeled bins.
Letter and Mail Boxes
Letter boxes are designed to make mail and small parcel receiving more organized, secure, and convenient.
House Numbers
House numbers are small details, but they affect the first impression of a property, the visibility of an address.
Mail Slots
Mail slots are designed for projects where appearance, size, and installation details matter.